Scrap Swap 2017: Fabric Wreath

What do you do with all of your scrap fabrics?!? When you really think about it scraps are really versatile. Sometimes I use them to make baby clothes, sometimes my kids use them to practice sewing but today I'm going to show you how to make a scrap wreath!

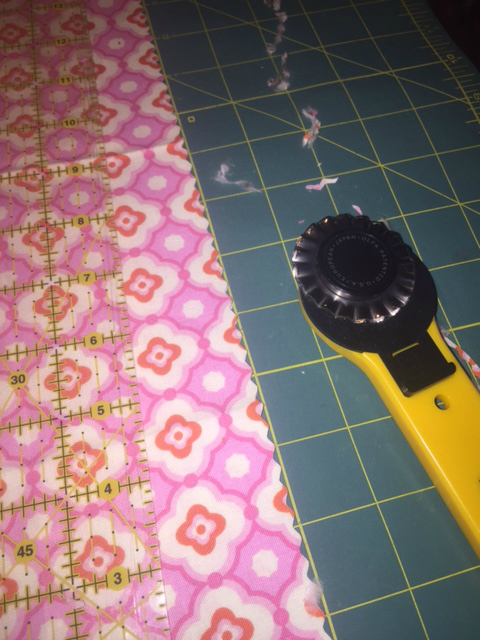
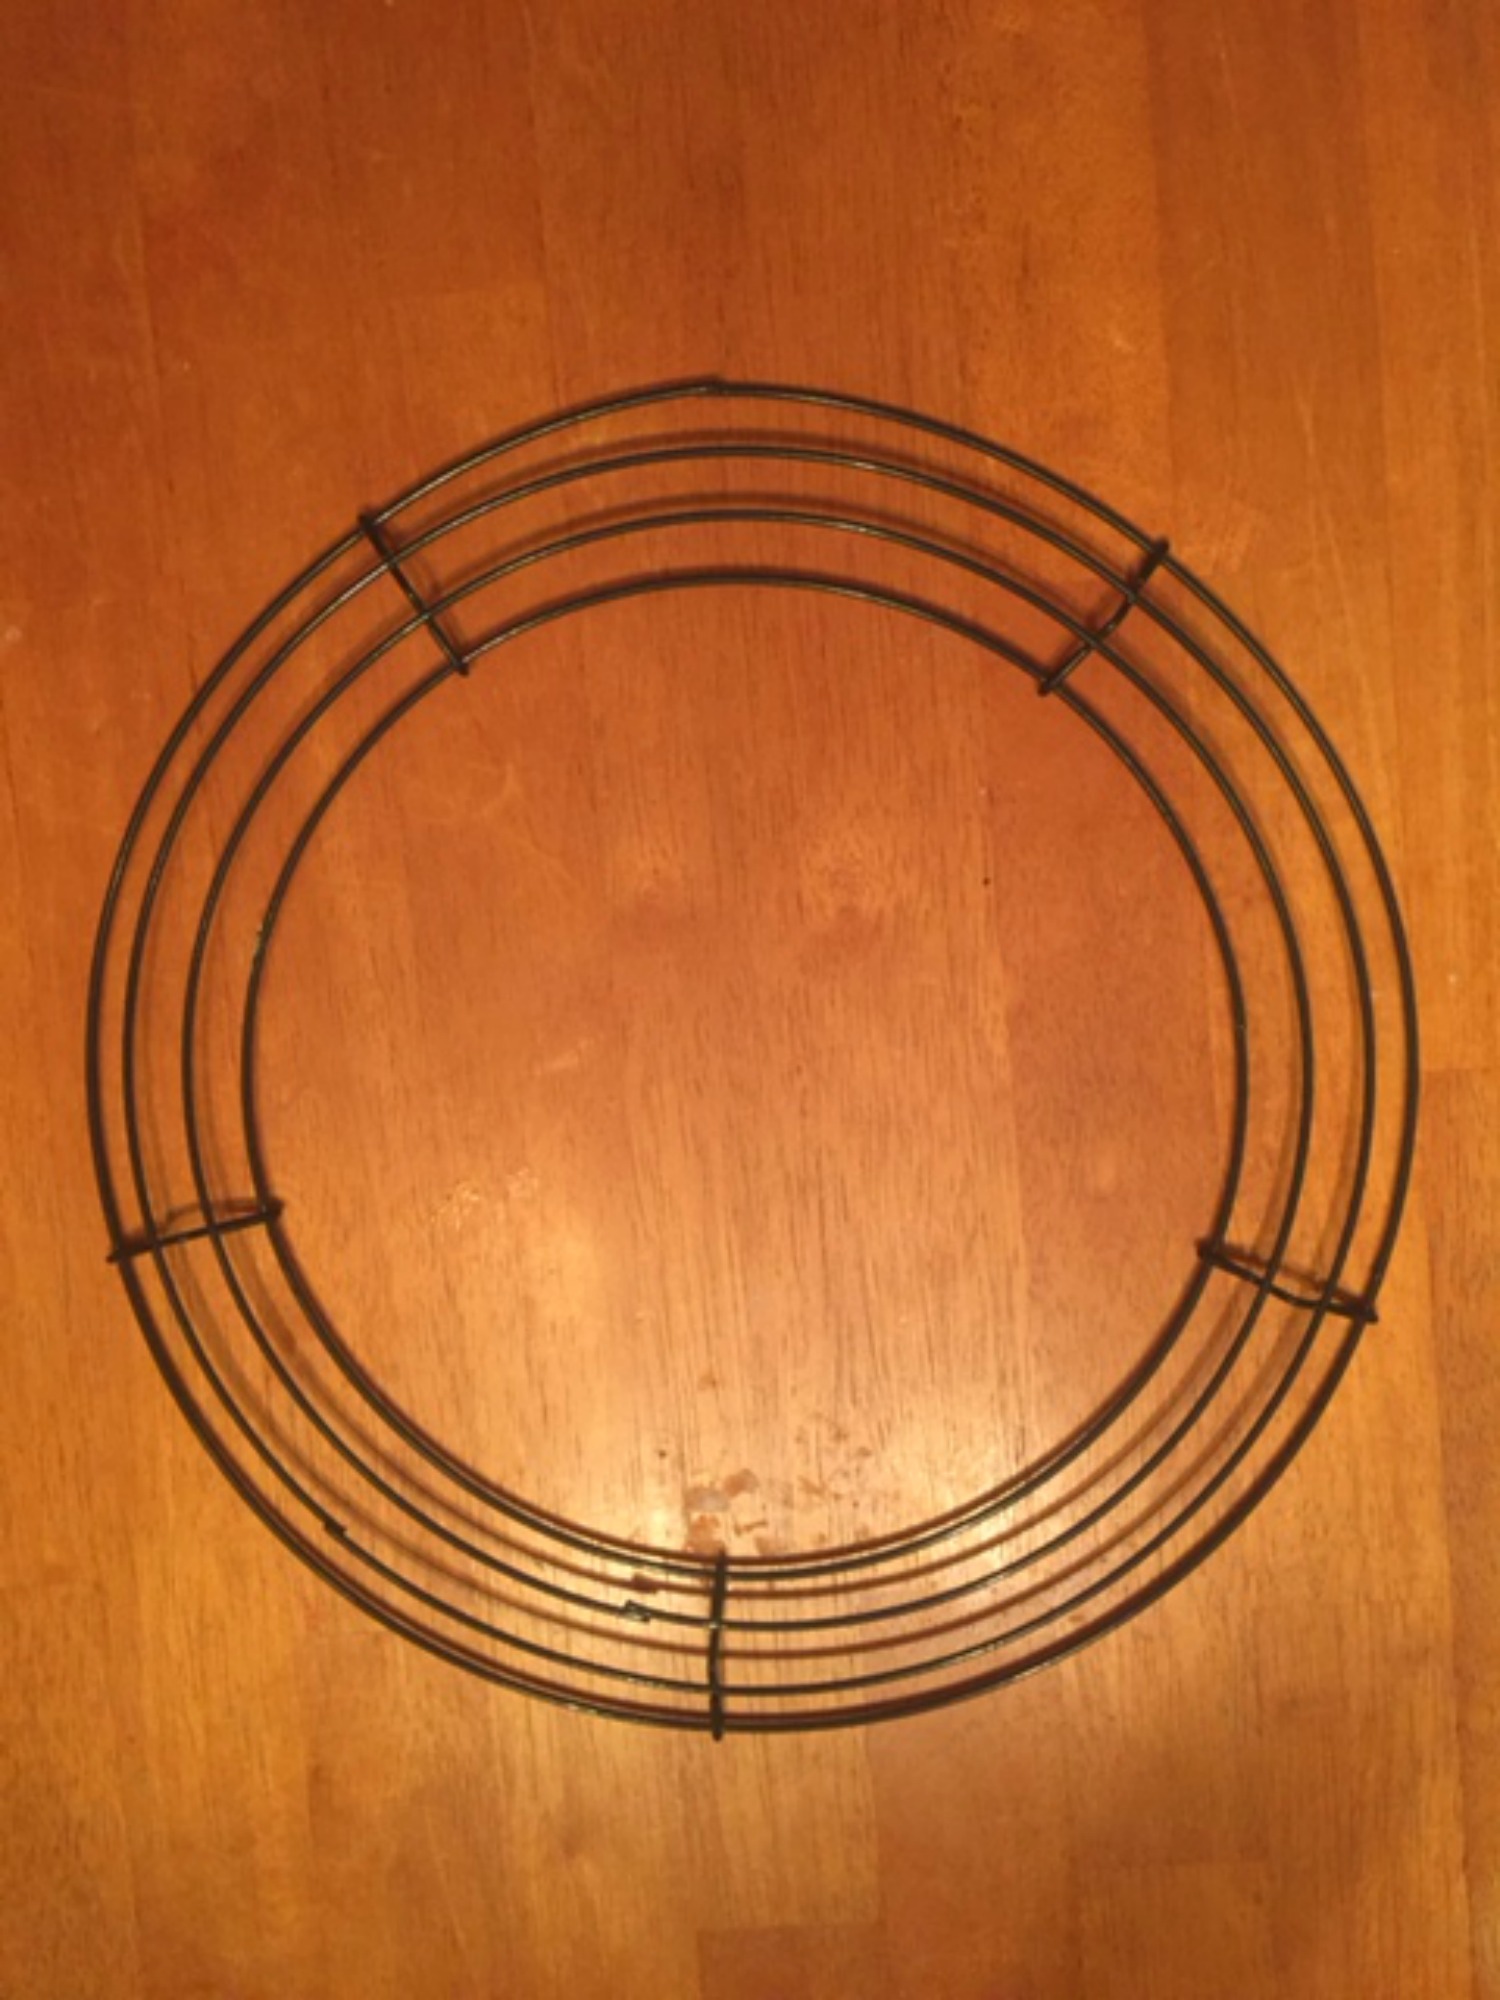
First gather your supplies, you need pinking rotary cutter, scraps and a wire wreath. For this project I decided to use all pink scraps so my wreath would match my sewing area.
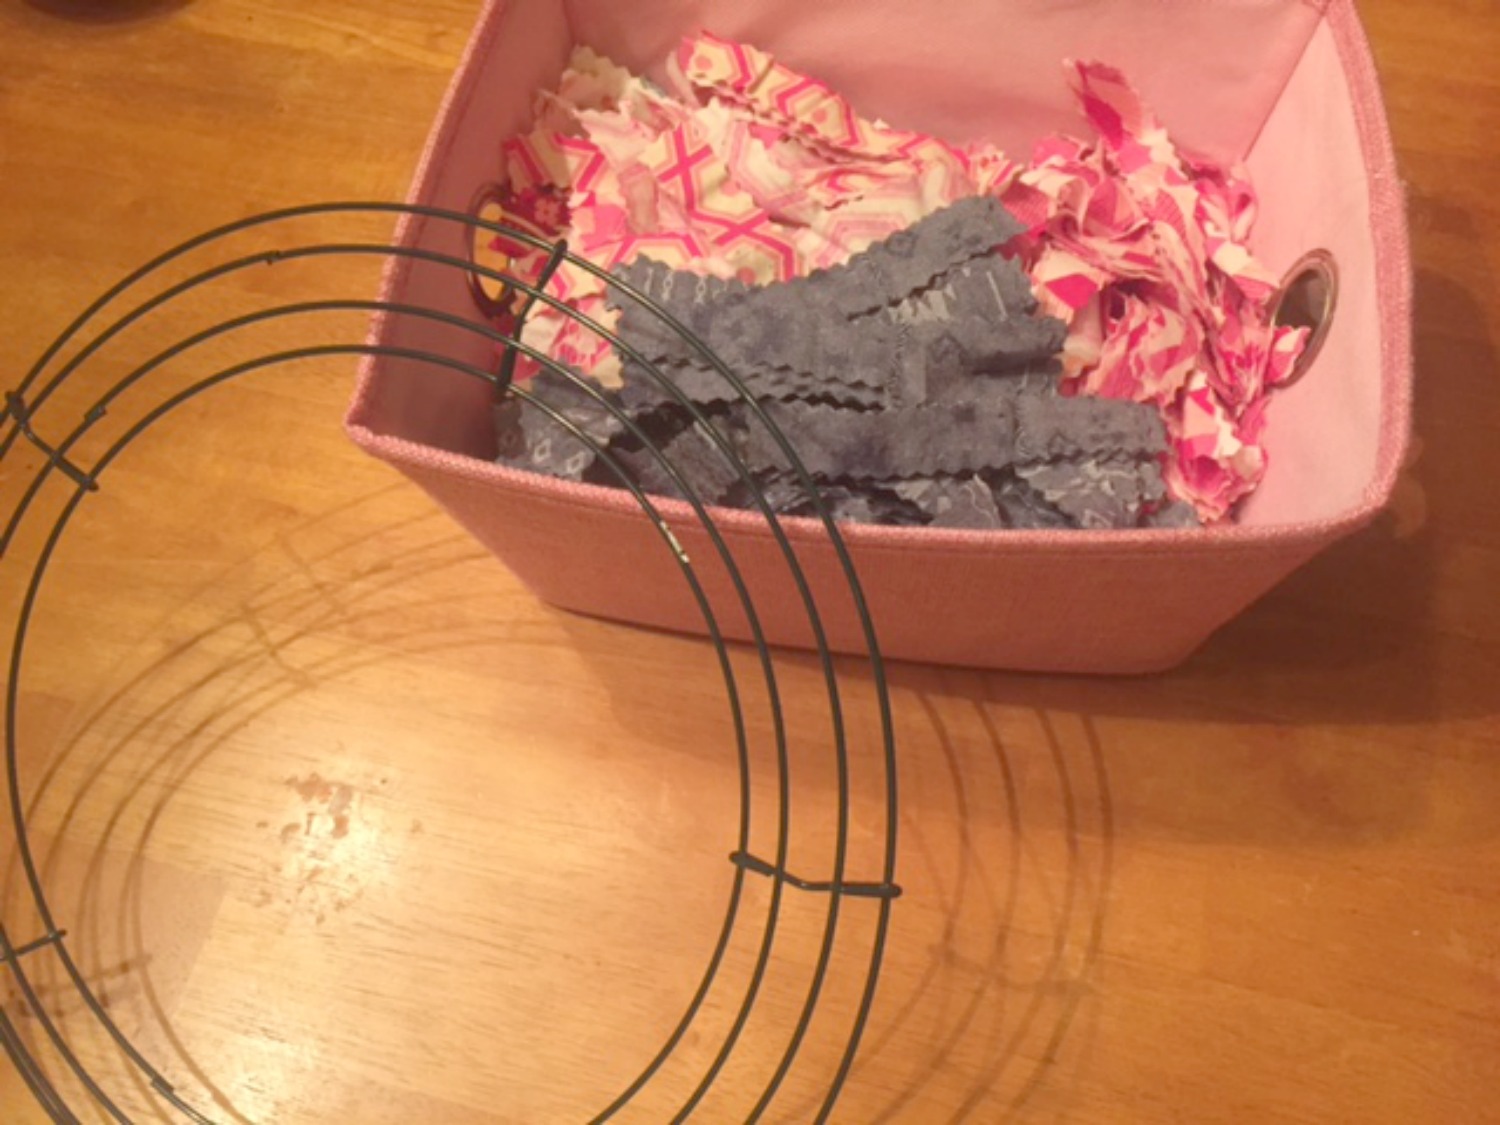
Now let's get started

1.  Cut scraps into 5” x 3/4” strips
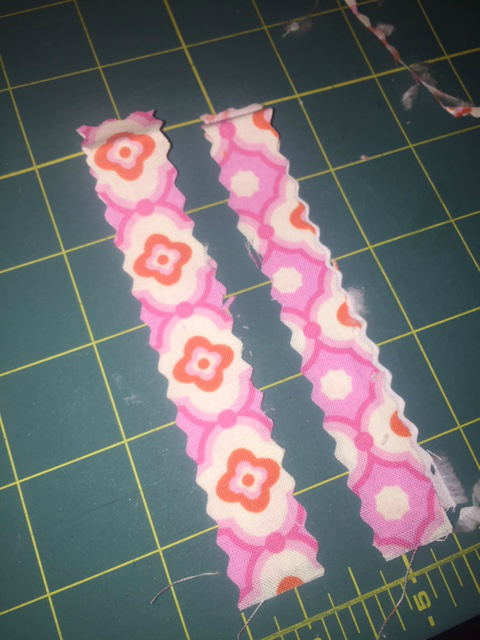
 

2.  Then tie the strips around the wires of the wreath. I prefer to make my wreaths full so I push the strips together and I tie them to each wire on the wreath.

That's it, you're finished!

Scrap Swap 2017: Scrap Fabric Headbands

Hey everyone!!  Now that we all have our back to school wardrobes, it’s time to add some accesories.  My daughter loves wearing headbands but they can really start adding up so I end up making a lot of them.  I got a nice pile of scrap fabrics sent to me and they were the perfect selection for headbands.  The first one is super quick and easy to make.

Rosette Headband:


Supplies:


  • Headband (you can buy them in lots on Etsy or just reuse your daughter’s old ones)

  • Scrap fabric

  • Buttons, beads, jewels, or other findings

  • Glue gun

  • Millinery leaves


Step 1:

Tear a stip of fabric about 2-3 inches wide and tie a knot in the end.

Step 2:

Fold the strip in half length wise and and start twisting and wrapping it around the knot to form the rosette, adding hot glue as you go.  You can add as many twists as you want for different looks.

Step 3:

When you get to the end, just tuck it under the bottom and glue it.  Turn it over and you have a nice rosette.

Step 4:

I Like adding Millinery leaves to all my rosettes.  You can find them on Etsy.  This is also the point where you can add a button or beads or some other little decoration.  My daughter picked wooden beads for hers.  

Step 5:

Cut a circle about the size of your rosette.

Step 6:

Glue your flower to the headband and then glue the circle to the back to make it nice and neat.  Voila!!  


Petal Flower Headband:

Supplies


  • Scrap fabrics

  • Tapestry needle and thread

  • Headband

  • Glue gun

  • Button


Step 1:

Take your scrap fabrics and cut circles.  I like to fold in fourths so I have 4 circle the same size of each fabric.  Your circles don’t need to be perfect.  Imperfections make them even better!  I use anywhere from 3-6 different fabrics. Cut each fabric slightly smaller.

Step 2:


Take the largest circles and fold them in quarter.  Overlap the points and put in a few stitches so it resembles a circle.

Step 3:

Following the same steps, add layers of petals.  The more you add, the tougher it will be to push the needle through so you may need to use a thimble.

Step 4:

Add a button to the center with the glue gun

Step 5:

I used an old headband that my daughter broke, so before I glue the flower on, I wrap it in coordinating fabric first.

Step 6:  

Glue the flower to the headband and add a circle of fabric to the back to cover all the stitches.  And there you have a fun little headband to add to your daughter’s wardrobe!


Scrap Swap 2017: Vintage Inspired Spool Wreath

Scrap Swap 2017: Vintage Inspired Spool Wreath

Follow along with tutorial to make your own vintage inspired spool wreath.  Perfect use of those scraps you love and would make an amazing keepsake or gift.  

Read More

Summer Selfie Sewing: Cold Shoulder Tunic by Ellie and Mac, Palazzos by Patterns for Pirates and 3245 by Jalie featuring fabric by Girl Charlee

Summer Selfie Sewing: Cold Shoulder Tunic by Ellie and Mac, Palazzos by Patterns for Pirates and 3245 by Jalie featuring fabric by Girl Charlee

Our final installment of the Summer Selfie series features patterns by Ellie and Mac, Jalie and Patterns for Pirates as well as more amazing fabric by Girl Charlee.  Rebekah sews the fabulous cold shoulder tunic while Chris sewed the super fun P4P palazzo shorts and Jalie 3245.  

Read More

Summer Selfie Sewing: Made for Mermaids Vivienne Dress and the Green Tee and Amy skirt by Greenstyle Creations featuring fabric by Girl Charlee

Summer Selfie Sewing: Made for Mermaids Vivienne Dress and the Green Tee and Amy skirt by Greenstyle Creations featuring fabric by Girl Charlee

Today Jessica sews the Vivienne dress by Made for Mermaids using some amazing floral striped fabric from our sponsor Girl Charlee.  Laura opted to sew the Green Tee and the Amy Skirt by GreenStyle Creations which she chose to sew in some fabulous knits with roses and elephants from our sponsor.  

Read More

Summer Selfie Sewing: Mama Lea by Made for Mermaids and the Open Back Pullover by Greenstyle Creations sponsored by Girl Charlee fabrics

Summer Selfie Sewing: Mama Lea by Made for Mermaids and the Open Back Pullover by Greenstyle Creations sponsored by Girl Charlee fabrics

Day three of our summer Selfie sewing series sponsored by Girl Charlee fabrics.  Today Heidi sews up a fabulous romper by Made for Mermaids and Maryanna sews up a trendy open back hoodie by Greenstyle Creations.  

Read More

Summer Selfie Sewing: Take the Plunge Maxi by Patterns for Pirates and the Helene Cardigan by Jalie featuring fabric by Girl Charlee

Summer Selfie Sewing: Take the Plunge Maxi by Patterns for Pirates and the Helene Cardigan by Jalie featuring fabric by Girl Charlee

Day two of our week long feature Summer SELFie sewing sponsored  by Girl Charlee Fabric.  Today Tasha sewed the Take the Plunge Maxi Dress hack by Patterns for Pirates while Brooke sewed the Helene cardigan by Jalie.  

Read More

Gnome Matter What! Blog Tour (with patterns from Violette Field Threads and Simple Life Pattern Company)

Gnome Matter What! Blog Tour (with patterns from Violette Field Threads and Simple Life Pattern Company)

We are taking a turn on the Gnome Matter What! blog tour today.  Come and see how we used these fabrics to make the Georgia and Pearl from Violette Field Threads and the Lucy Racerback from Simple Life Pattern Company.

Read More

Lavish - Luxury on a Bolt

Lavish  - Luxury on a Bolt

 As soon as I saw the previews for Art Gallery's Lavish line by Katarina Roccella, I knew that I had to have it.

Read More