Scrap Swap 2017: Vintage Inspired Spool Wreath
/We all love our scraps and have a hard time giving them up. So how about a project that uses those scraps and allows you to keep them at the same time? Enter the Vintage Inspired Spool Wreath. Jackie has written up a great tutorial so you can make one of your own. What a beautiful and fun way to display those scraps in your sewing room or home! Still have a lot of scraps? See our other scrap project posts here!
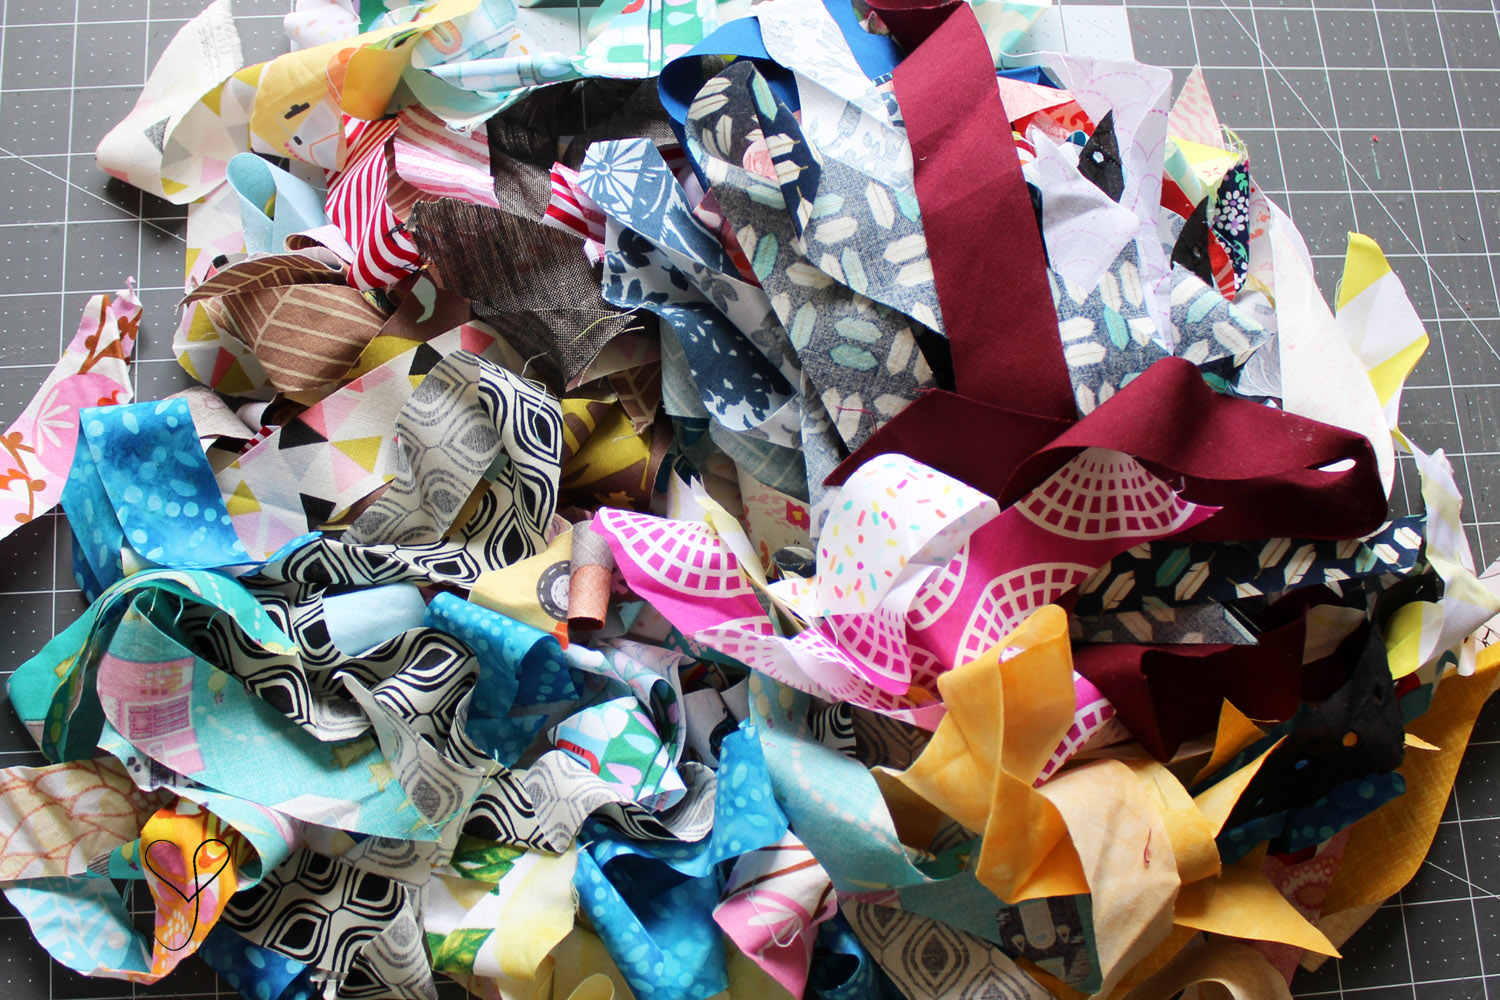
Hey y’all, it’s Jackie. I have a confession to make. I hoard scraps. So when Sarah brought up the Scrap Swap, I couldn't volunteer fast enough. I stuffed a PFRE and sent it off. A couple days later, I received a similar stuffed PFRE. And there was a delightful treasure trove of scraps inside. There were 50 (that’s right, FIVE ZERO) pieces to work with of varying sizes. The variety was perfect for what I had in mind - a vintage inspired spool wreath.
And better yet, I want to help you make your own. Here's what you’ll need:
A variety of scraps, the more variety the better!
Roughly 150 1” wood spools (I used these)
Floral wire or fishing line
Decorative ribbon
So let’s get started!
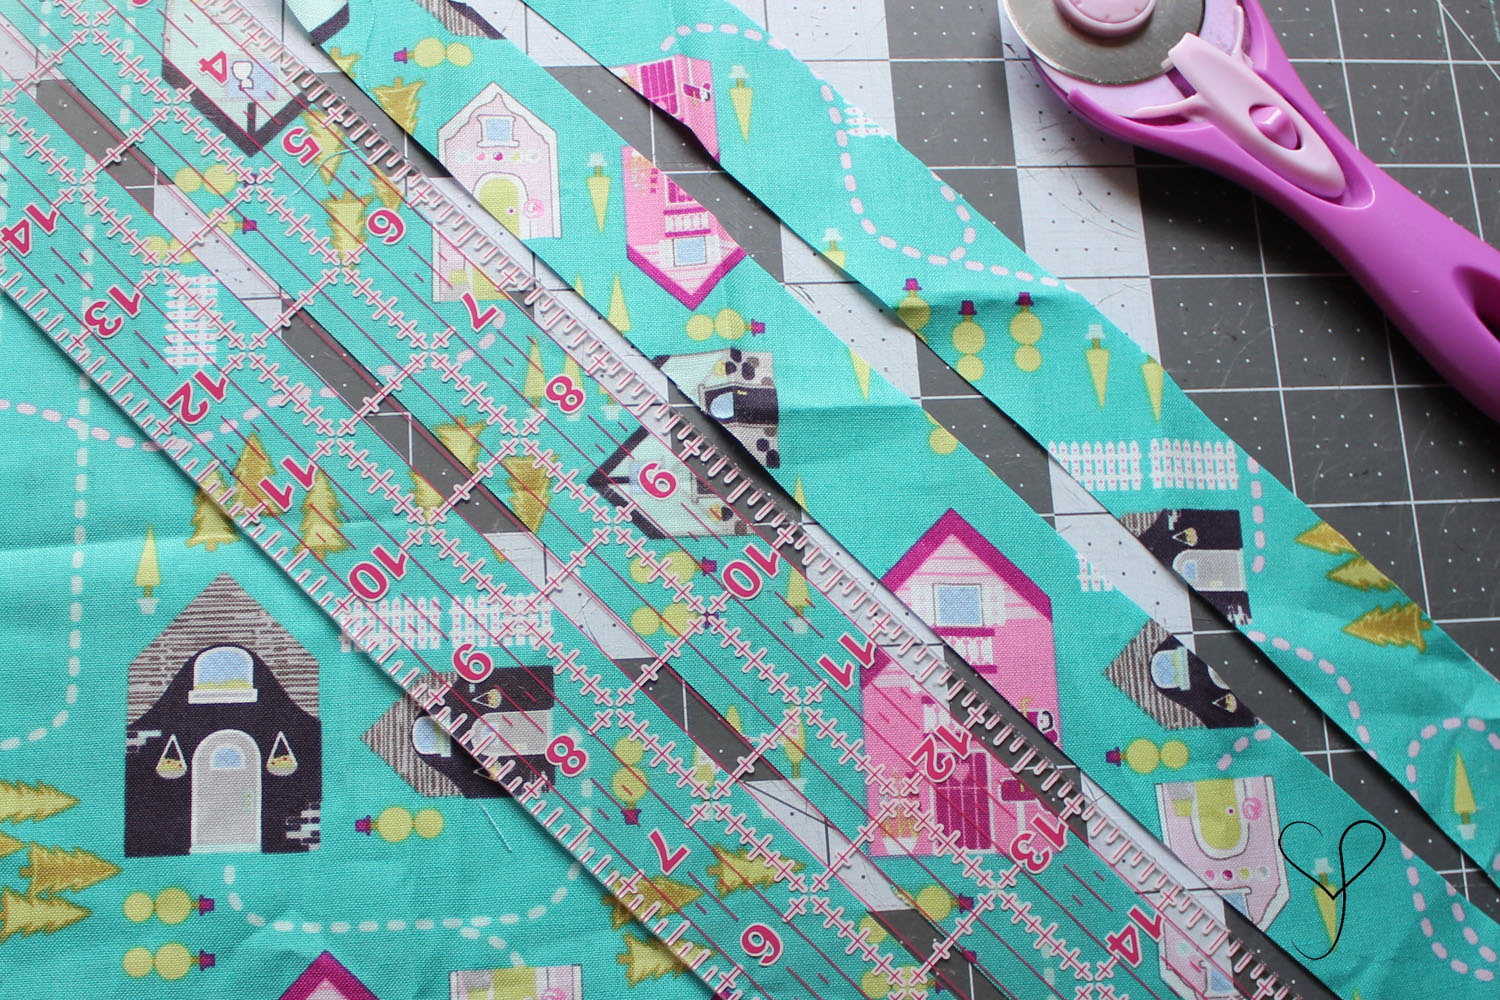
Start by cutting your scraps into 1 ¼” to 1 ½” bias strips. You’ll only need 4 or 5 strips depending on the size of your scraps.
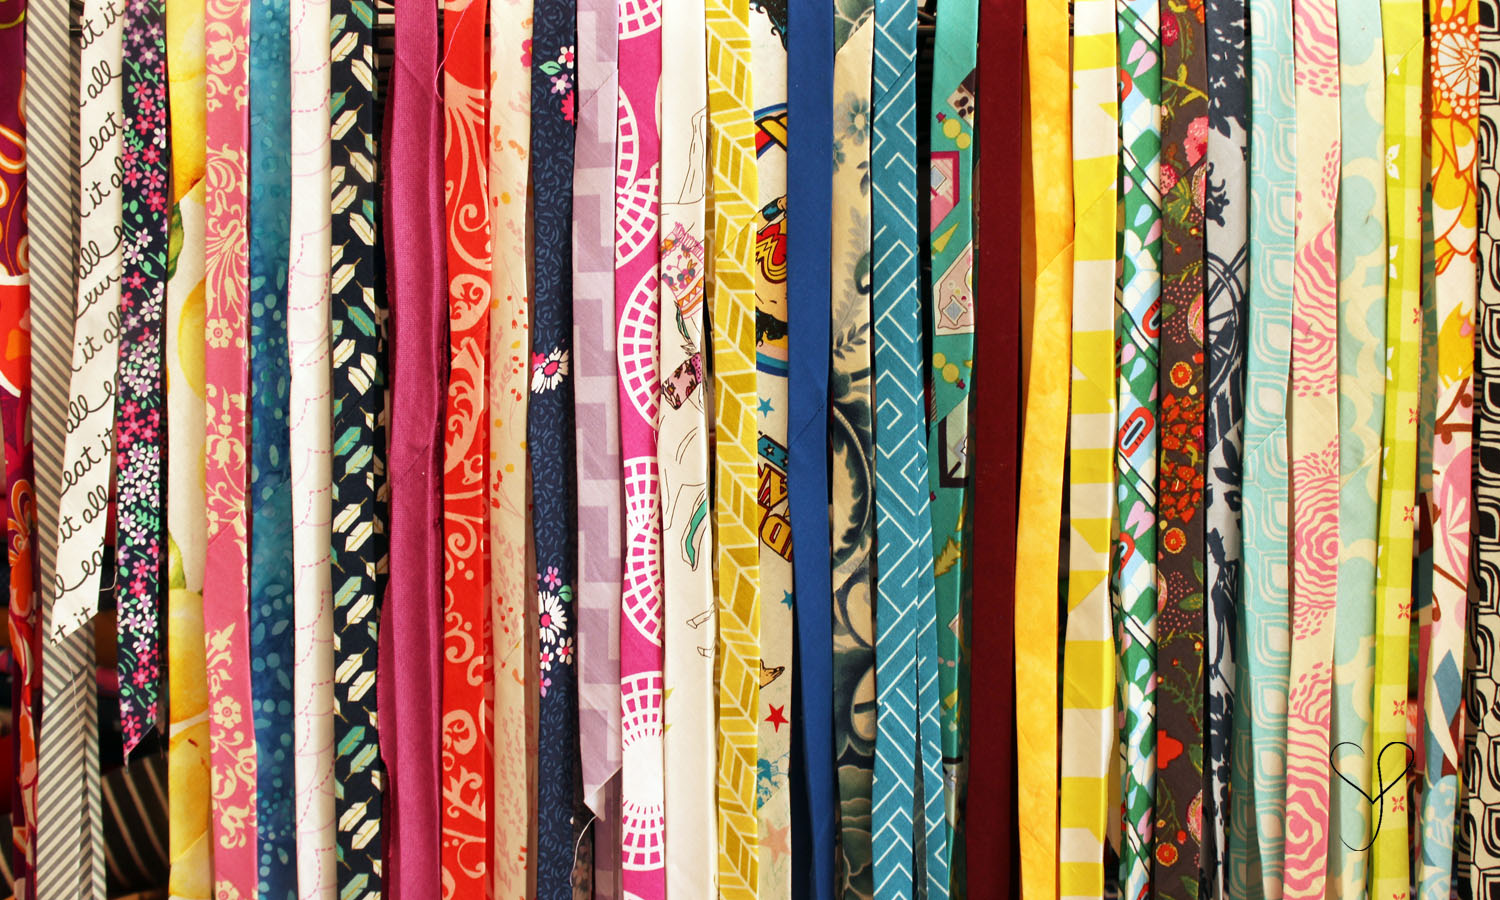
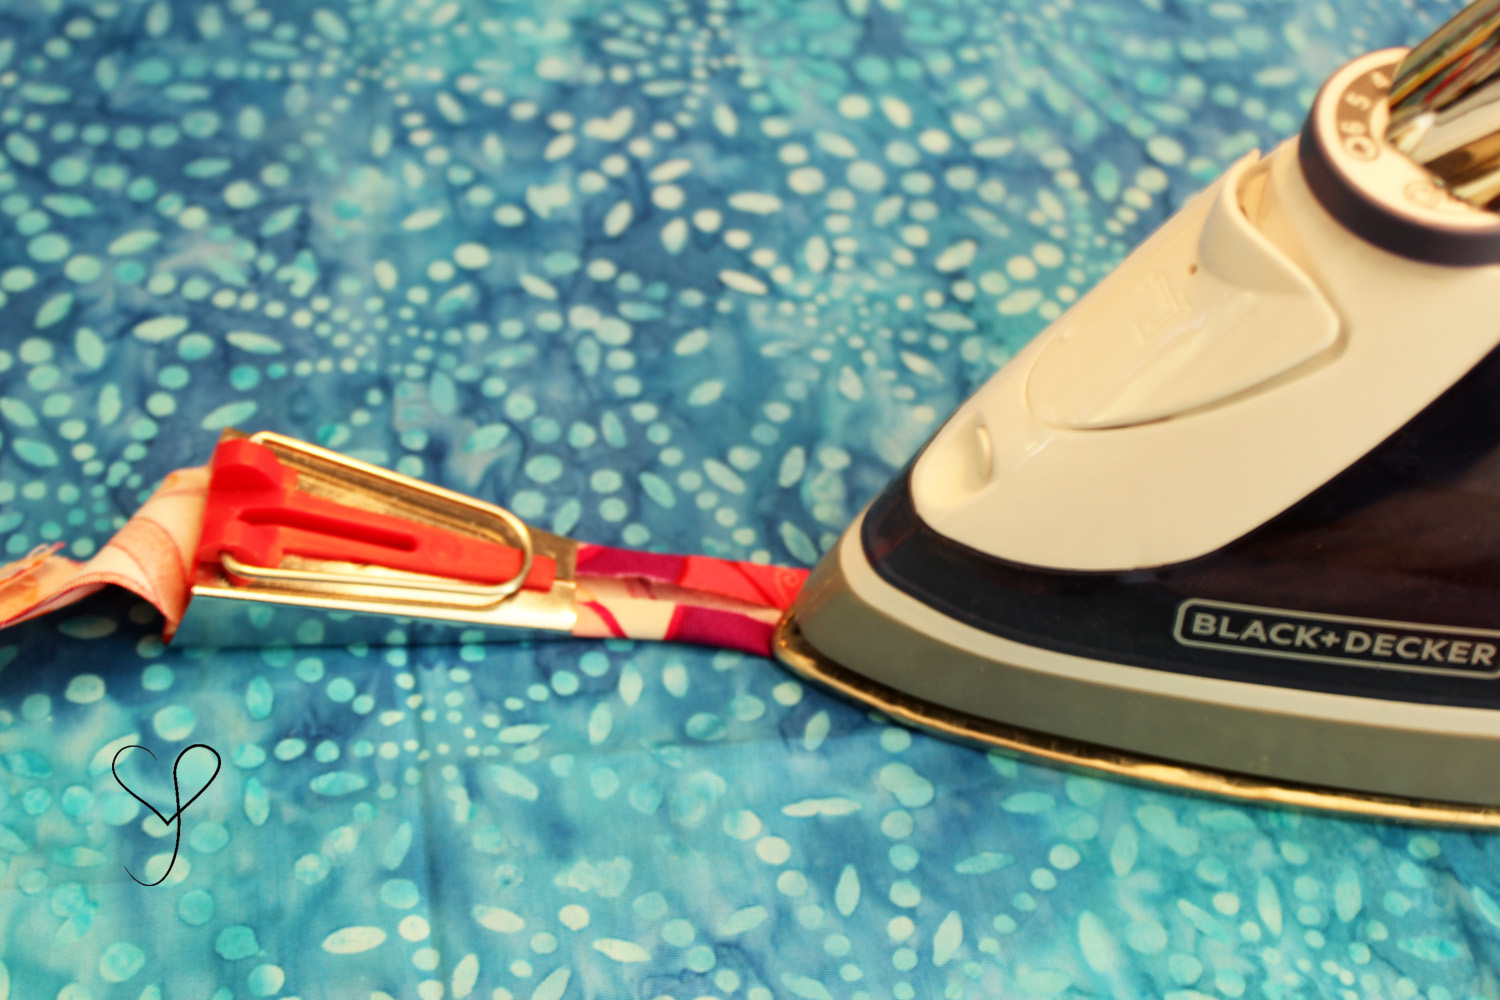
Once you have your pile of strips, stitch your matching strips end to end to make a continuous strip. Then get friendly with your iron and bias tape maker. You’ll want ½” to ¾” single fold bias tape, depending on the size of your spool. If you don't have a bias tape maker, you can fold your strips in half lengthwise, press, open and refold the strips lengthwise with the raw wedge meeting in the center fold line you already made. Press, and now you have bias tape. Either way, this is the phase where your fingers are close to the iron, so take care not to burn yourself. Once you finish one strip, set it aside and press the next one.
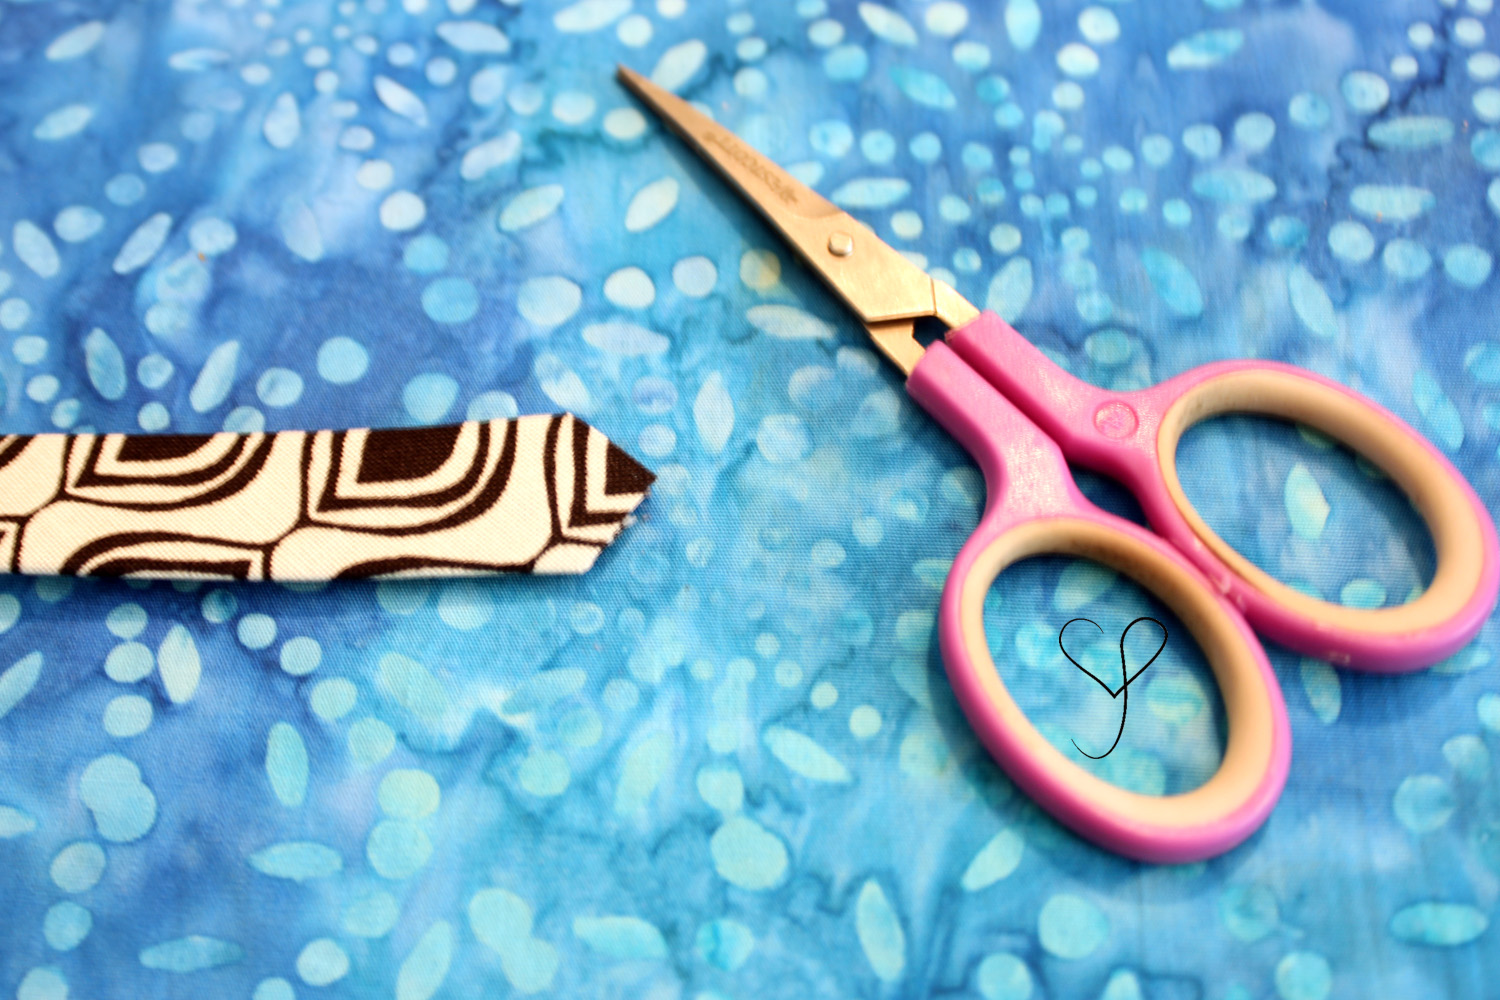
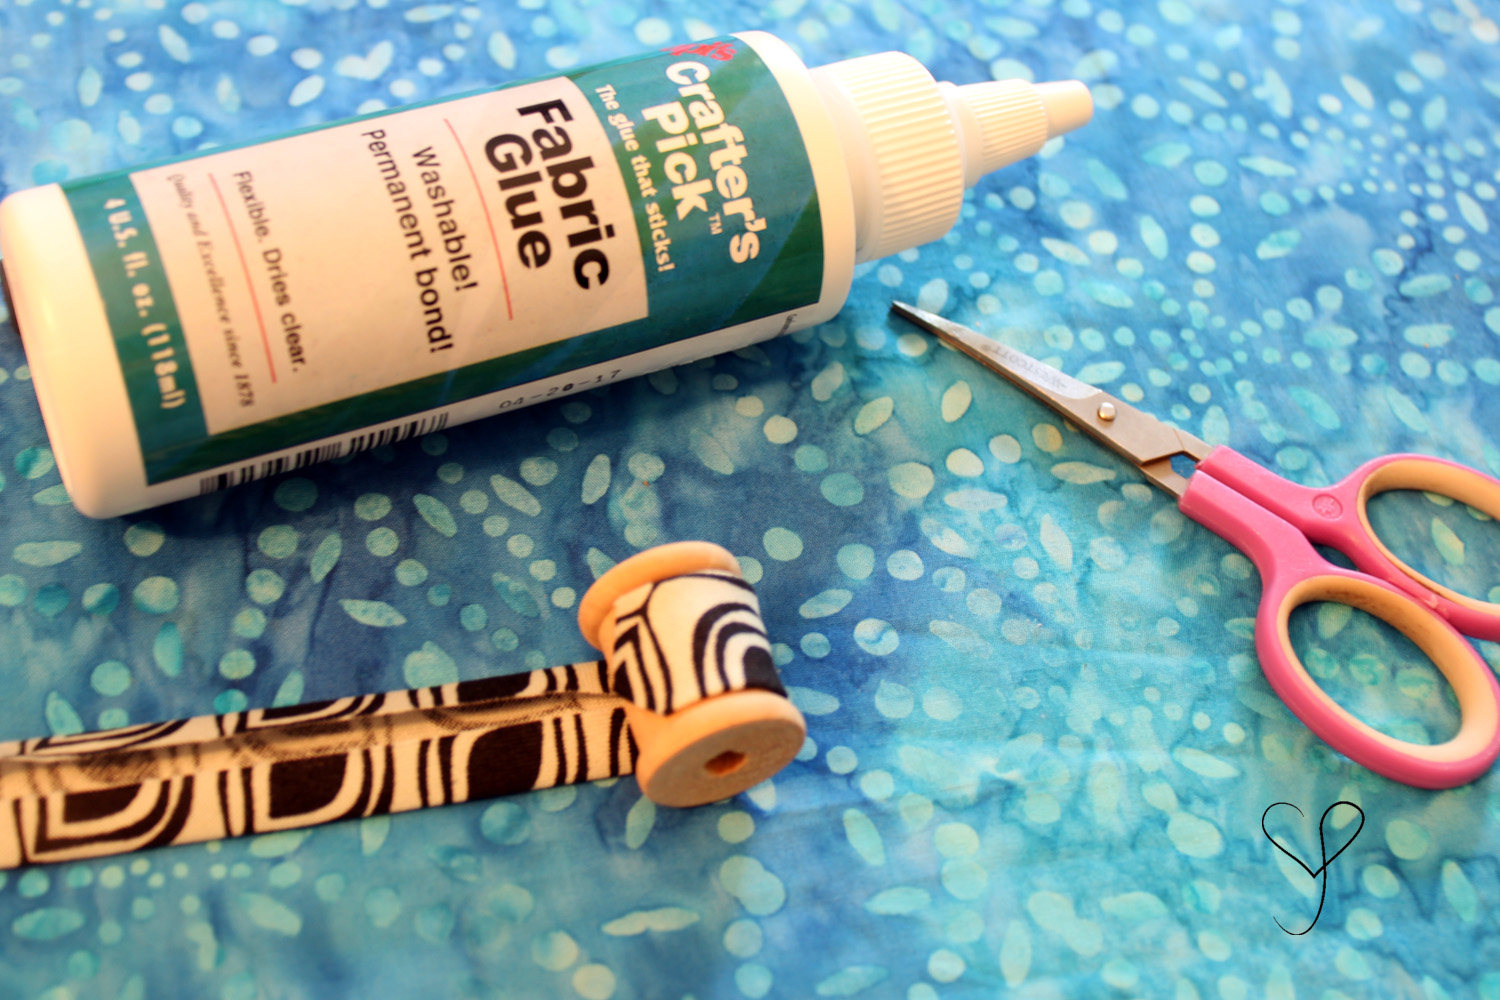
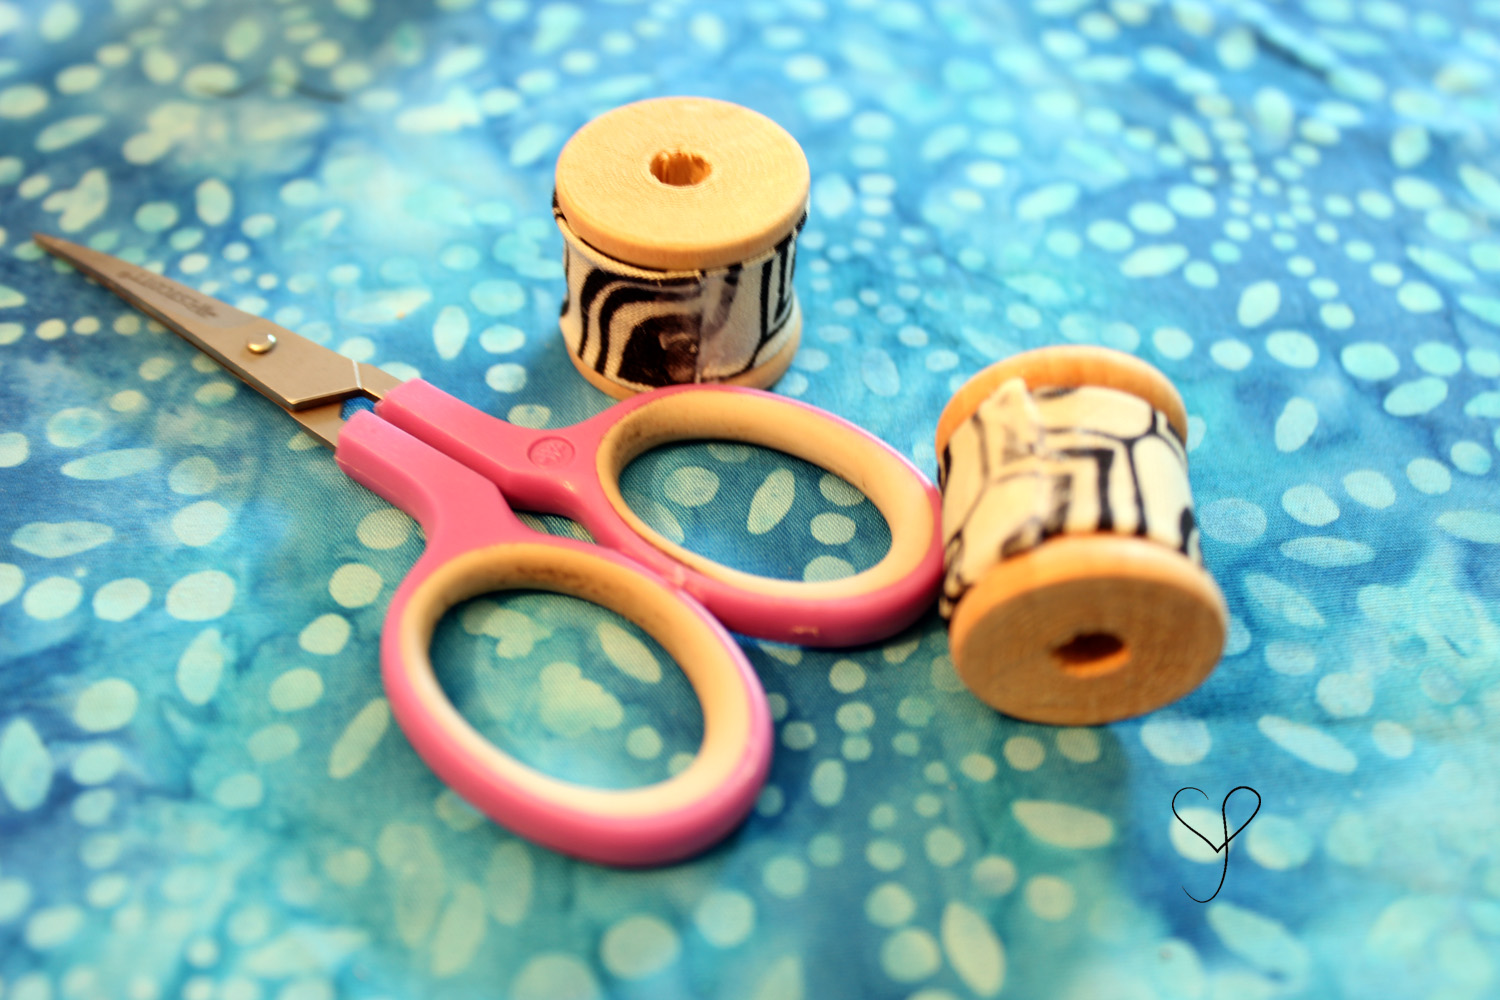
Now that you have all those beautiful bias strips laid out, it’s time to get your spools, scissors, and glue. Cut one end into a point (so it won’t poke out and show). Glue that end to the spool. Then wrap your bias tape around to cover the diameter of the spool. Cut your bias tape, and glue the raw edge down, sealing it to the spool and fabric. Repeat this for your remaining spools. Keep a towel or rag nearby because the glue will get on your fingers, but wipes off fairly easily.
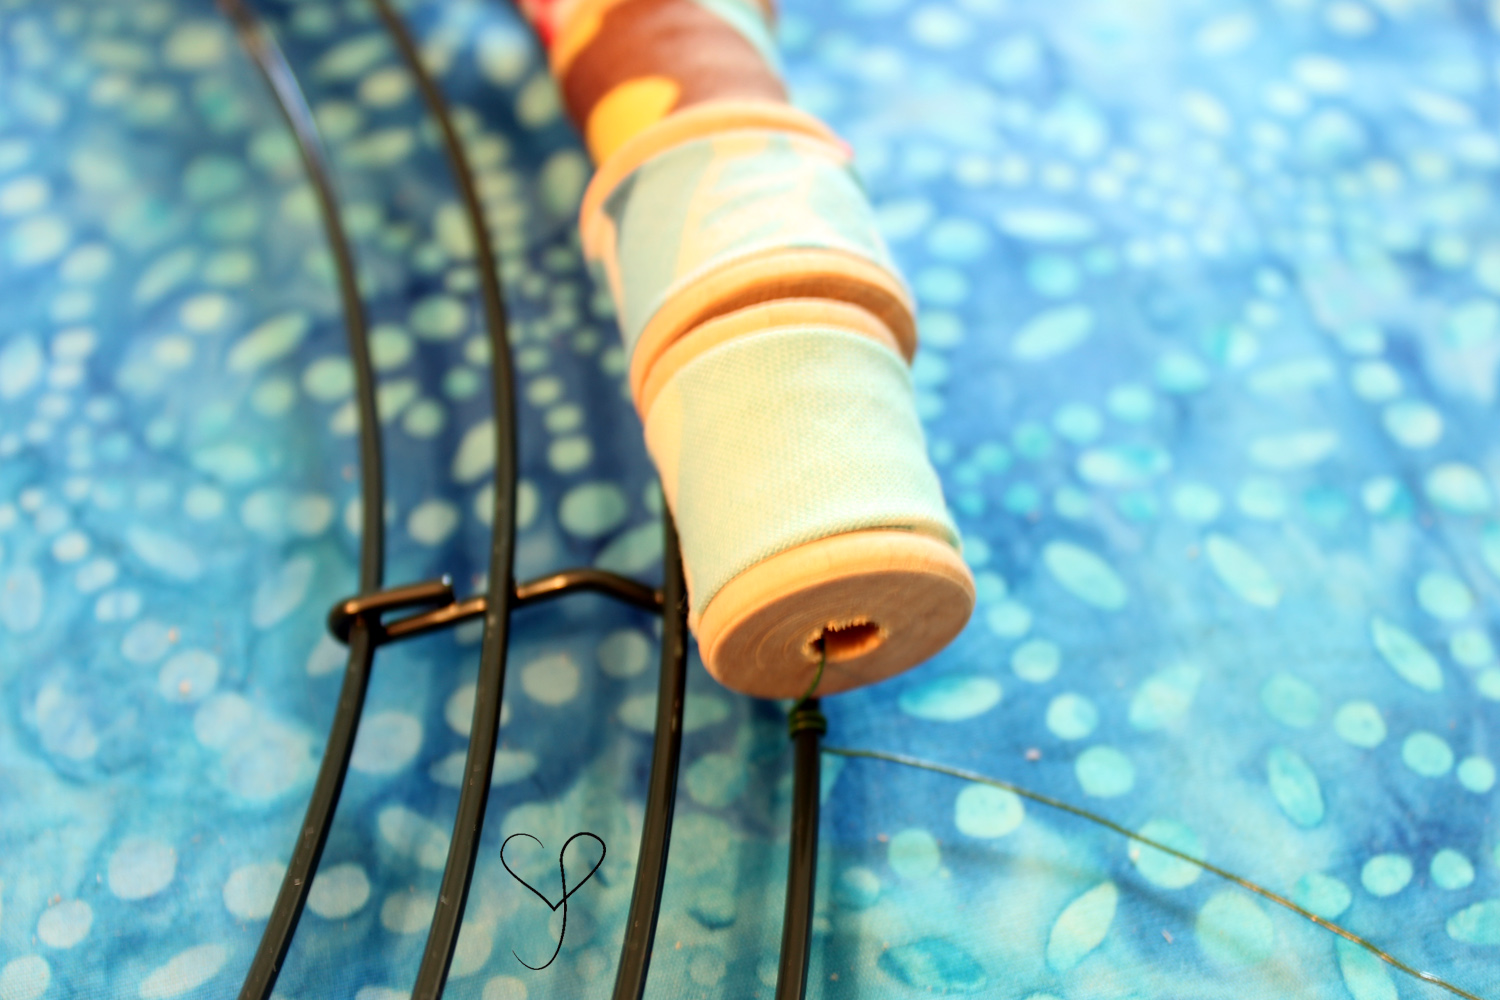
Once all your spools are rolled, glued, and dry, you can start attaching them to your wire wreath. I found the easiest way was to tie one end of my wire off to the wreath, then string spools in one long strand.
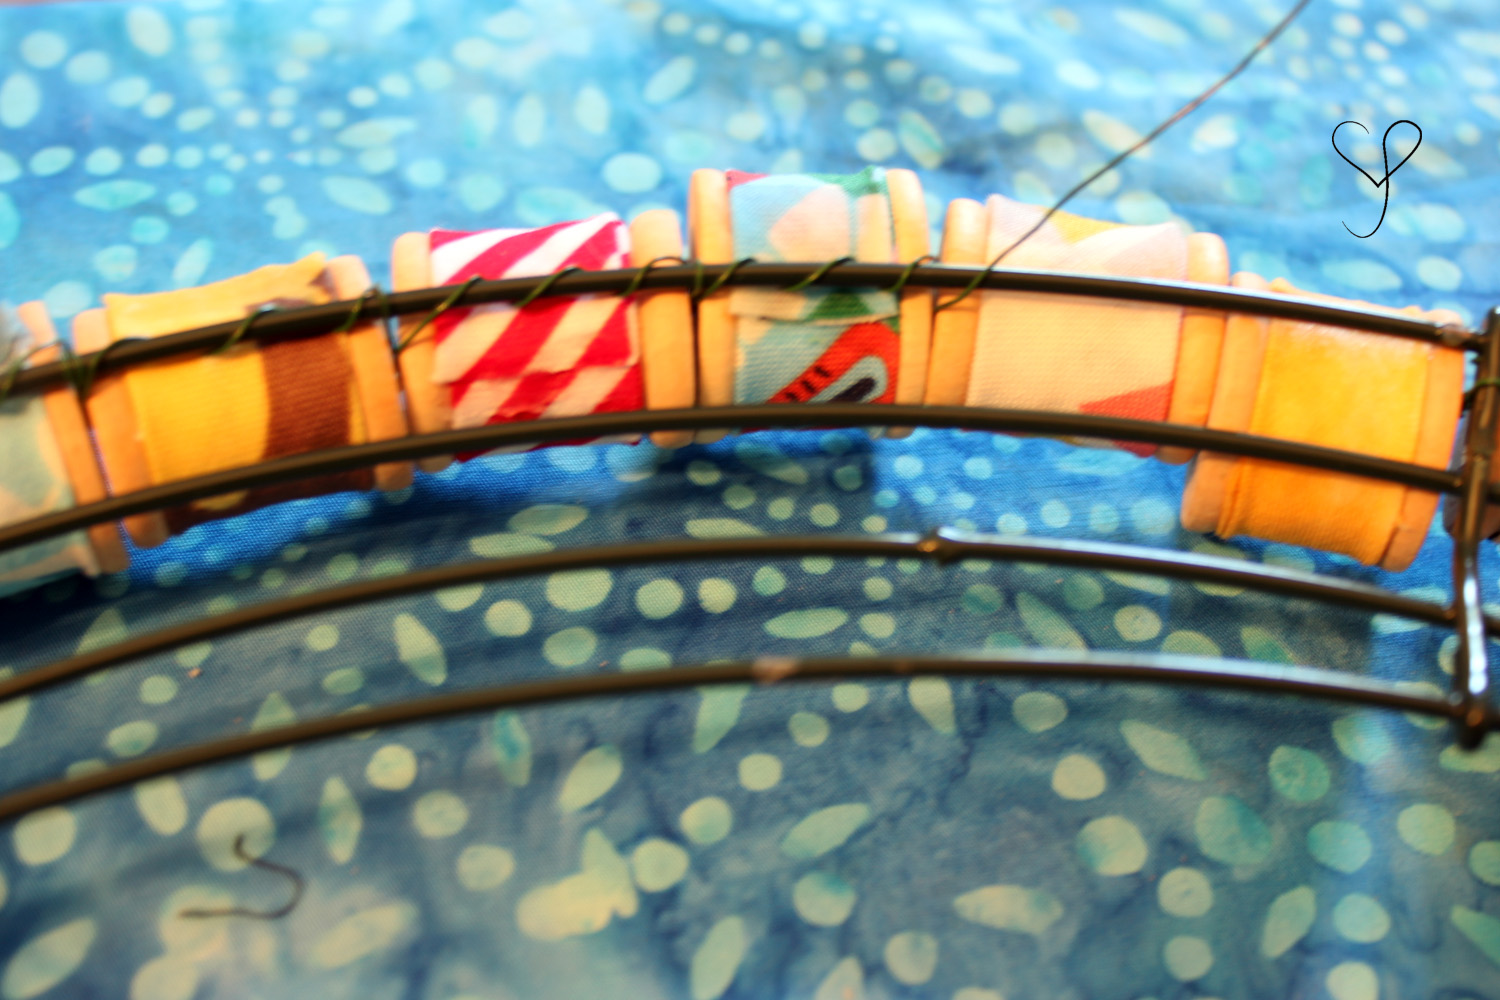
Once I had my spools threaded, I bound my spool strand to the wire wreath, then spiraled my floral wire back on the underside of the wreath, catching the threading wire between the spools. Make sure that the glued portion of your spools point toward the back so they are not visible.
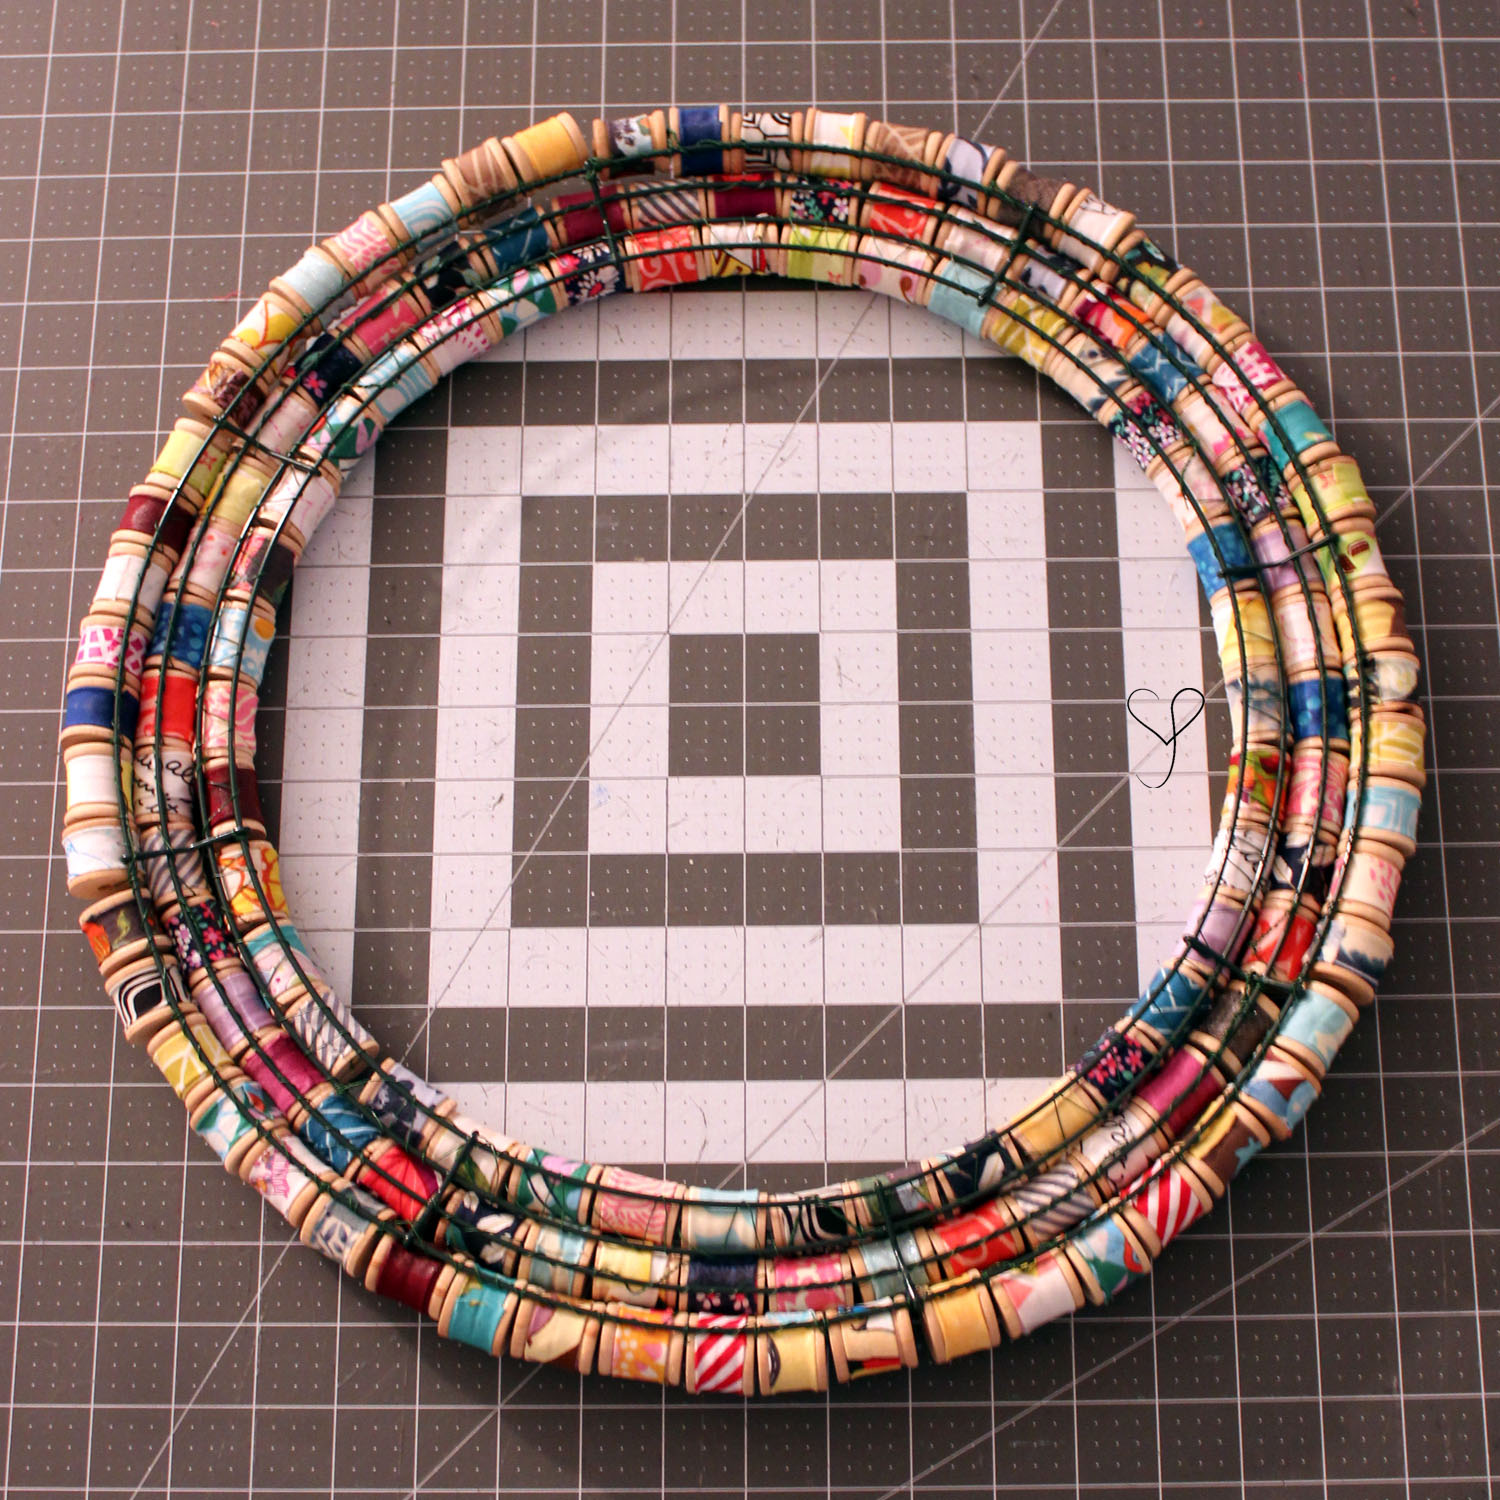
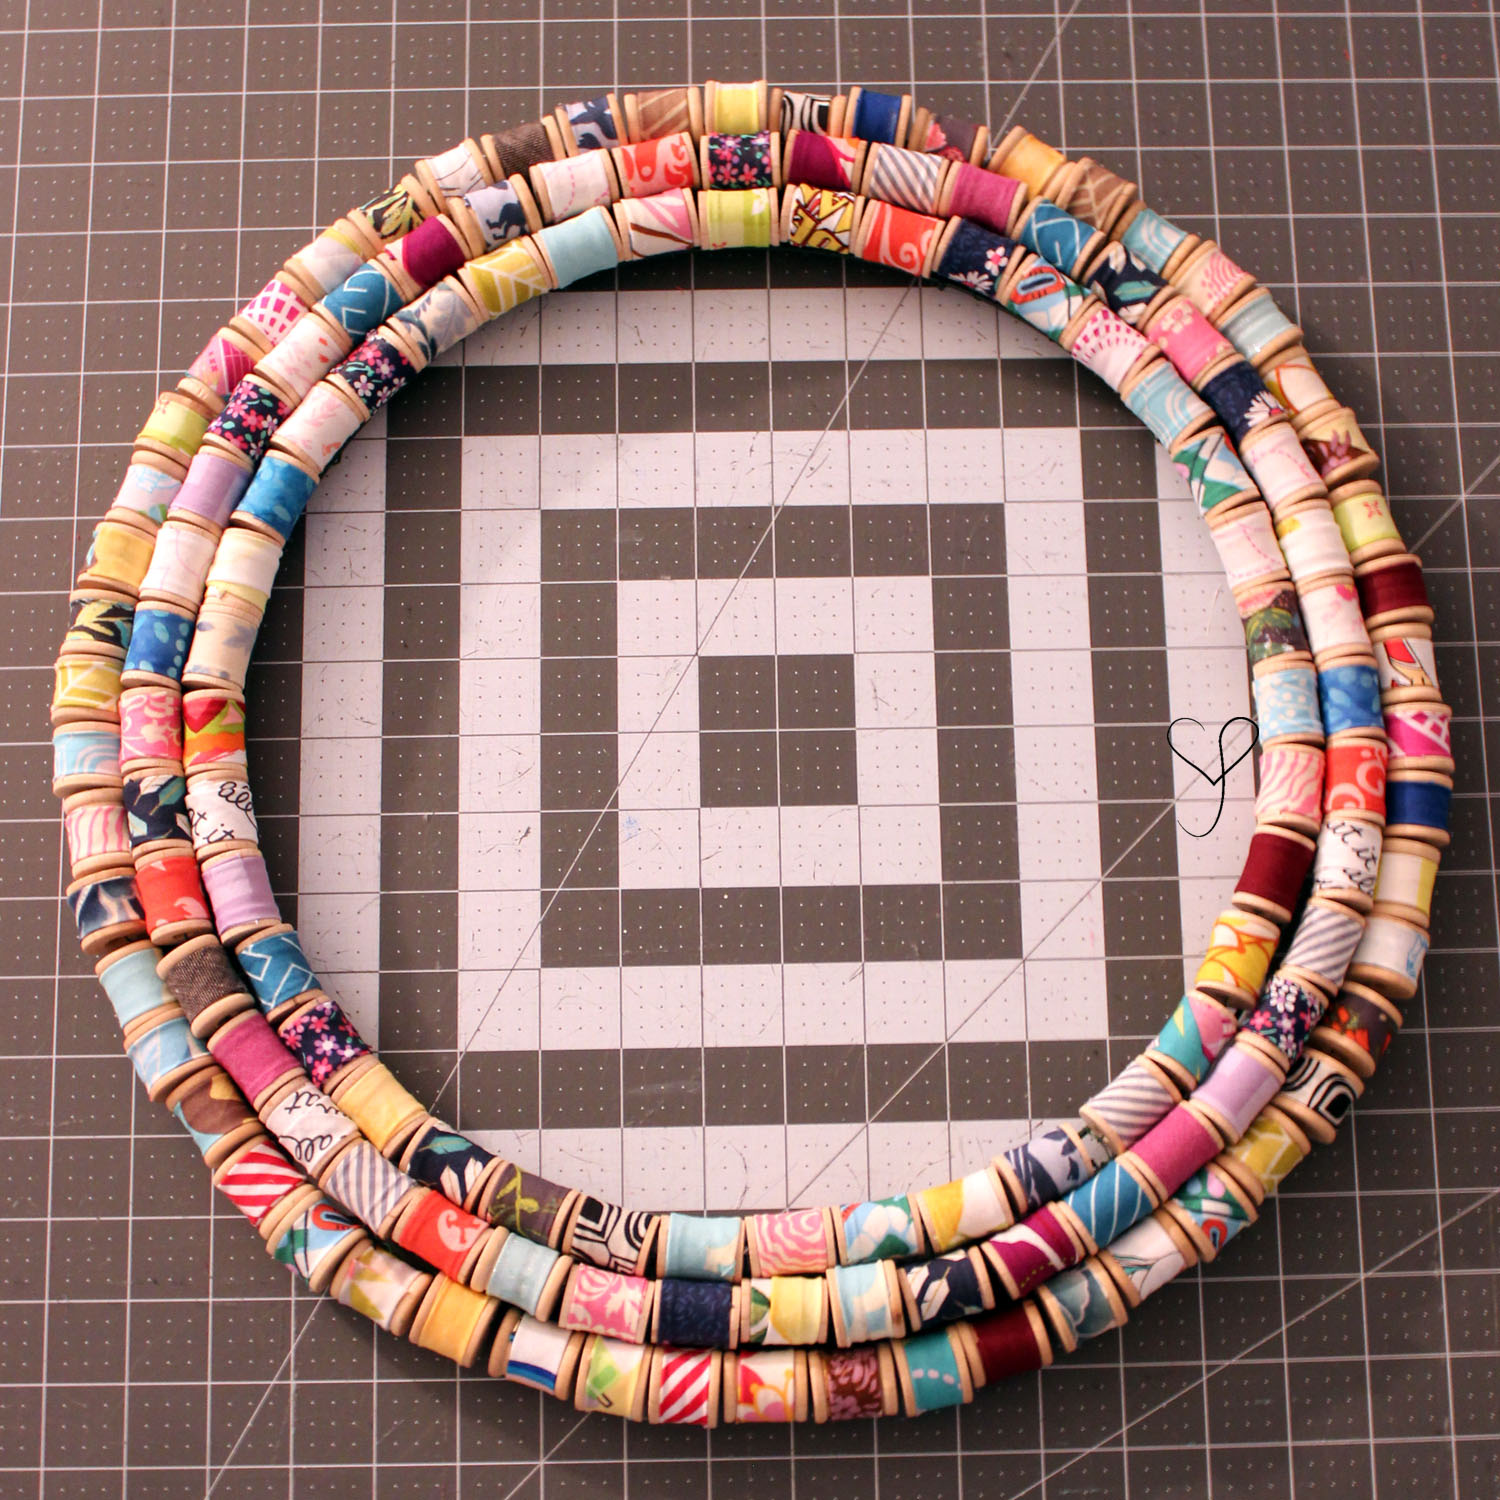
Keep doing this until you have the outermost ring of your wire wreath covered in spools. Then do the same for the inner portions of the wreath. Before you know it, you’ll have a gorgeous vintage inspired spool wreath.
I used a cute ruler printed ribbon trim to complete my wreath and make a loopy bow. And voila, my wreath is ready to hang!
I know what you’re thinking: “Dang! That sounds like a lot of work!!” And I’m not going to lie, it kinda is. But, it’s mostly mindless work. You can wrap and glue spools as you watch tv with your family. And you can thread spools and bind them to the wreath while you're waiting for the kids to finish their homework. I promise you, you won’t regret the time investment when you have a beautiful wreath hanging on your front door or in your sewing space. So, get going! I can’t wait to see your versions!!!



Today we continue our feature on Halloween with this super cute Candy Corn tutorial by Laura. Not only is this a cute holiday craft its also a great scrap buster!