Scrap Swap 2017: How to make a Reverse Applique Pillow
/Our Scrap Swap team has come up with a bunch of fun and creative projects to use up your scraps, and today Rachel is showing us how to make a reverse appliqué pillow cover. This project is perfect for using up various scraps, or even to commemorate the fabrics from special projects! Rachel used her reverse appliqué to make a pillow, but it could also be used for a shirt or bag or other project. Follow along below to make a reverse appliqué of your own!
Hi, Rachel here today with a fun and easy scrap busting tutorial! I’m not a quilter, but I am a longtime fan of applique (actually, before I knew how to machine sew, I hand-stitched appliques with embroidery thread to little shirts for Miss P). This year’s scrap swap had me wanting to do something like that, so I settled on reverse applique for a change of pace. You can use the basic stripwork tutorial here for a regular applique, too - so many options!
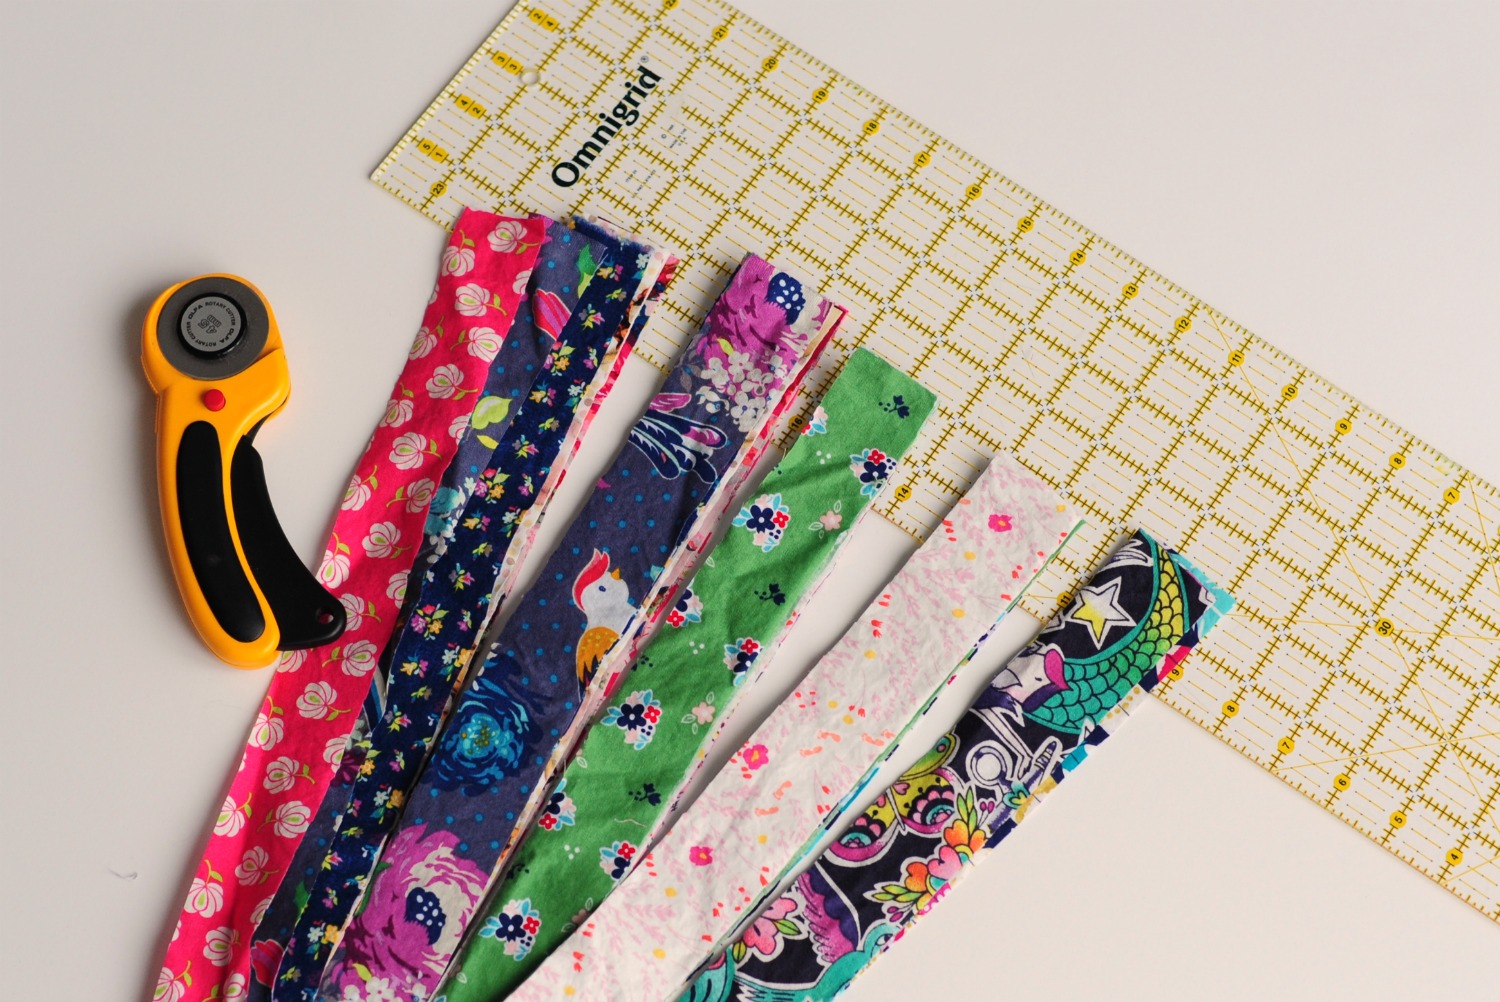
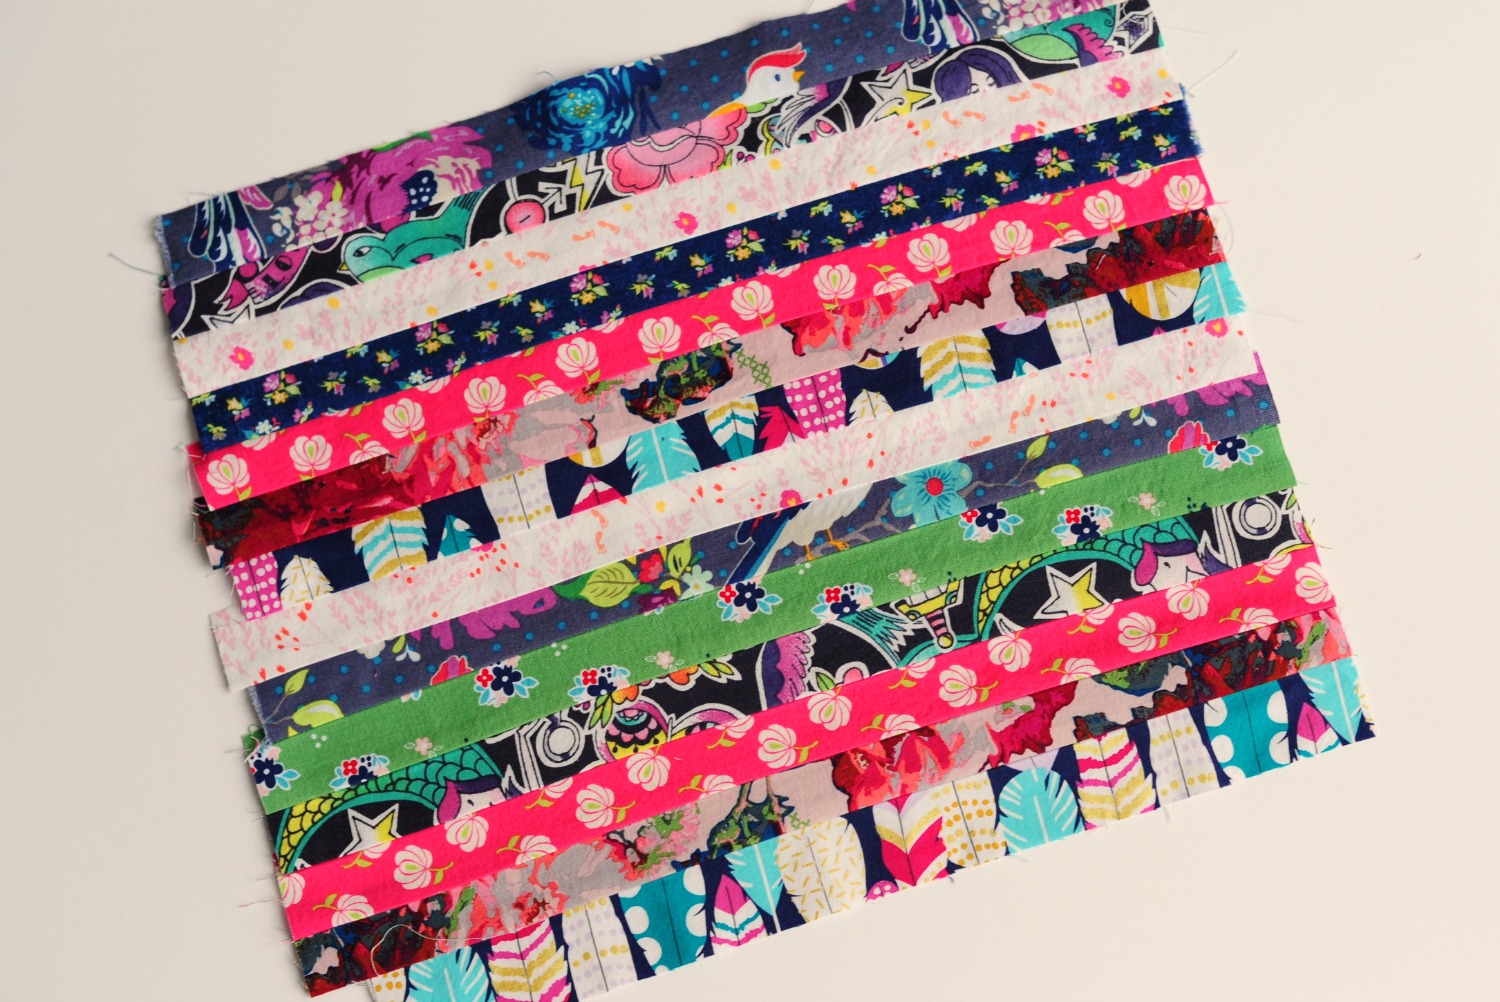
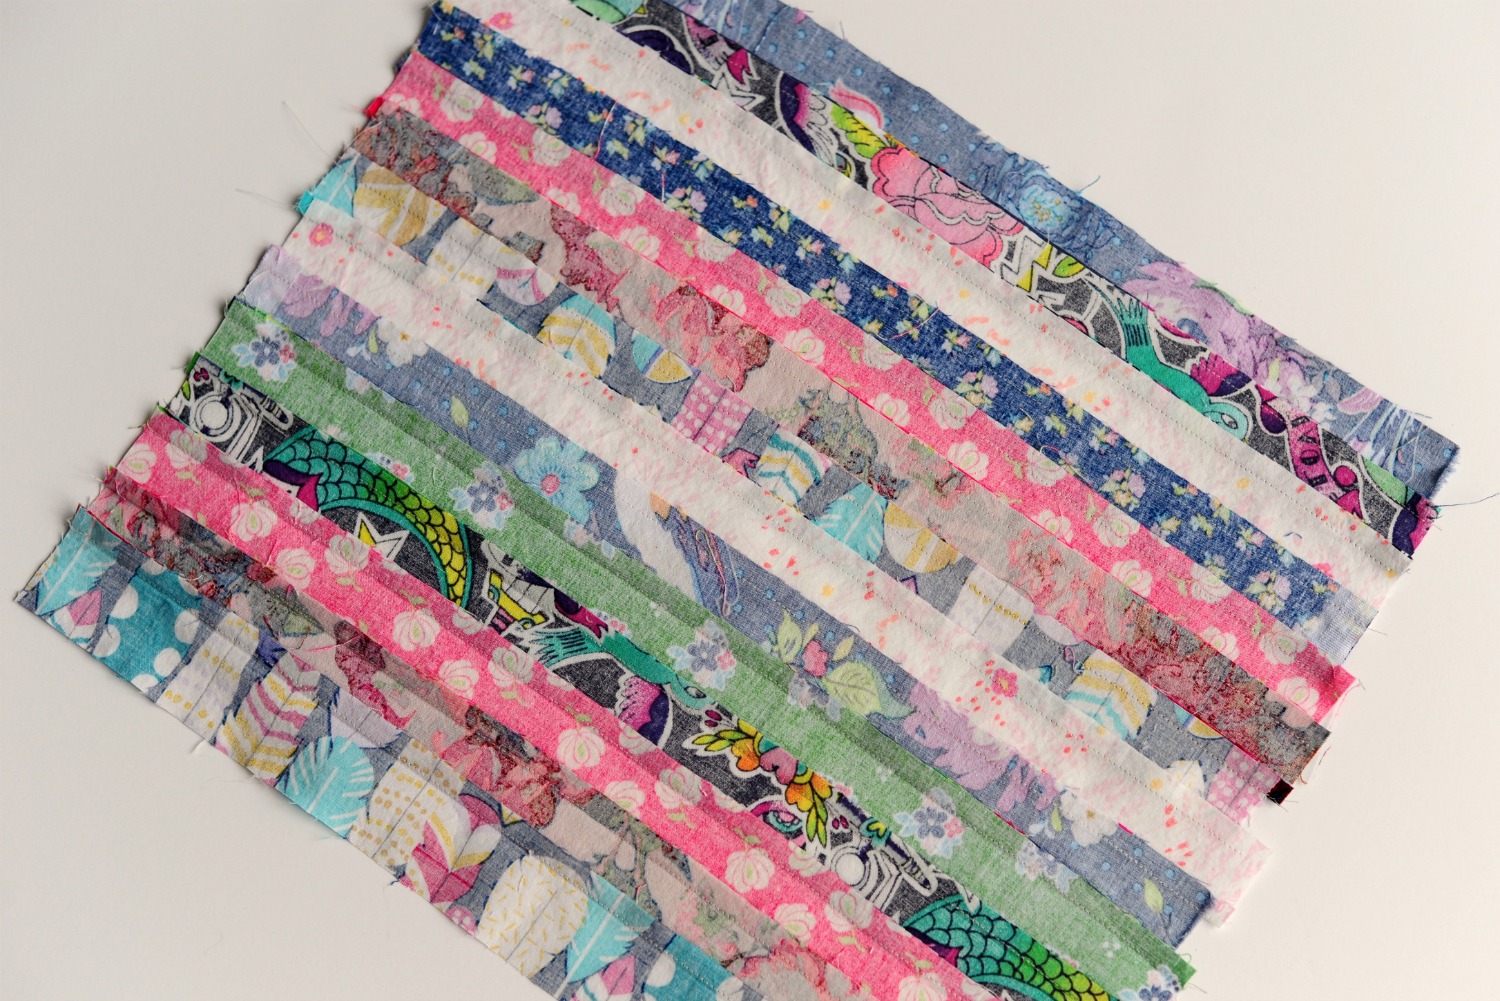
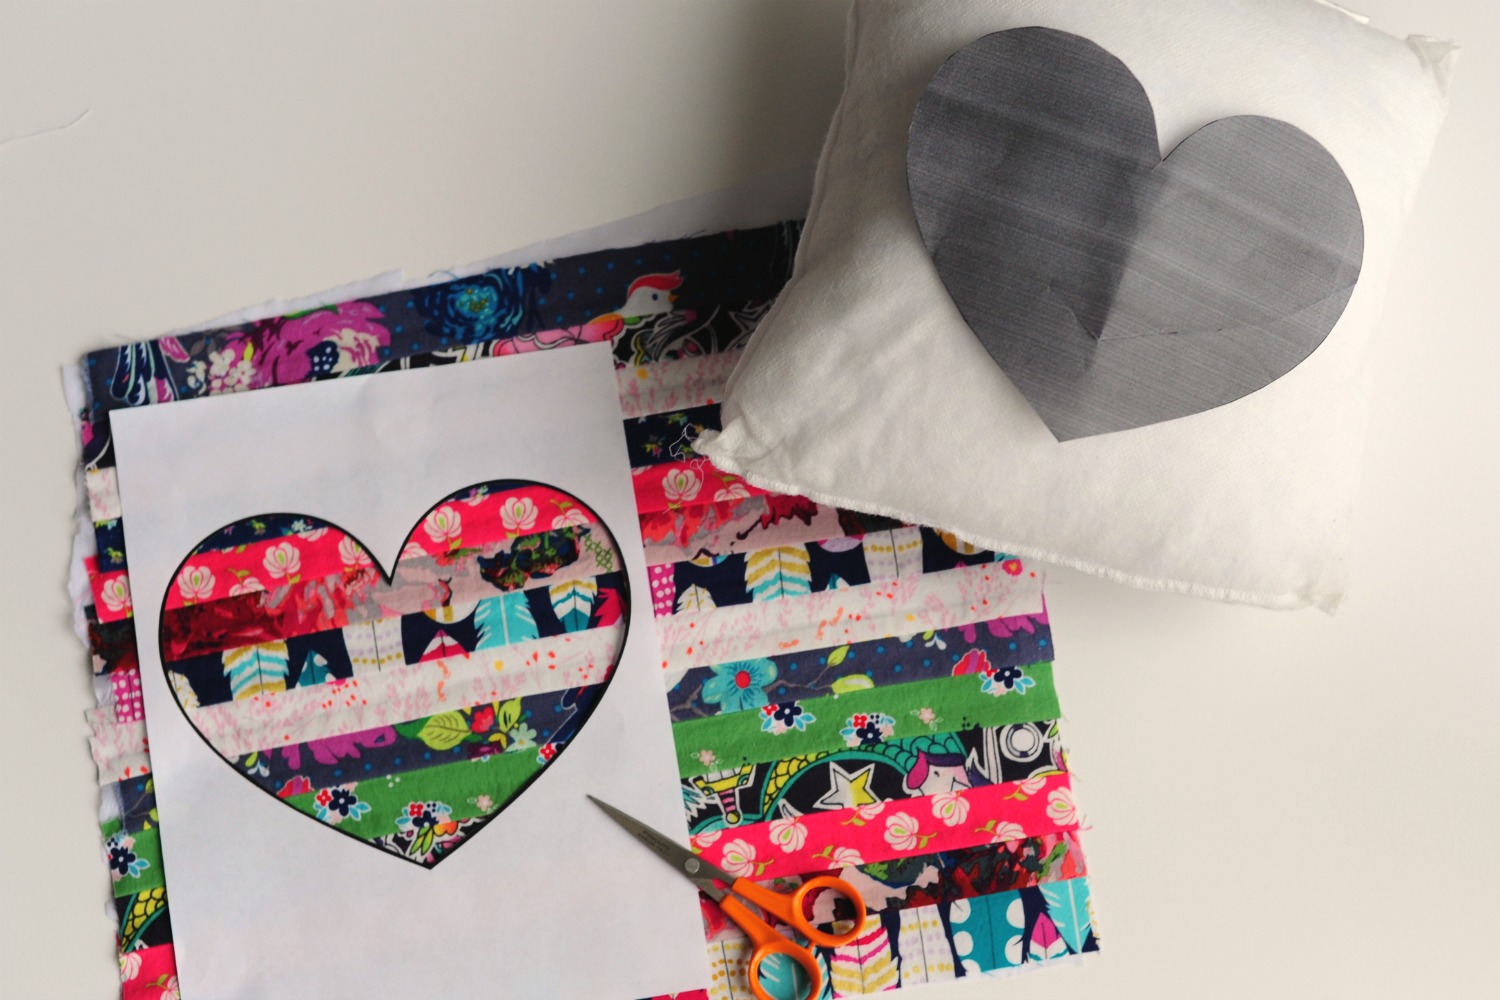
I started by cutting strips from my fabrics that were 1.5” long by about 16” wide. I wanted my finished strips to be 1” long (tall) when they were sewn together, so I added ¼” seam allowance to both long edges. I sewed about 10 strips together - you can decide how many strips to use based on how large you want your finished piece to be. Sew all of the cut strips together along the long edges and press the seam allowances open or all in the same direction. Iron on a lightweight stabilizer/interfacing to the wrong side of your sewn fabric piece to keep those seam allowances pressed neatly. (If you want to use this as a regular applique rather than a reverse applique, iron on a fusible adhesive like Wonder Under or Heat n Bond Lite instead of interfacing. Then you can just iron your applique onto whatever item you’d like to use and topstitch to secure!)
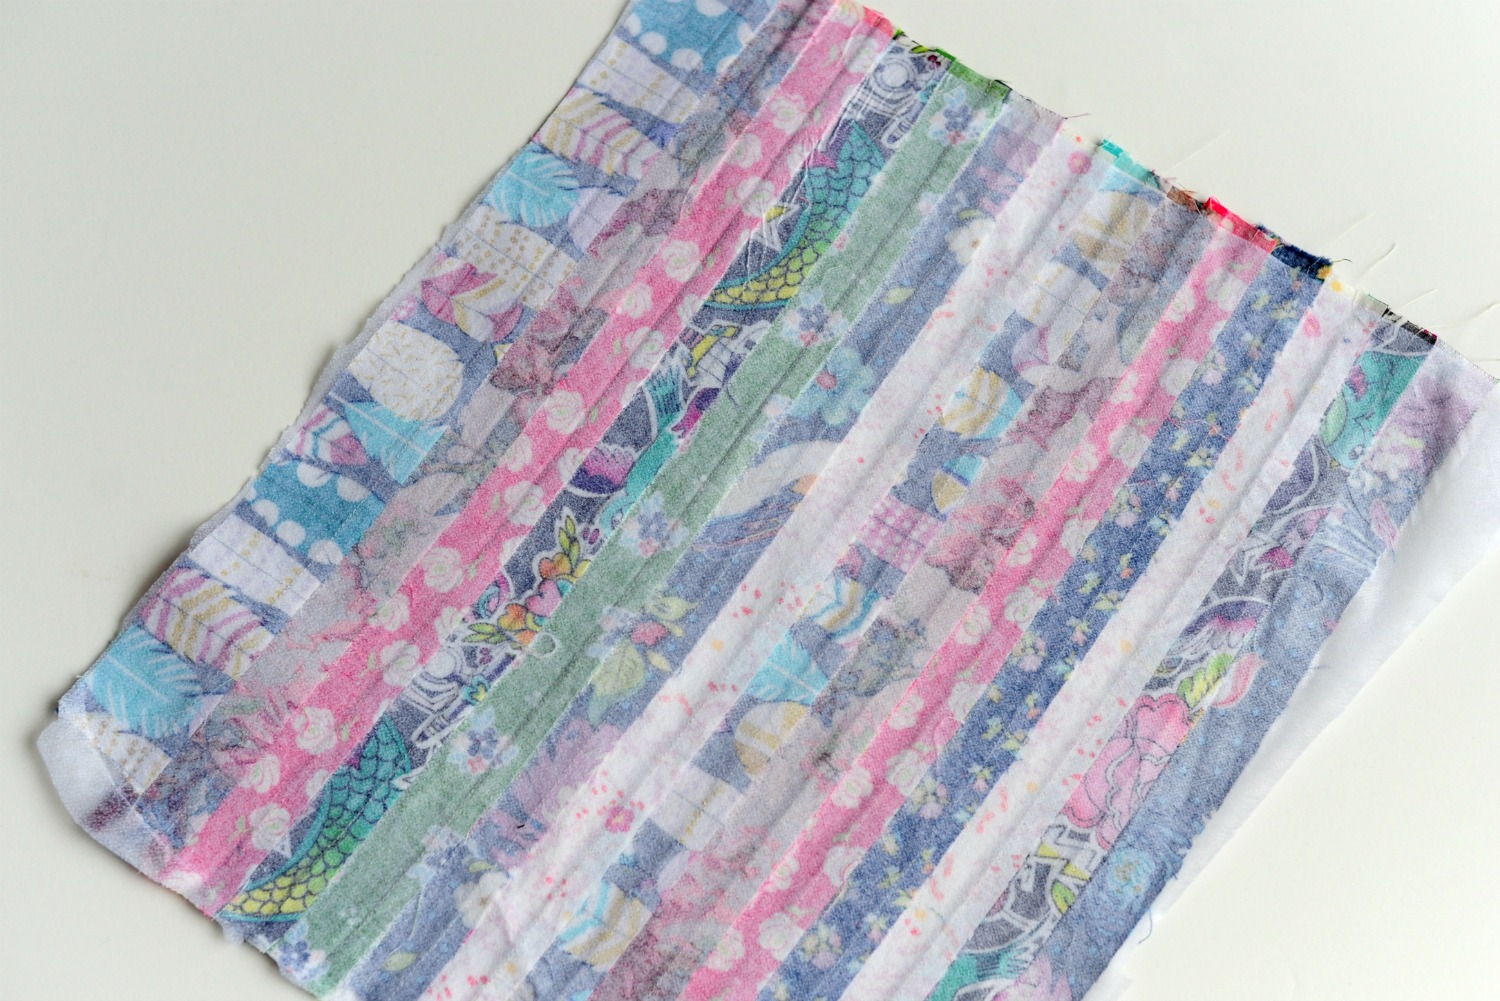
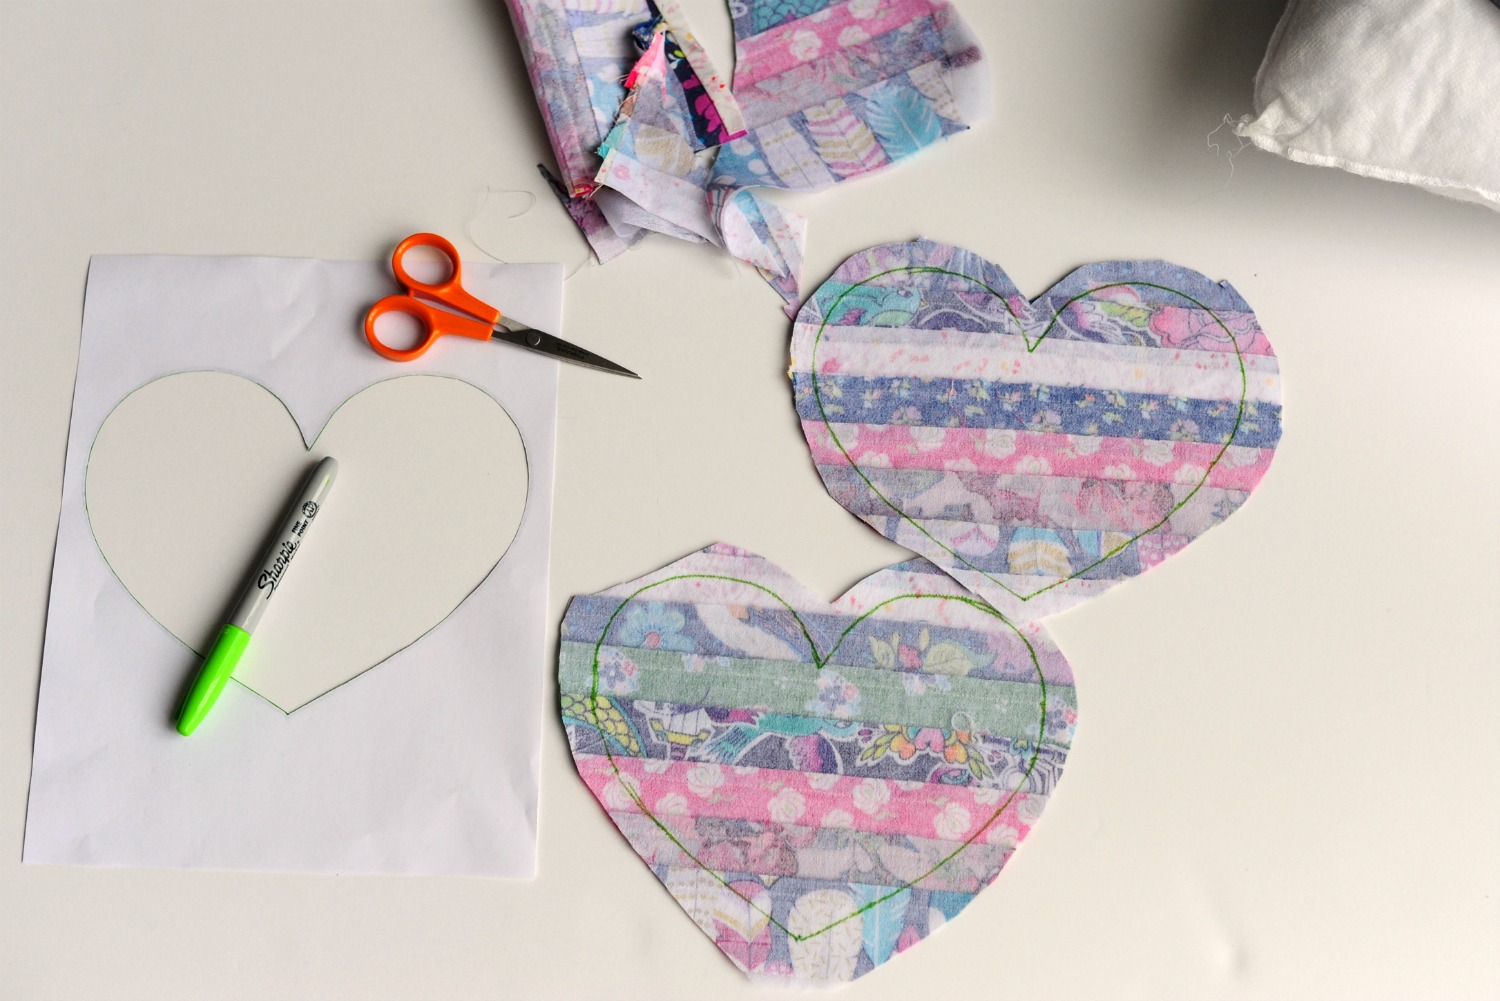
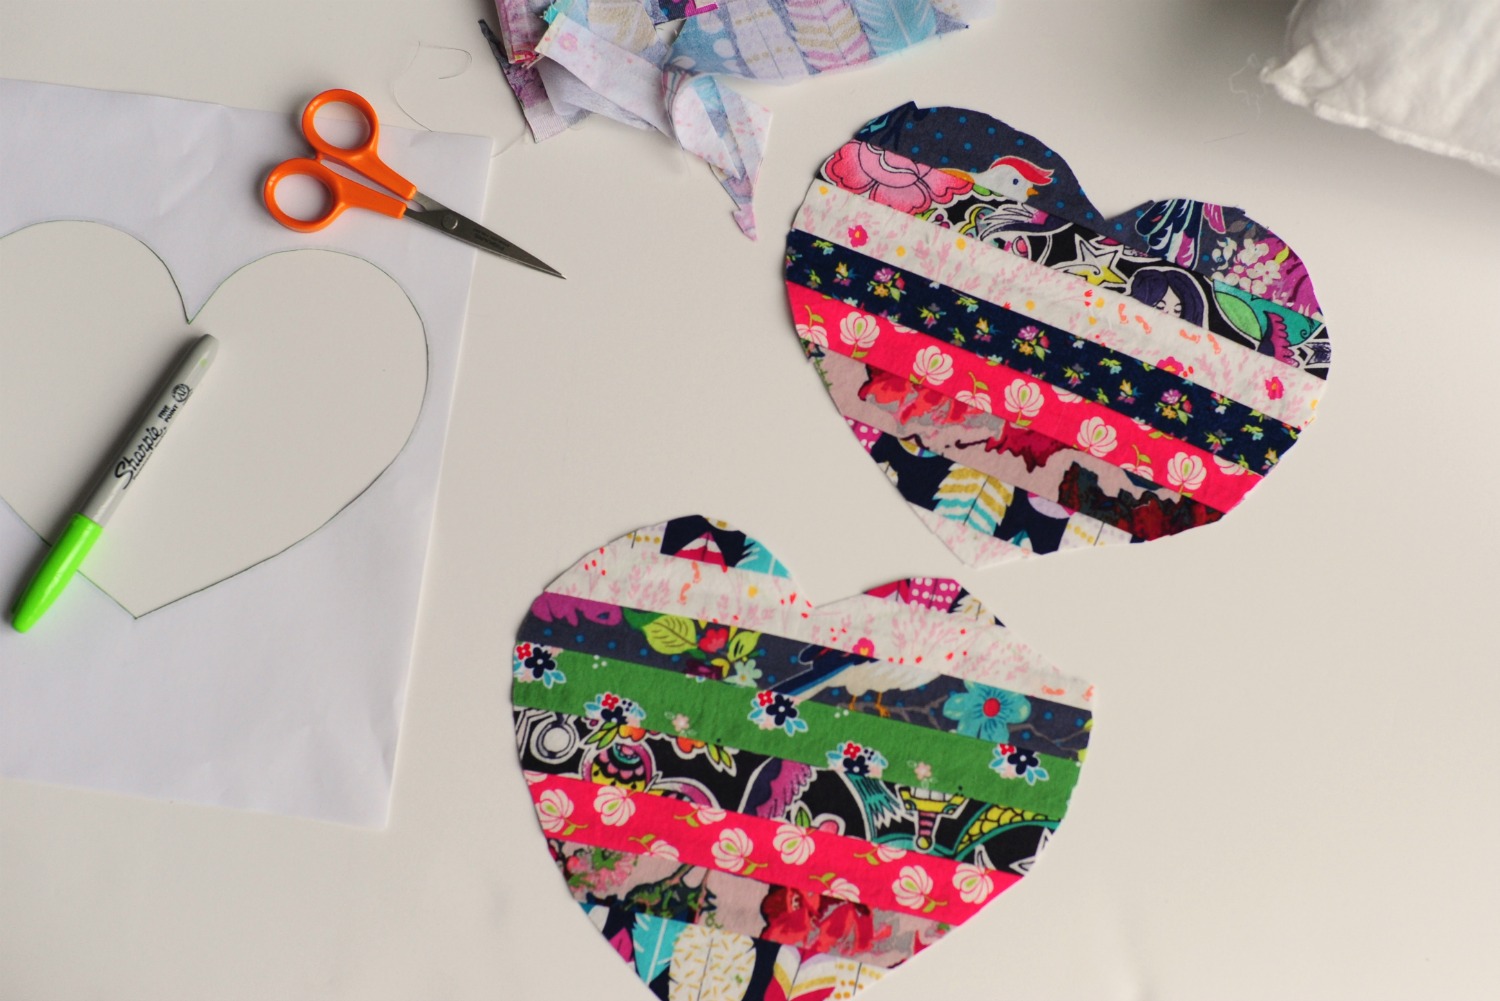
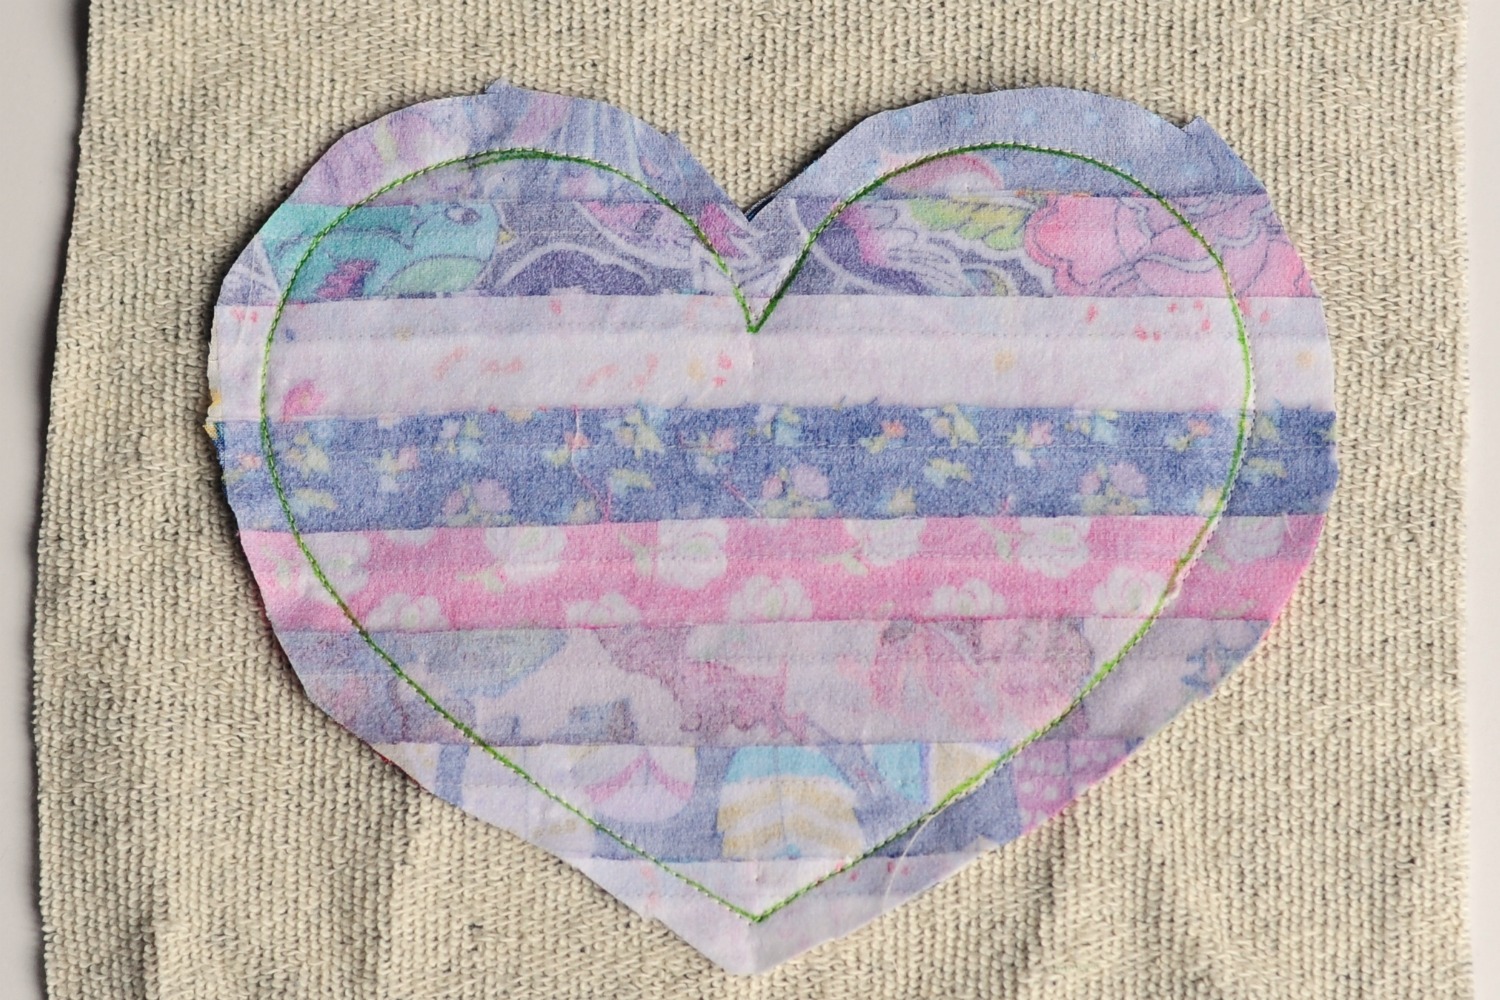
I used my Silhouette Cameo to print a large heart shape to use as a template, but you can freehand your shape if you’d prefer. I traced the shape onto the back (interfaced) side of my pieced fabrics. Cut out around the traced shape, leaving about a one inch border outside of the traced line. (This is what it looks like from the back, and from the front.)
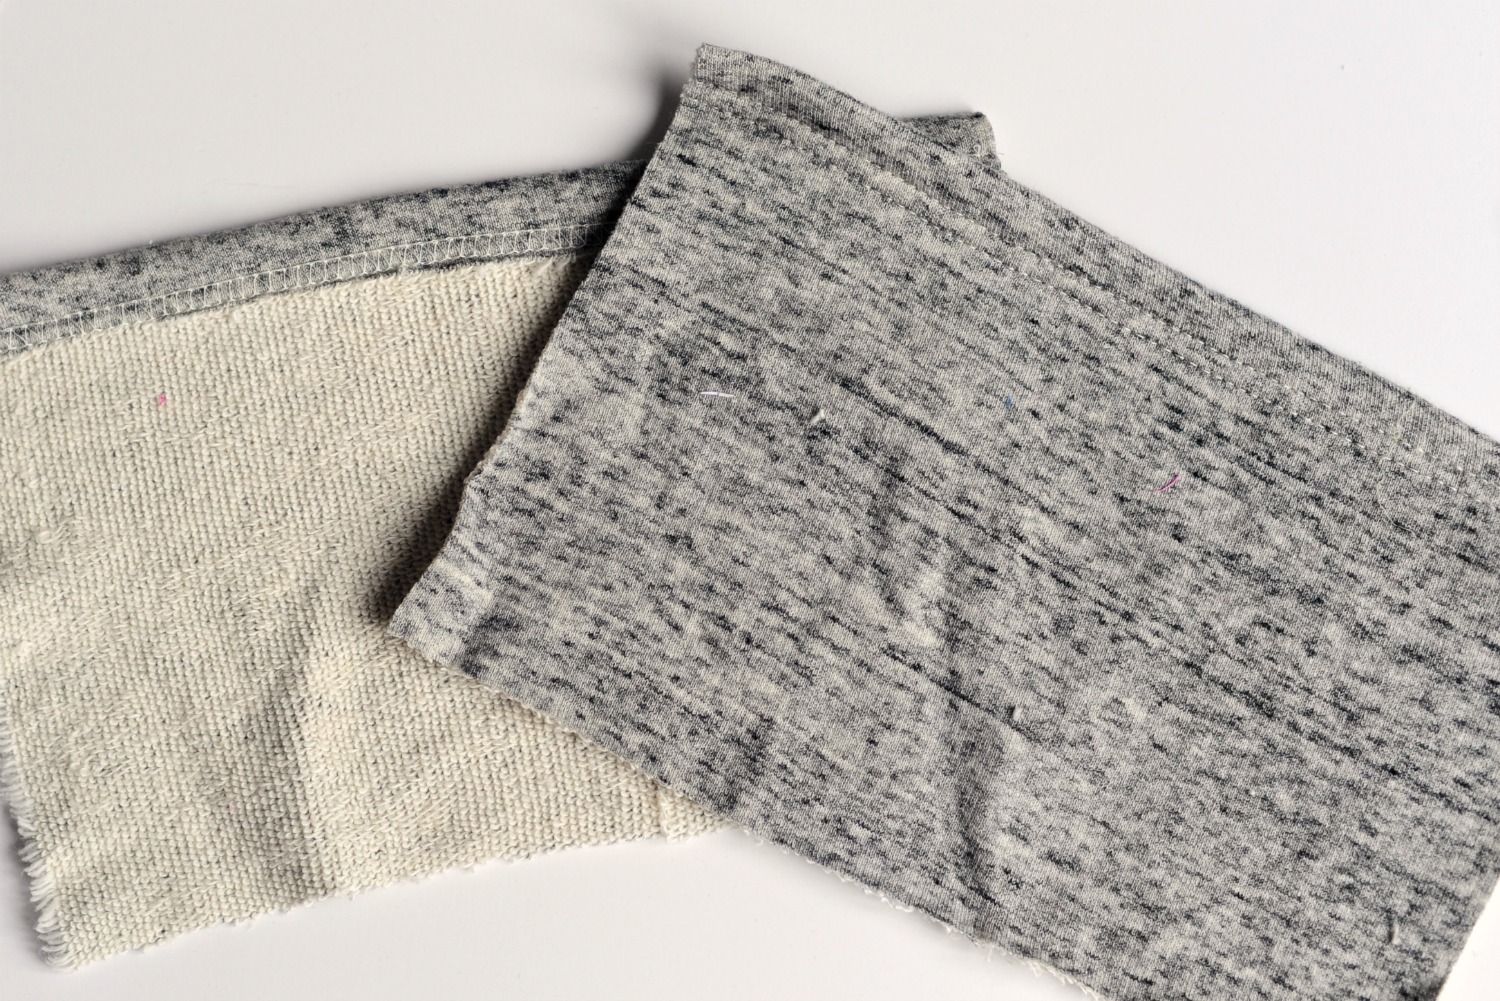
For my pillow cover I decided to do a quick and easy envelope style, using scrap french terry in keeping with the scrap busting theme of the project. My pillow form was a 10” square, so I cut the front piece to be the same size. You can cut it a little larger (about 11x11”) if you don’t want the cover to be so snug. I also cut two pieces to make the back of my pillowcase, and cut those at 10” by 8” each.
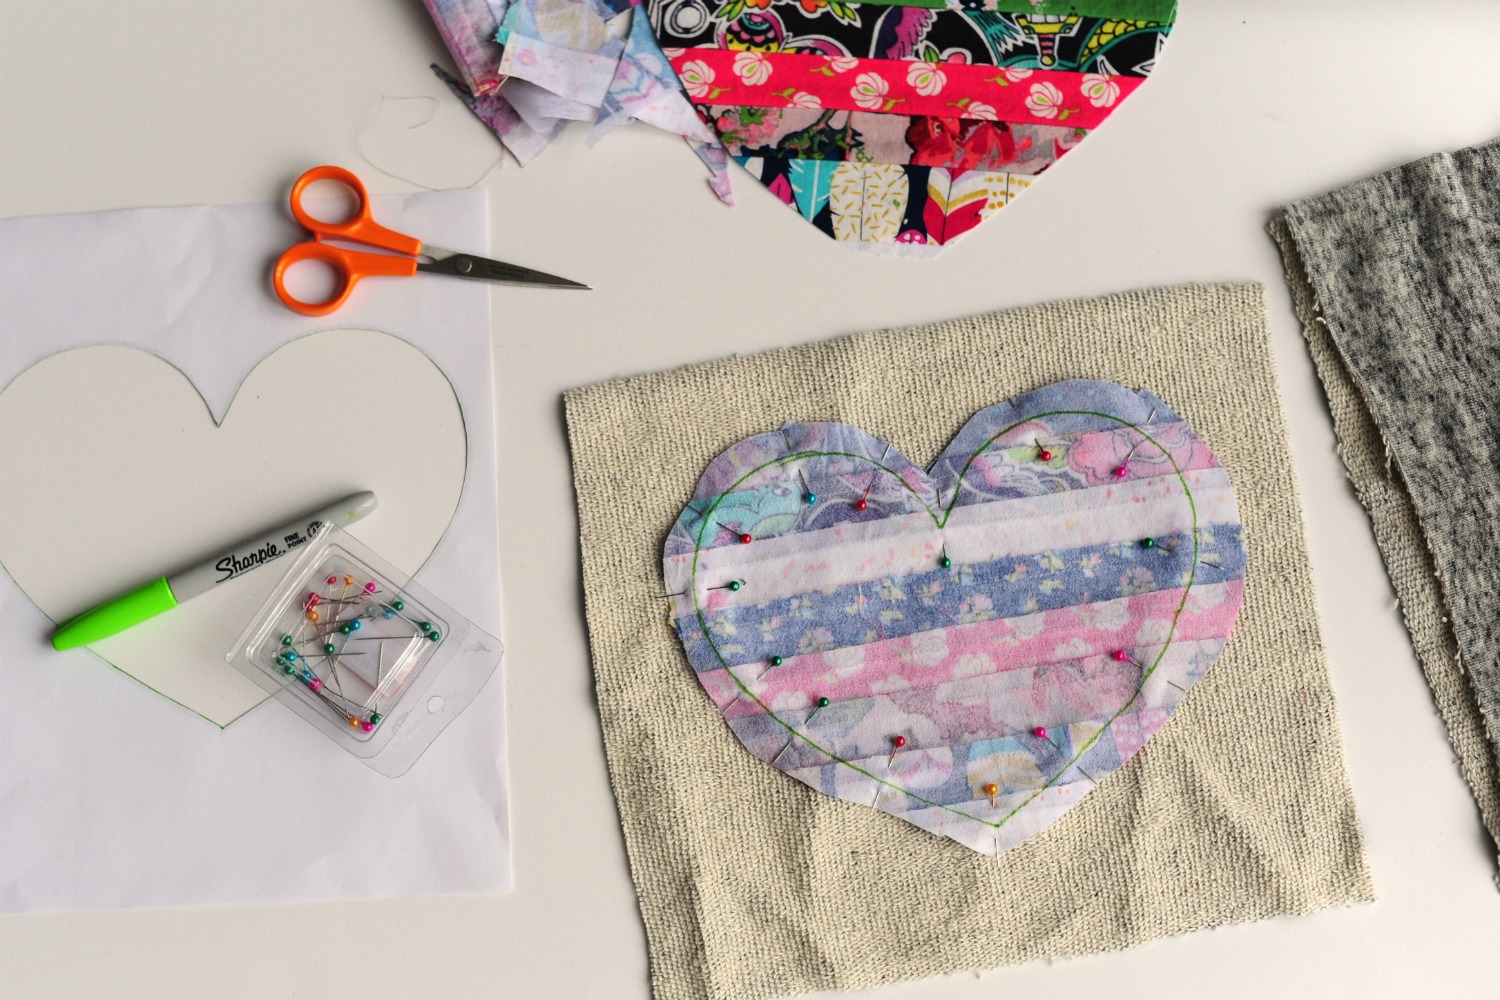
Pin the right side of your applique piece (the stripwork heart, in my case) to the wrong side of your pillow cover front. Stitch around the line that you traced earlier; I used a straight stitch for mine at about 3.0mm.
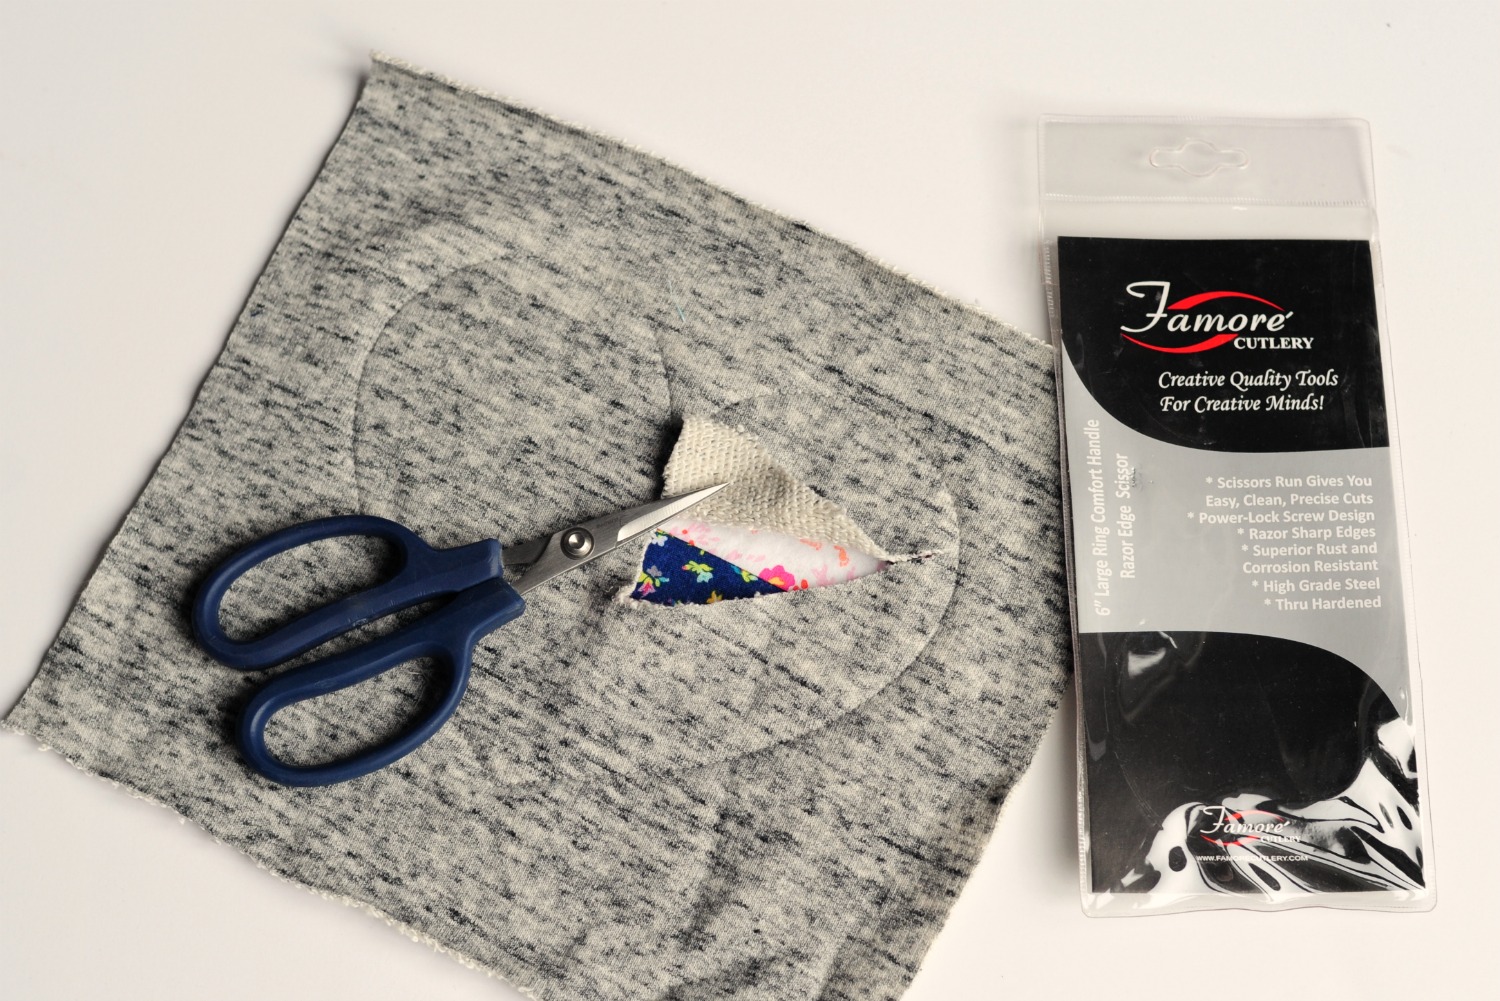
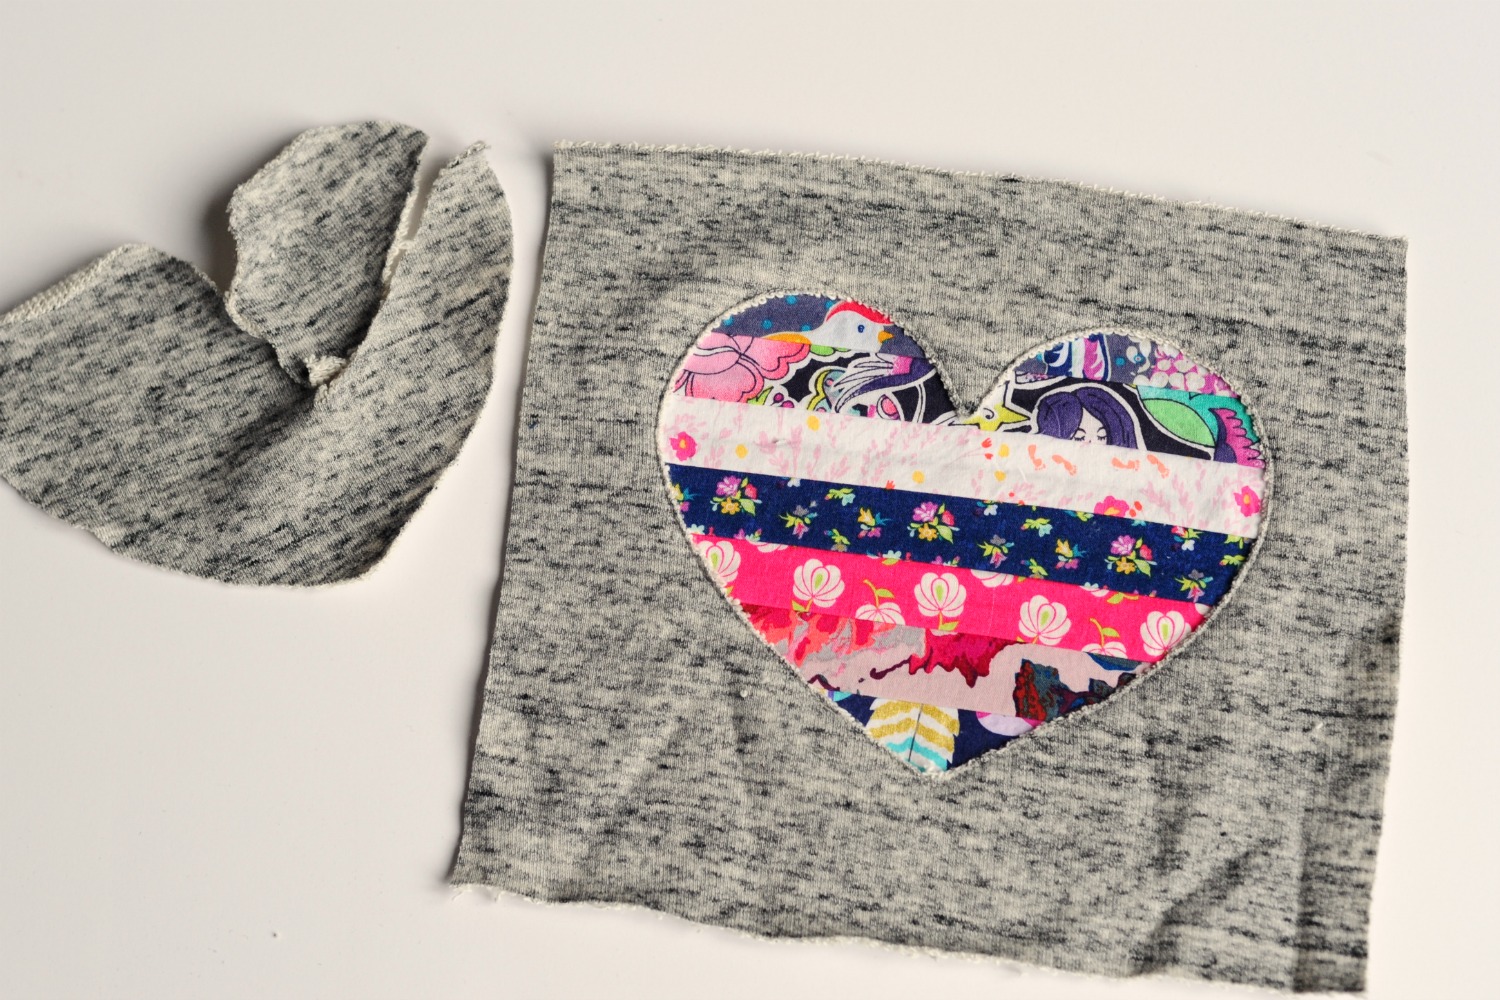
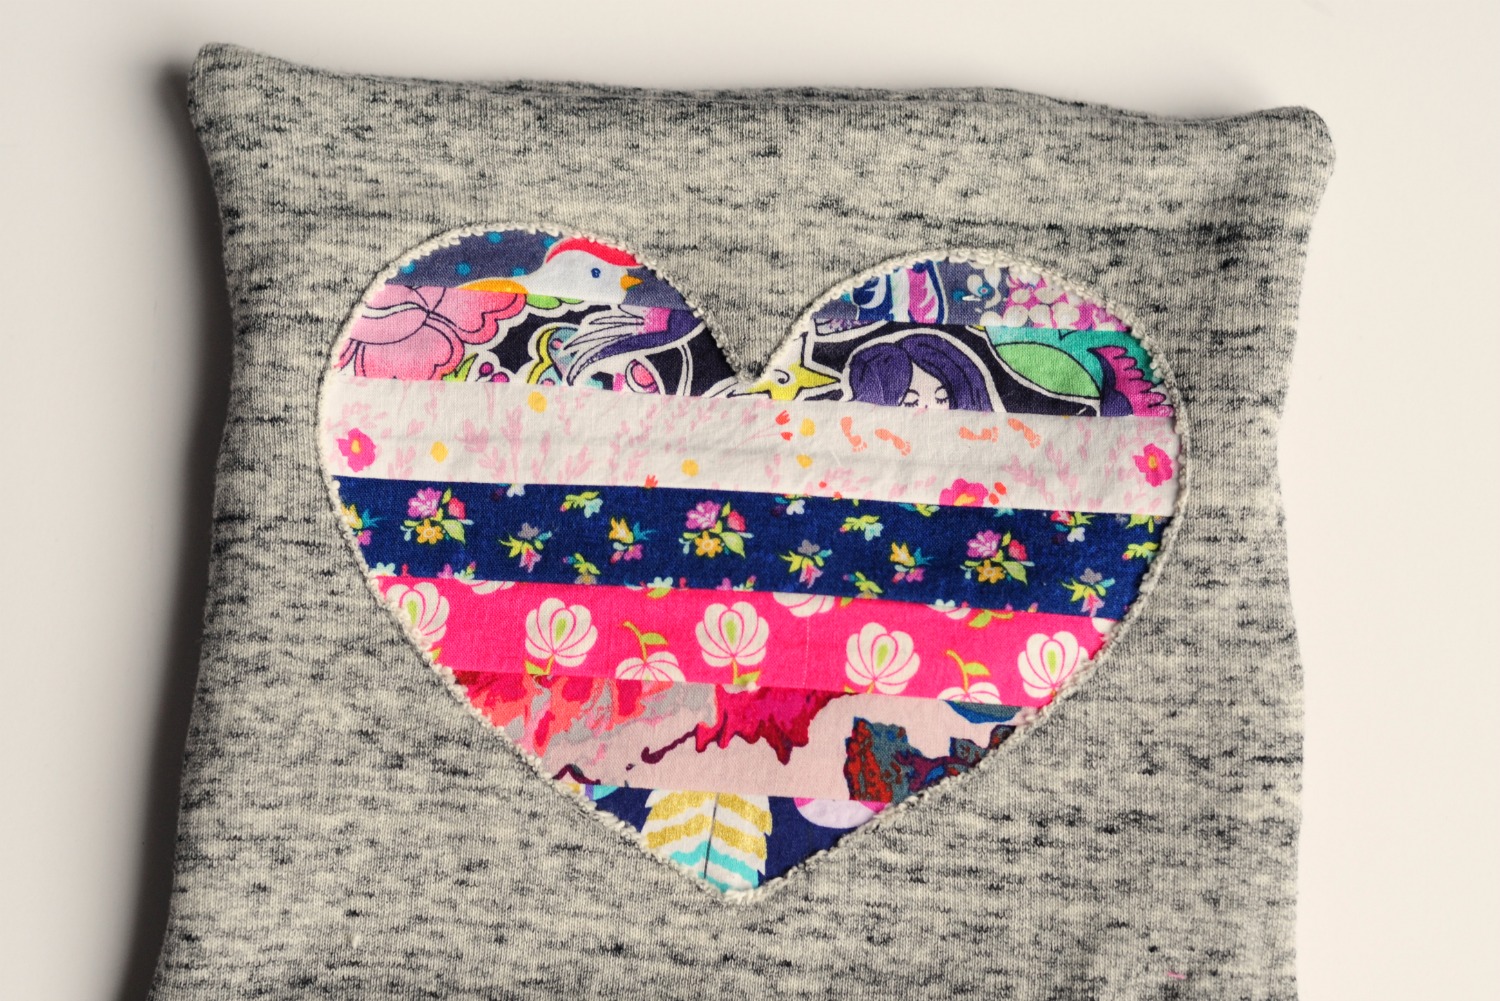
Now, flip your pillow cover front to the right side. Using a super sharp pair of scissors (these are my current favorites!), carefully trim out the inside of your shape. Cut close to the stitching line without cutting through it - and make sure not to cut through your applique, either! Your applique is completed; all that’s left is to finish the pillow cover.
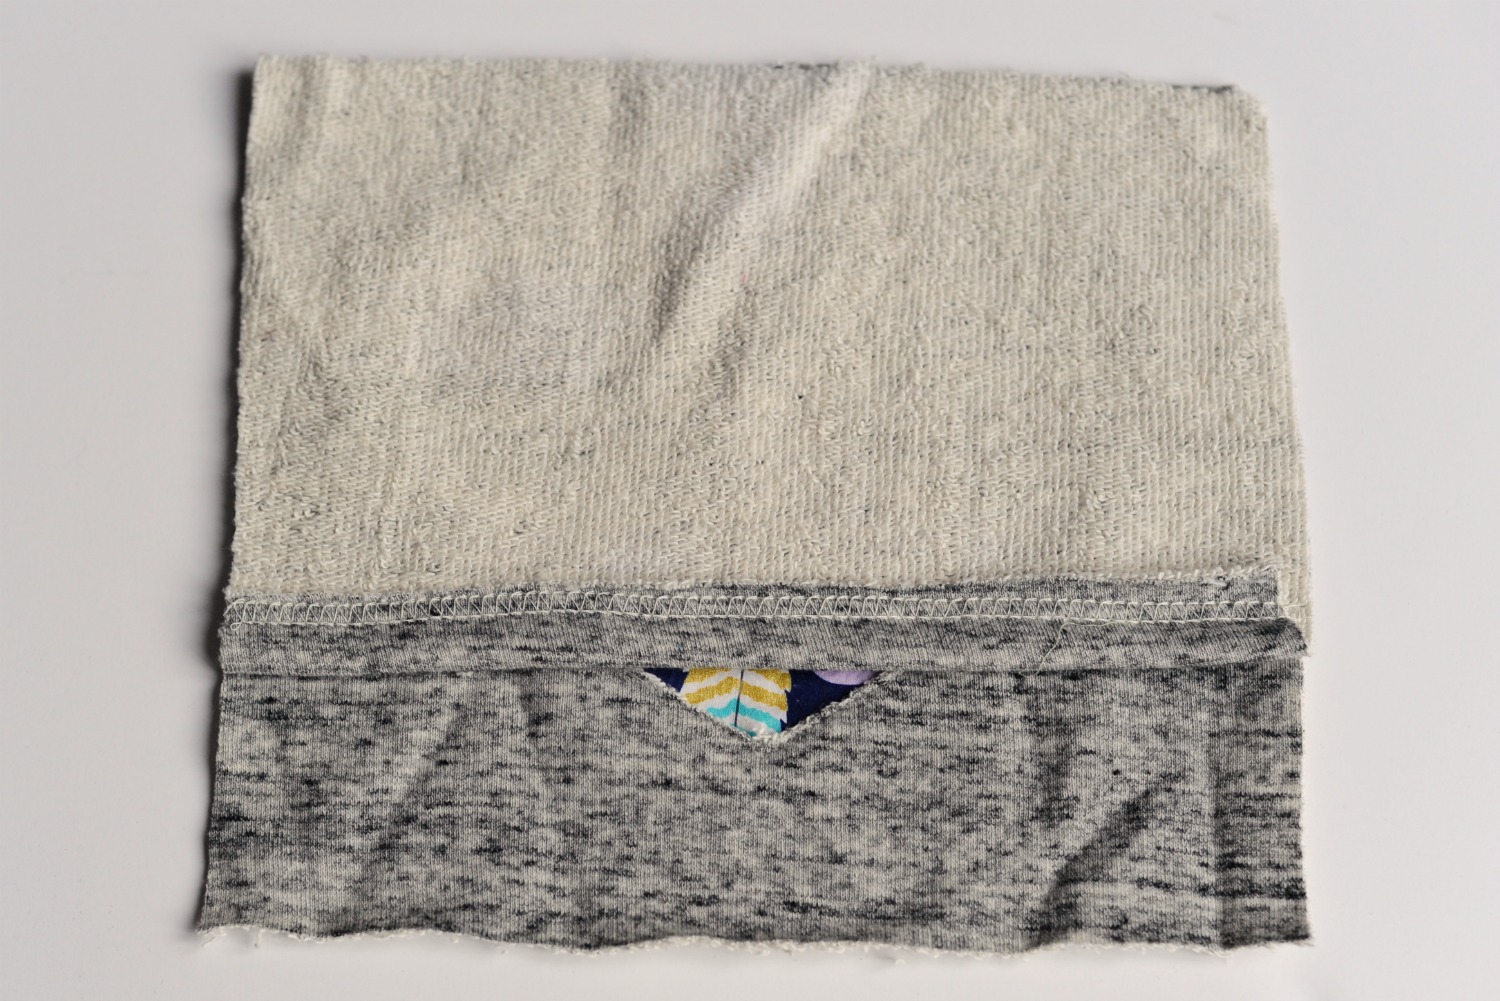
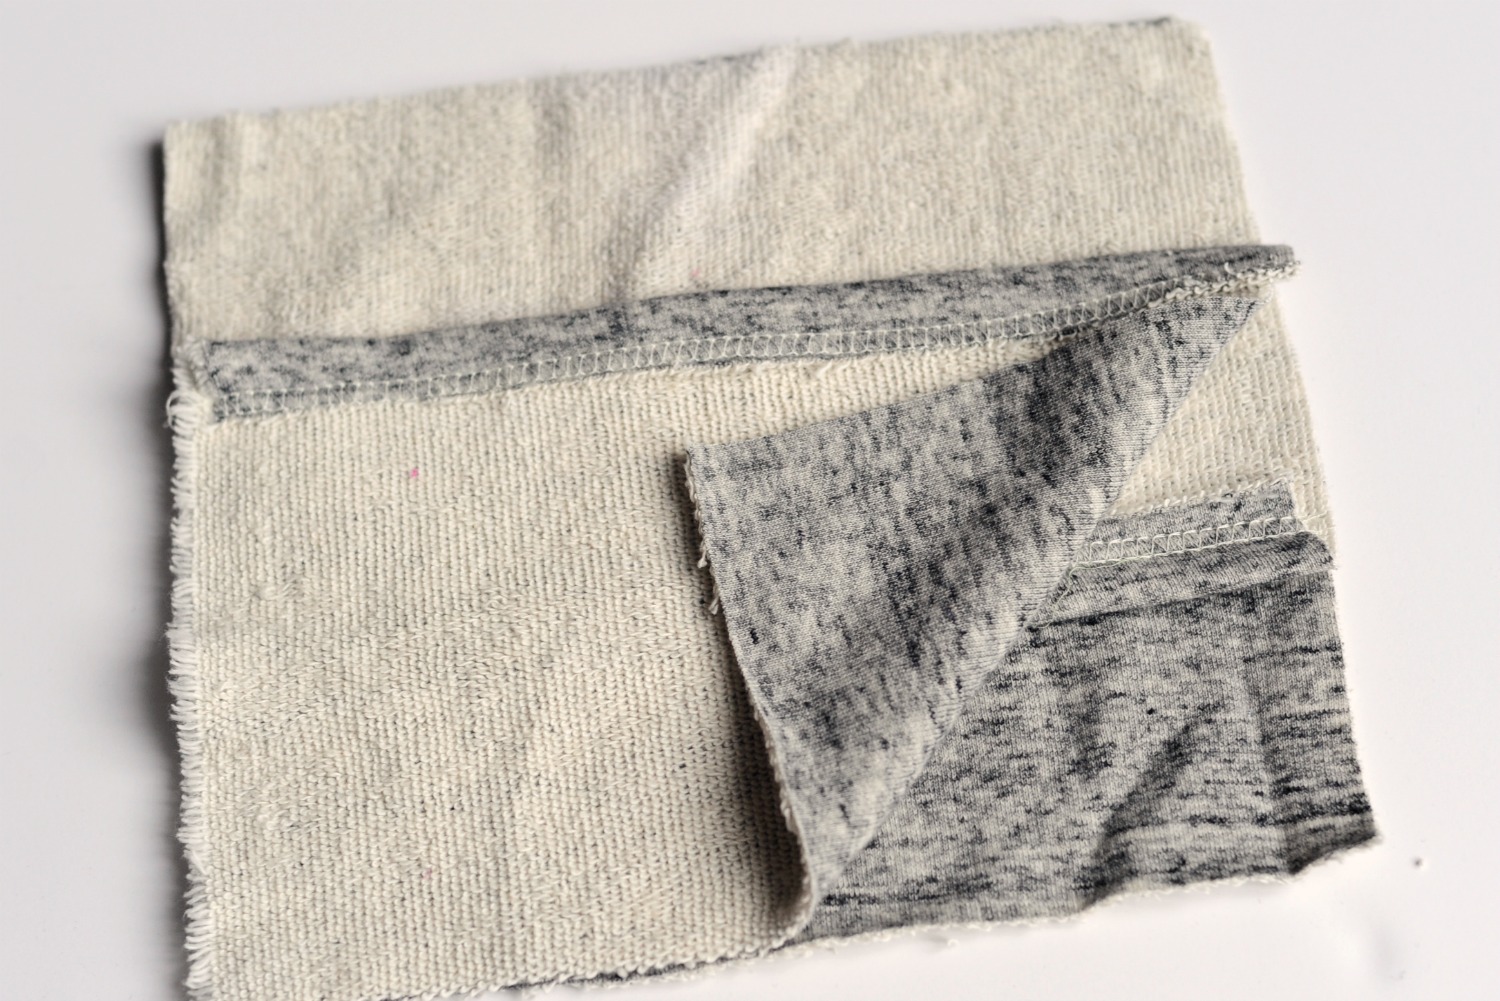
Take the two pieces that you cut for the back of the cover, and hem along one long edge. Lay the front piece in front of you with the right side facing up, and place one of the back pieces face down on top of the pillow cover front. The hemmed edge should be toward the center. Place the other back piece with right sides together along the other raw edge of the front piece, again with the hemmed edge toward the center.
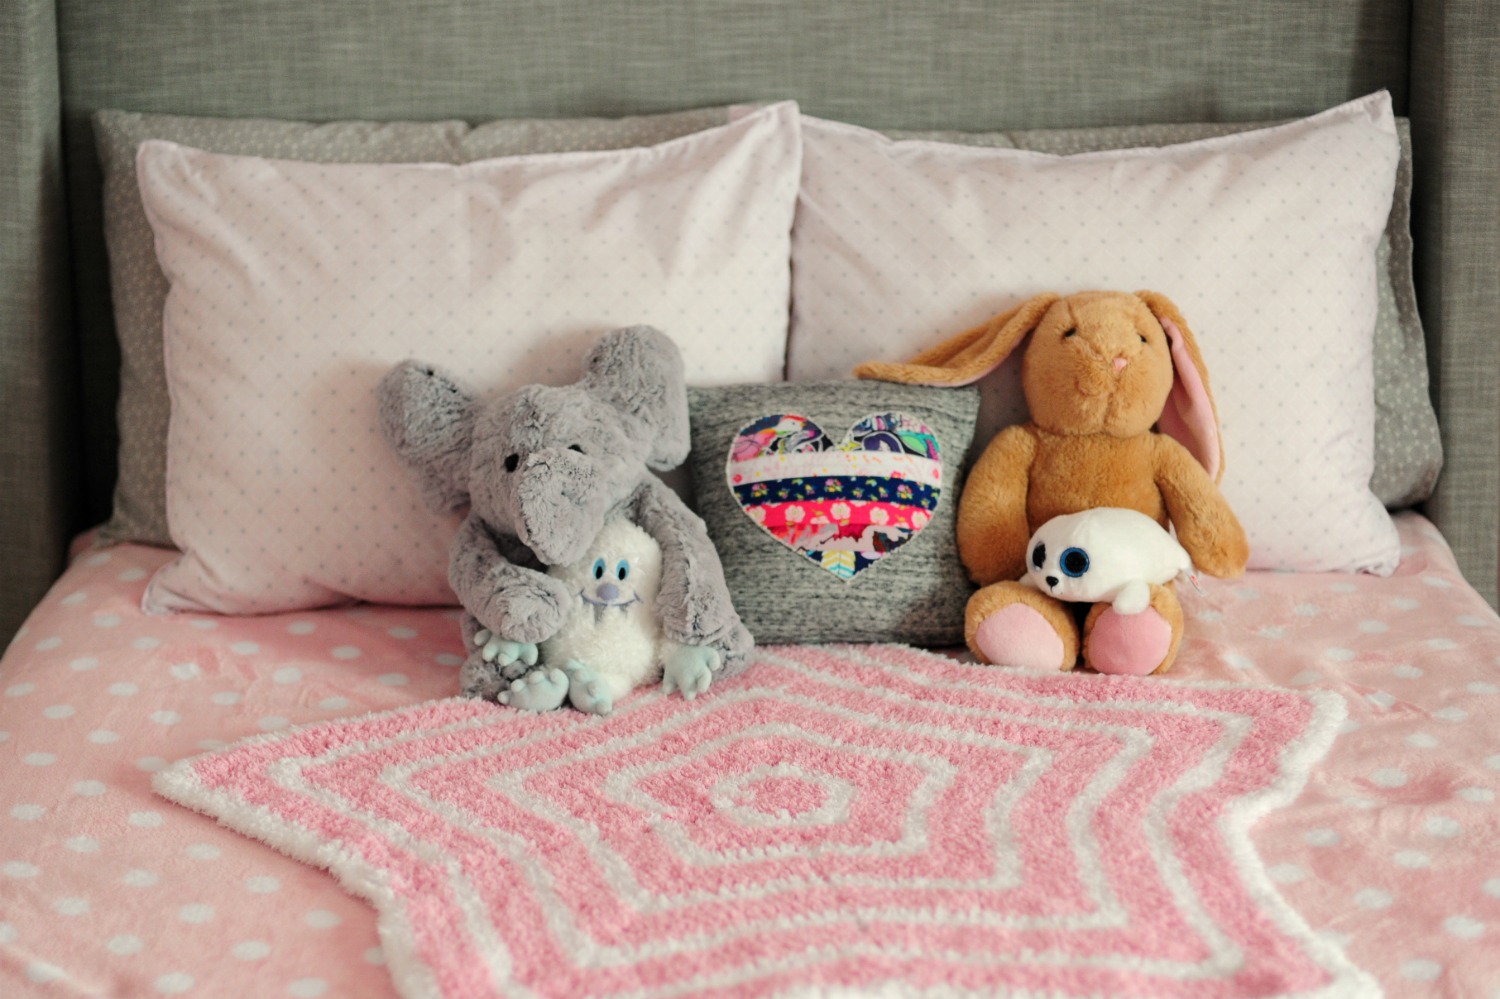
Stitch along all four outside edges to close the pillowcase, turn right side out through the envelope opening at the back, poke those corners out with a turning tool or chopstick, and press. Now stuff with your pillow form and find a bed, chair, or couch that’s been needing a sweet new accessory!



Today we continue our feature on Halloween with this super cute Candy Corn tutorial by Laura. Not only is this a cute holiday craft its also a great scrap buster!