Retro Glam Skirt by Little Lizard King
/I used to keep myself busy testing patterns for different designers all the time, but since starting this blog, sadly, I just have not had the time to do it much. When Tricia Boyer, one of the designers for Little Lizard King, sent me a personal invite to test her new skirt pattern, I just couldn't say no. I am so glad I found time to squeeze this little beauty into my schedule!
*I did receive this pattern for free in exchange for testing. I did not receive any additional compensation to write this review.
Enter to win a copy of the pattern
and link up your projects at the bottom of this post!
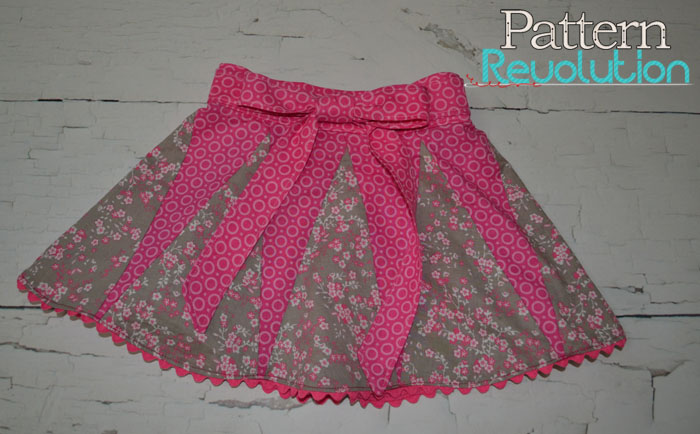
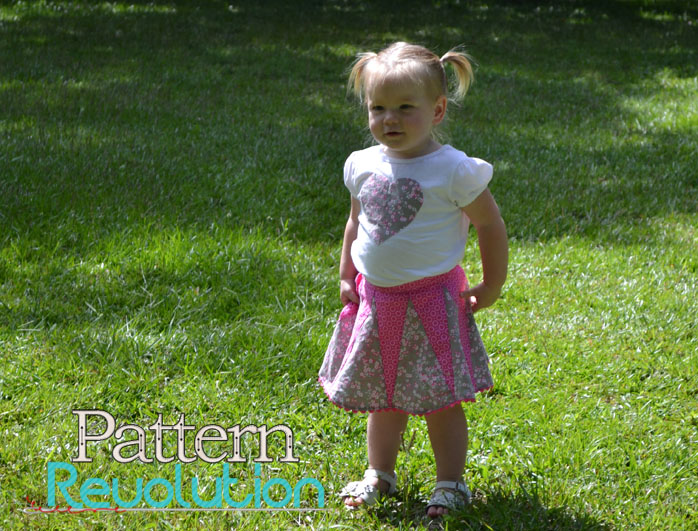
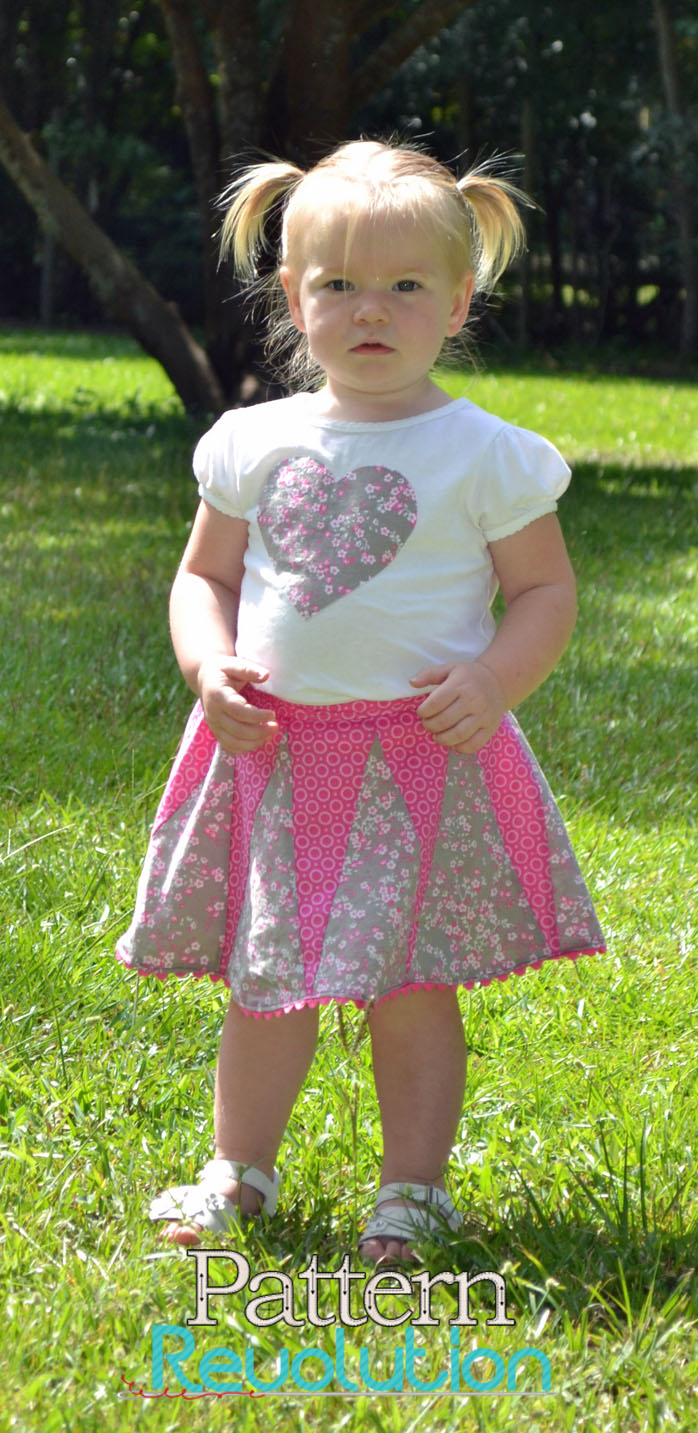
My first project when I got back into sewing several years ago was a quilt. Putting fabric together like a precision puzzle and making something beautiful is so rewarding. I was thrilled to see Little Lizard King was offering a skirt in their fall line that featured piecing like this because it gave me a chance to get back to my first love. It seems like ever since my daughter was born two years ago, everything I've sewed for the most part has loads of ruffles. I began to feel like I was drowning in them! This skirt gave me the opportunity to make my daughter something gorgeous and eye catching, yet simple at the same time.
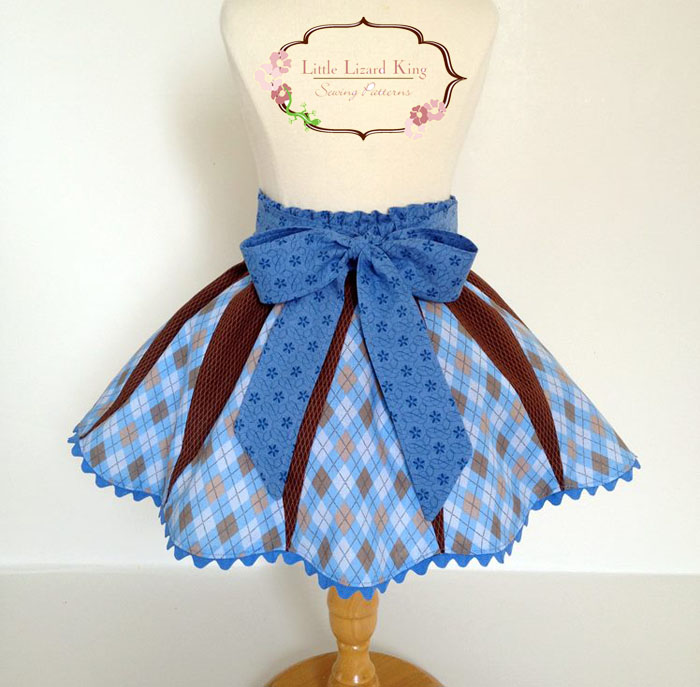
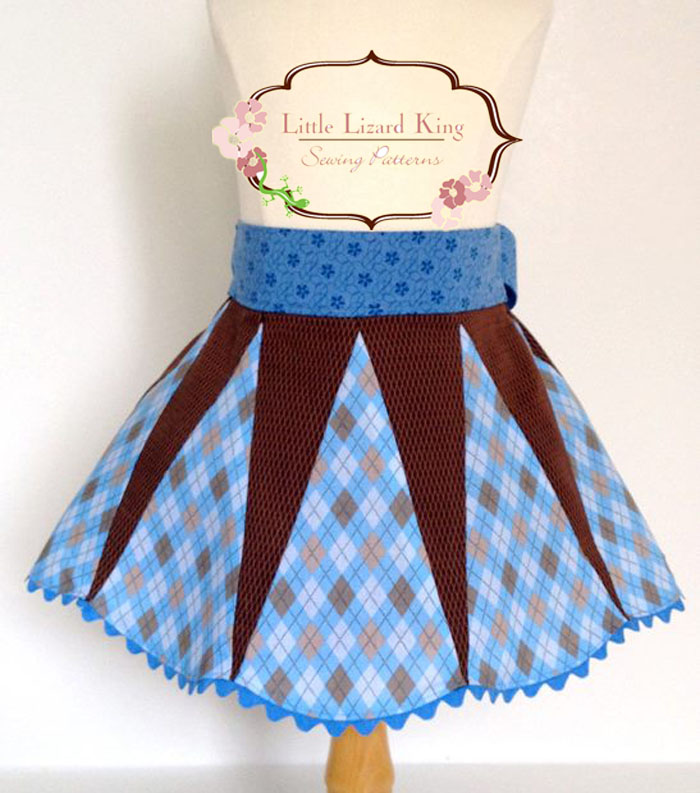
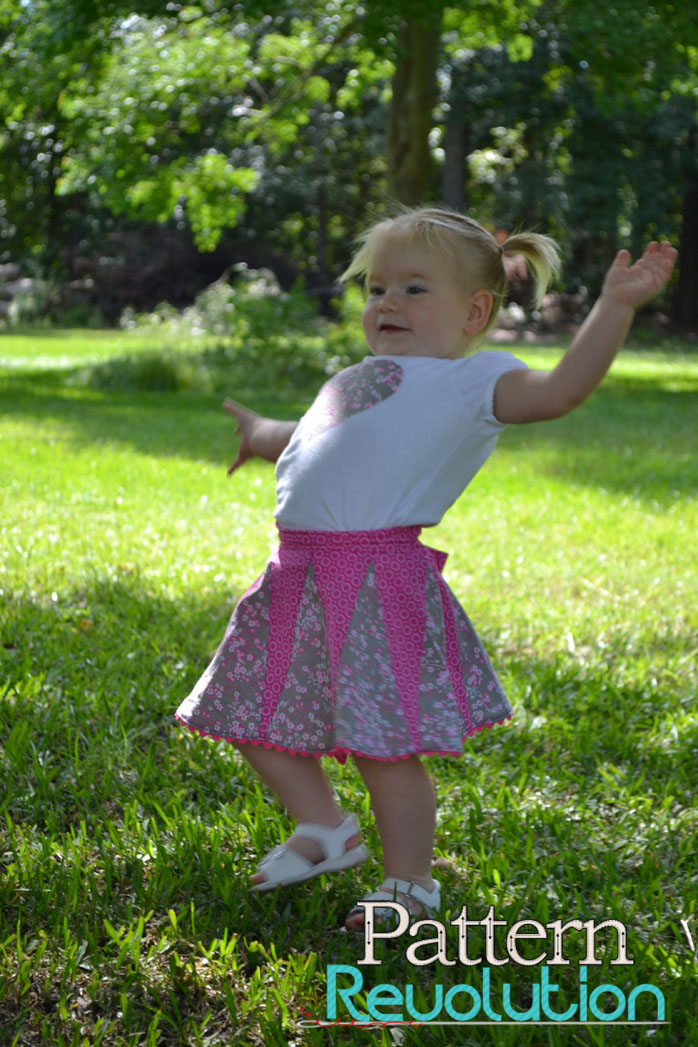
The pattern features a flat front waistband and an attached sash that can be tied at either the front or the back.
My favorite feature of this pattern has to be the buttonhole elastic. Now, I have to tell you the truth though...I did not do the buttonhole elastic. I should have, but I thought I'd save myself some time and possible buttonholer foot frustration. The buttonhole elastic is optional, you can also do the sewn in elastic version. Trust me, do the button hole elastic! It is so much easier to attach a skirt to a flat waistband! I don't know what I was thinking. Actually, that's not 100% true. I was thinking I would skip the buttonholes because I'm done having kids, so I won't be passing this down to any skinnier or fatter siblings, and I sew so much for my daughter that I wasn't worried about adjusting it for later. And yeah, I'm lazy, but it totally backfired. So, now YOU know...do the buttonholes!
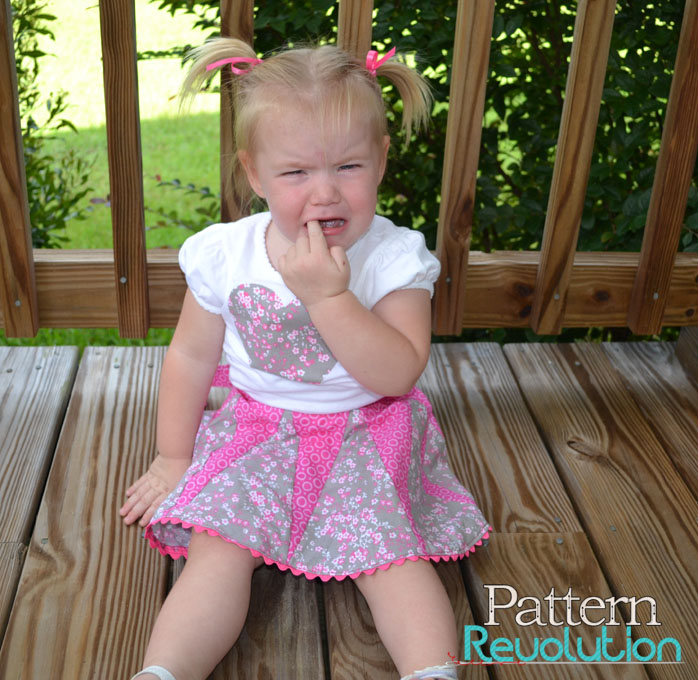
I went with the rickrack trim because I just love seeing those little waves peeping out from the hemline. You can also do a rolled hem or a traditional hem, even bias tape would be fun to make it pop.
If you're feeling intimidated by the shape of the pattern pieces, trust me, don't be! As long as you pay careful attention to your seam allowances and lining up the pieces as you sew, it will come out beautiful. I have to admit, I was even a bit skeptical, but when I pulled it off the machine, I was amazed at how incredibly precise the finished look was.
Although my daughter is not really into dolls much yet, I was excited to see that the pattern includes a free matching 18" doll pattern. For a limited time, you can also get the matching rockabilly headband tutorial free with purchase. Sweet. Even though my little one hates headbands now...I'm hoping she will grow into them!
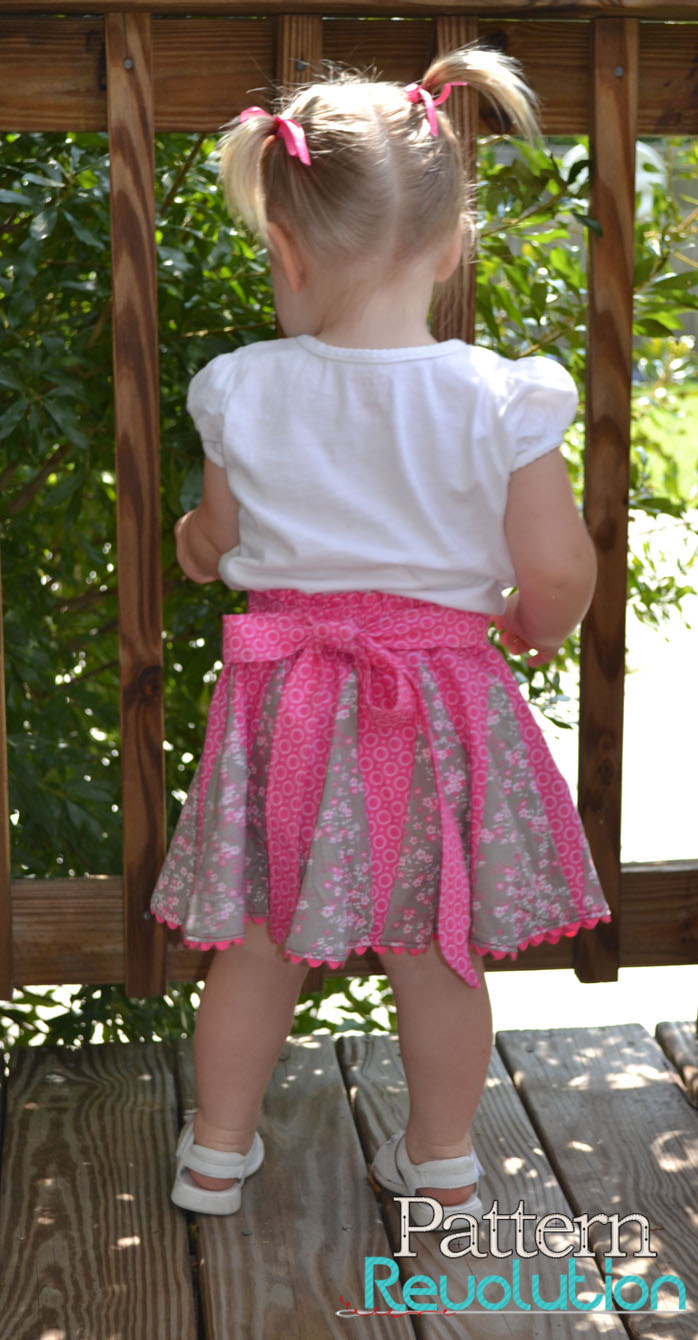
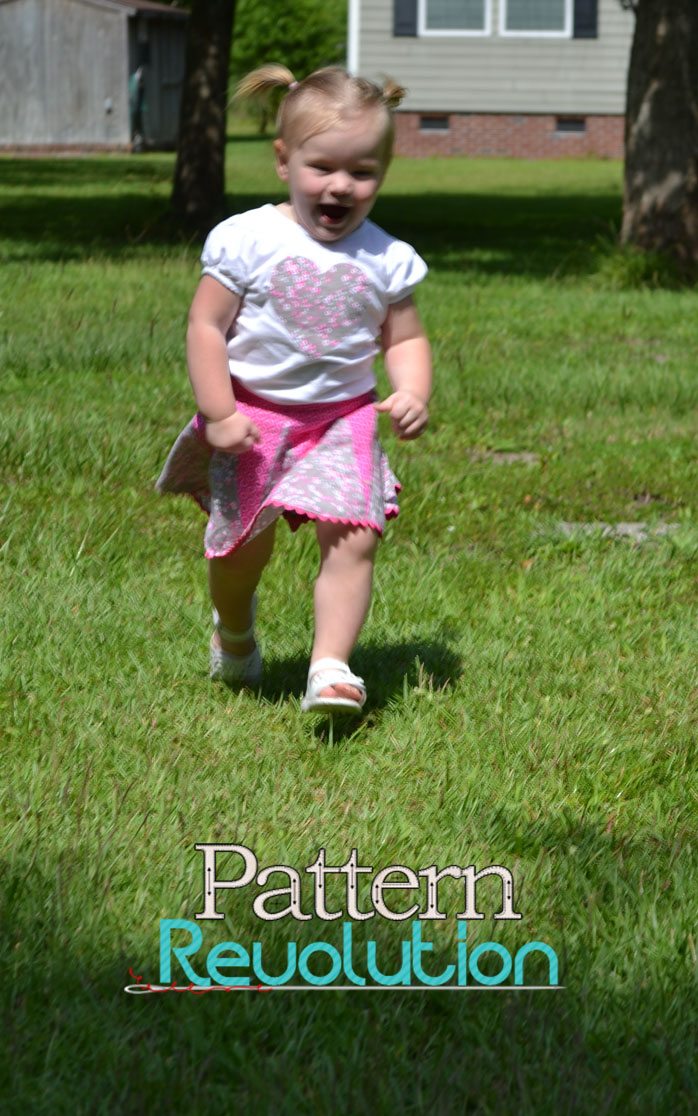
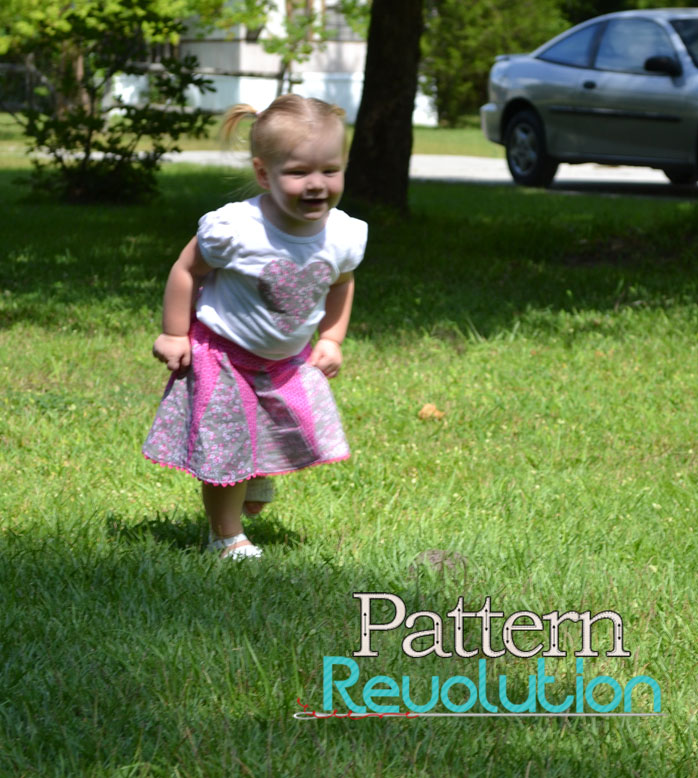
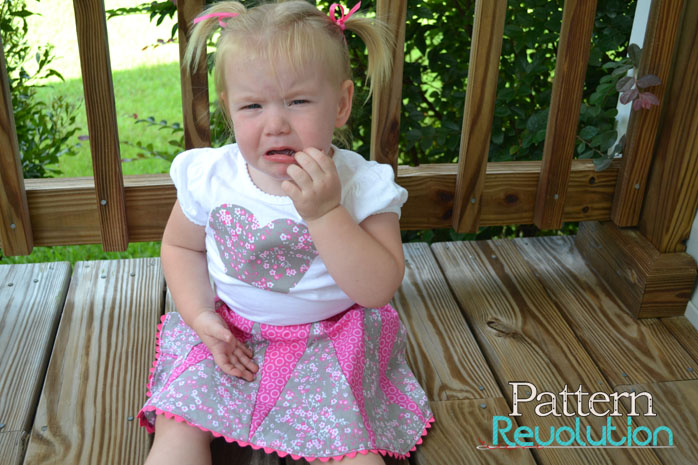
As you can see, the skirt is perfect for running around in the yard...or tantruming on the porch when it's time to go back inside.
Apparently, it's also good for dancing in the street!
Here are the rest of the nitty gritty details shoppers like to know...pattern is rated advanced beginner and has very clear photos and instructions.
This pattern includes:
Numbered Pages, Supplies List, Fabric Choice Suggestions, Fabric Requirements Chart, Measurements Chart with Corresponding Sizes, Finished Garment Measurements Chart, Nested Pattern Pieces, Color Pattern Piece Lines, Cutting Measurements AND Patterns Pieces, and Digitized Pattern Pieces.
Want to win a copy? Enter our Rafflecopter below.
If you've made this skirt already, we'd love it if you'd link up so people can see other version! Simply paste the URL to your photo in the box below!

