Free Cuffed Stocking Pattern
/Is it just me or are the holidays sneaking up on us extra fast this year? I feel like I'm going to blink and it will be New Years. And that just can't happen, because I have a lot of holiday sewing to do! One of my favorite things to do for teacher's gifts is to make gorgeous Christmas stockings and stuff them with goodies like movie tickets, snacks, gift cards, etc. They were a huge hit last year, and I've decided to make them again. I've changed up my usual pattern a little bit, and I figured as long as I was working on it, I should take some photos along the way so I could share the tutorial with my fans. There are tons of great stocking patterns out there, both for free and for purchase, so if this one doesn't tickle your fancy, just hit up Google or Pinterest to find one that is more your style.
There are so many ways to personalize and make this stocking your own. Get started today on making one for friends and family (or to sell), just download the pattern by clicking the photo above. The file is shared through Dropbox, so you can save the entire PDF to your computer. Or, if you prefer not to download, you can access both the pieces and instructions separately below.
ENJOY!
~~~~~~~~~~~~~~~~~~~
Click HERE to download just the pattern pieces.
©Robin Hill for Pattern Revolution November 2013
Feel free to make and sell items from this pattern. Enjoy!
What you need to make the Cuffed Stocking:
· ½ yard non directional fabric or ¾ yard for directional fabric for both the outer and lining
· 1 FQ for cuff, scraps for optional applique and ruffle
· Ric rac or piping scraps < ½ yard total
· ½ yard Pellon Fusible Fleece 987F interfacing
· Scissors or Rotary Cutter and cutting mat with ruler
· Pins, universal needle, all purpose thread
· Sewing Machine and/or Serger
· Ironing board/iron
Assemble pattern pieces. For your convenience, cutting reminders are written on the pieces.
Cutting:
Stocking-
· Cut 2 outer
· Cut 2 Lining
· Cut 2 Interfacing
Optional Cuff-
· Cut 1 Outer 5” x 17.5”
· Cut 1 Lining 5” x “17.5”
· Cut 1 Interfacing 5” x 17.5”
· Cut 1 Ruffle 3.5” x 36”
Hook-
· Cut 1 Outer 6.5 x 3.5
· Cut 1 Interfacing 6.5 x 3.5
Optional Applique-
· Cut 1 Heel and 1 Toe
· Cut trim to go around inside edge of both pieces
When you are done, your pile should look something like this.
Iron on interfacing to 2 outer, 1 cuff and hook.
Sewing: ¼ “ SA unless otherwise noted.
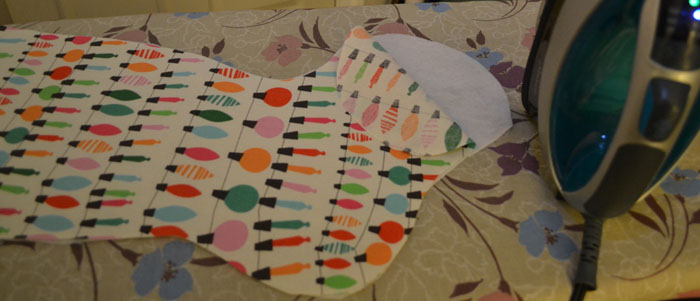
Sew rick rack or piping along inside edge of applique with fabric right side up.
Flip trim over and press.
Pin to appliqués to stocking front, sew in place along inside edge. Baste the outer edges in place.
-----
Sew outer stocking pieces, right sides together. Repeat with lining.
Take your hook piece, fold in half the long way, right sides together and sew down the long side. Then turn right side out and press. Topstitch.
For No Cuff Directions, Skip to end.
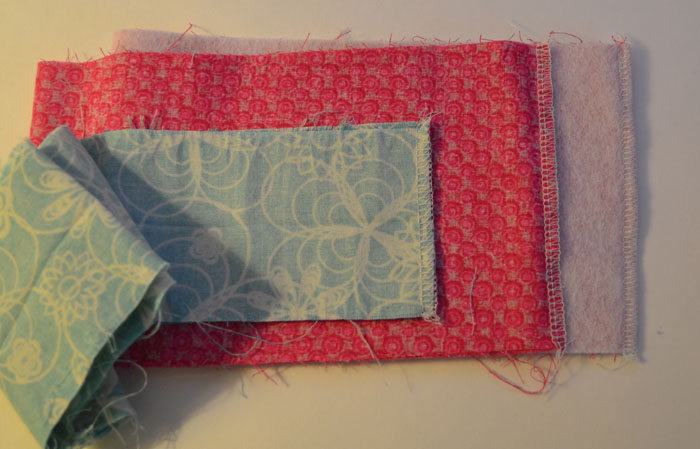
Take your cuff pieces and ruffle and fold in half, matching up the short sides with right sides of fabric facing. Sew along the short side.
Take your ruffle piece (loop) and fold the fabric in half down the center so that the wrong sides are facing in. Iron, then run a basting stitch along the raw edge.
Ruffle your loop by pulling your basting bobbin threads. Pull until your ruffle loop is the same size as the cuff (with interfacing). Pin ruffle to cuff, matching the raw edges and baste in place.
Then pin cuff lining piece around the ruffled cuff, matching raw edges.
Serge or sew then overlock stitch or zig zag raw edge.
Pull lining away from outer cuff, pressing out seams. Then tuck lining inside the cuff, pull ruffle down, press, and topstitch.
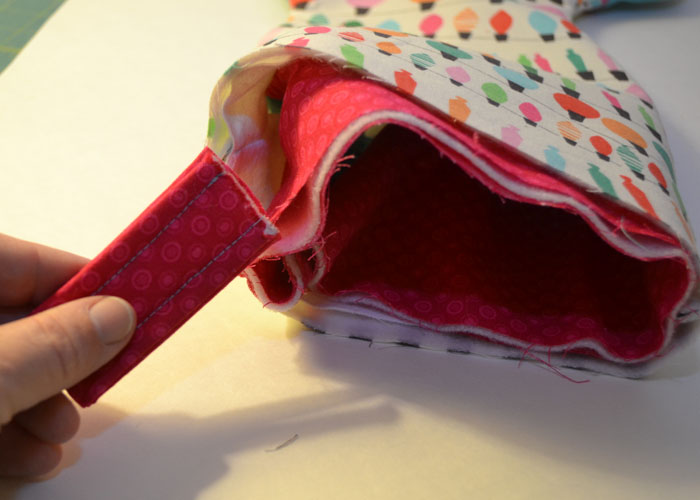
Insert lining into stocking with wrong sides of fabric facing.
Then insert the cuff inside the stocking and lining matching up the raw edges. Fold your hook into a loop and insert it at the back seam with raw edges facing up.
Carefully pin all layers together, matching raw edges.
Sew using 3/8 seam allowance. Trim the edges so they are nice and even if they are not already, then serge (you may want to disengage knife) or zigzag.
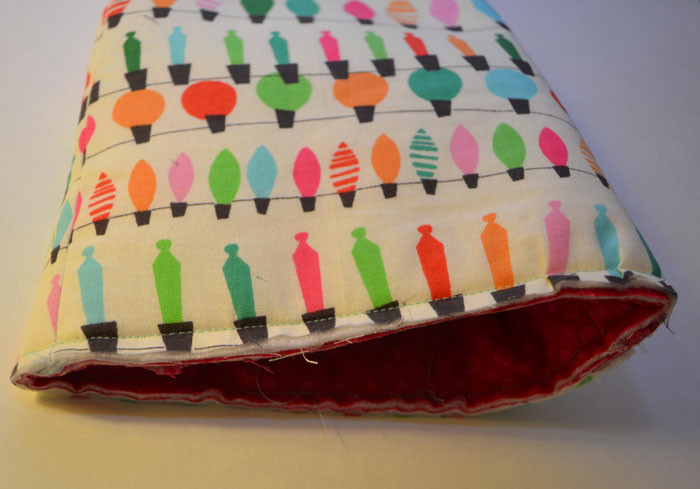
You did it!
No Cuff Directions
Before inserting the lining into the stocking, turn edges of both pieces down ½” towards the inside and press.
Match up the pressed edges, and insert the hook at the back seam.
Topstitch around the stocking at 1/8”.


