Having Holiday Fun - Relaxing in Style

Having Holiday Fun - Relaxing in Style

If you could pick one day to spend anyway you wanted for the Holidays, what would you do????  Would it be a day filled with friends and wine, a day of baking cookies and doing fun crafts with the kids, or maybe...... a day relaxing, in pj's, and sewing purely for fun!  

The Free Parisian Night Pajama Pants can be found in the Winter Wear Designs Fun Facebook group.  These make an awesome gift to yourself for lounge days, and since they are knit with a yoga waist, they are a great gift to give to others as well.  Check out Lisa's SUPER pair....

Read More

Allie Oop Romper Hack

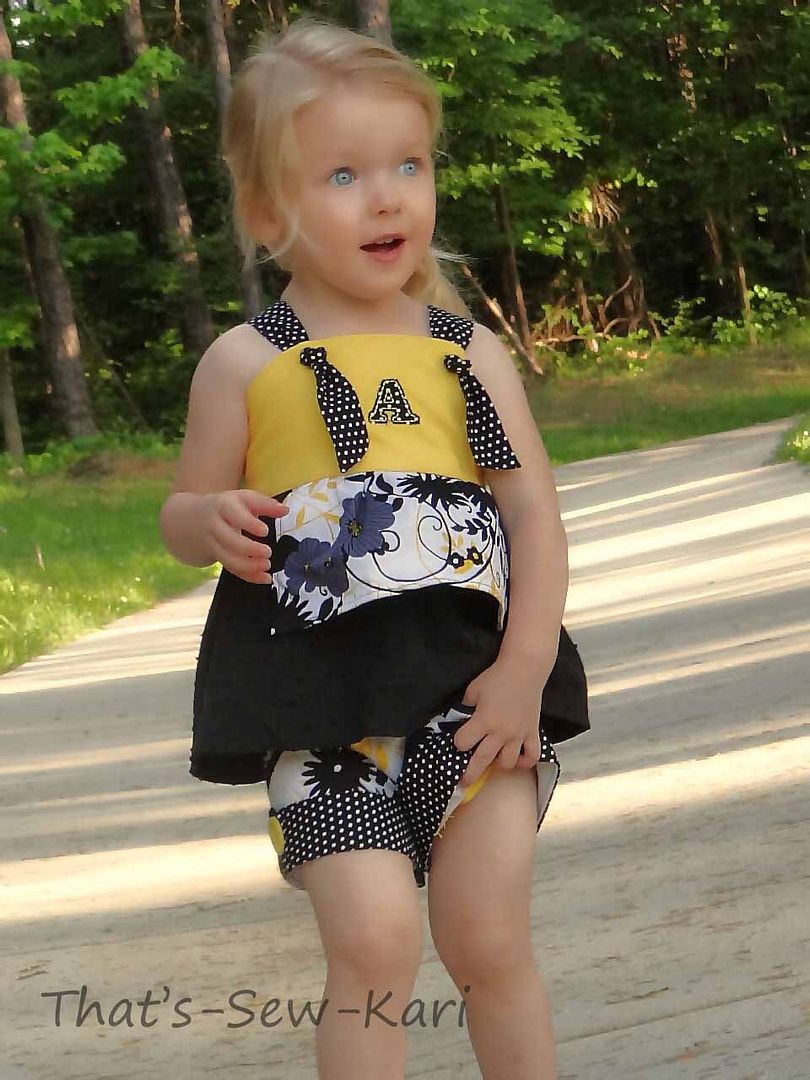
Hi!  Today I get to share with you how I created an Allie Oop romper!  In case you haven’t heard brownie-goose recently released a new top & dress pattern the Allie Oop.  You can read our review here.

We still have lots of HOT summer days ahead of us here in Northern California, so that means we are still rockin rompers!  I just love how sweet the new Allie Oop top comes together and I thought an Allie Oop romper  would make a great addition to our collection.  It’s pretty simple.  If you want to give it a try follow along!

Here is what you will need:

Allie Oop Top & Dress pattern

Darby Shorts pattern

Both those patterns are from Brownie Goose.  You could probably use any shorts pattern however this tutorial will be based on the Darby’s

Other than the patterns, you will also need your basic sewing supplies and elastic.  I used ⅜” but you could use any size, you will just need to adjust your casing.  

Lets get started.

First step is to determine your little one's size, print and cut/trace your pattern pieces for the front and back bodice and bias tape.  There is no change to how these pieces are constructed.  So, go ahead and cut and construct the front, and back bodice only.   Cut and prep your bias tape and set it aside.  I made my two button flaps functional since she would not be slipping it over her head.  You will need a little more room for your little one to slip on and off, so plan on making your buttonholes functional too.

**Do not cut your skirt pieces yet**  You will be skipping around a bit on the original instructions.

For the pattern piece labeled “skirt piece” you will make your first modification, which is to shorten the pattern piece.  According to the sizing chart my daughter wears a size 2t, but she would need a size 4 in length if I were making the top the way it is. You'll need to measure your child to figure the correct length. The top version falls below the waist so it would be rather long for a romper if left as is.  For my case, I left the size 2t length as is without lengthening it like I normally would instead of making the 4T and subtracting.  I suggest taking 1.5-2” off the bottom.  I wanted my top to be less fitting and more baggy, so I didn’t want too much off the length.  I also made a muslin first so that I wouldn’t ruin my “good” fabric.  I suggest you do the same if you have some scraps to spare so you can find your perfect fit.  Another option would be to cut it according to the pattern length and try it on your little one prior to making any cuts to the bottom. 

Once you have decided on the length for the skirt piece you can cut it out and proceed with constructing the top EXCEPT the hem.  You do not want to hem the bottom yet.  Just set it aside.

Let's move onto the shorts.  Now, for the shorts I kept them simple due to the busy fabric I used and the fringe I added to the bottom.  If you choose to add the cute pockets, cuffs and buttons then you will need to follow the instructions but SKIP the part where you create the elastic casing for the waistband, we’ll do that last.

At this point you should have both pieces fully constructed except for the hem, and the shorts waist.  Now we just need to attach them!

Since the bottom of our top is wider than the shorts waist, I gathered the bottom of the top.  Adjust the gathers to match the width of your shorts, turn the top inside out so that the inside is facing you.  

Slip the shorts inside the top so that right sides are together.  Line up your seams and pin together.  Sew with a 1” seam allowance.  Finish the raw edge of your layers with either a zig zag stitch or serger.  

We are almost done!

Your romper is all attached together, now all that is left is to add elastic around the waist.  Pull you bodice out from your bottoms and with the romper still inside out, press your 1” seam allowance towards the bodice.  To create your waistband, sew your seam allowance onto the top  ¼” away from your finished edge.  **Make sure you leave about an 1.5” gap to insert your elastic.

Cut elastic a little shorter than the waist measurement and thread it through the casing.  Sew the ends of the elastic together.  The last step is to sew the rest of the casing closed. Your Allie Oop romper is done!!


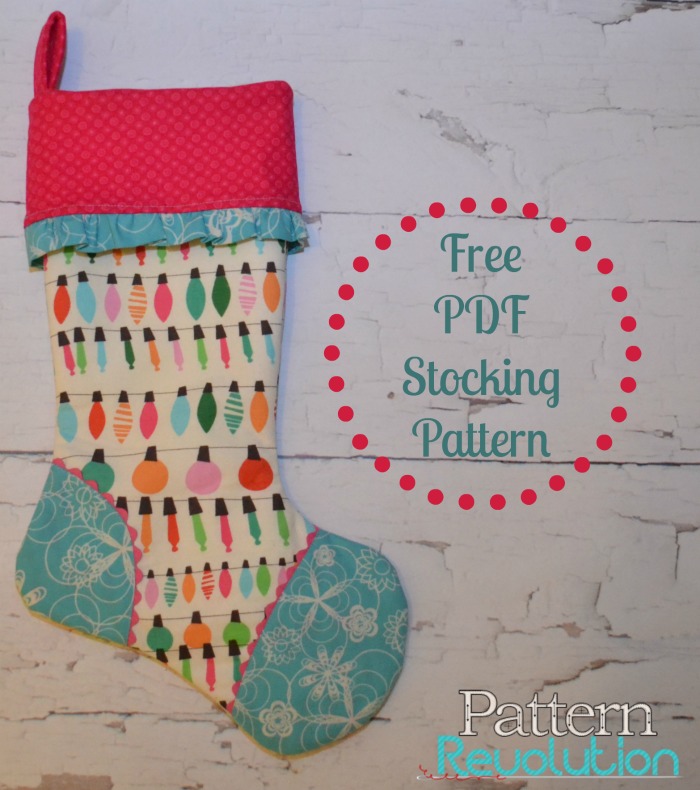
Free Cuffed Stocking Pattern

Is it just me or are the holidays sneaking up on us extra fast this year? I feel like I'm going to blink and it will be New Years. And that just can't happen, because I have a lot of holiday sewing to do! One of my favorite things to do for teacher's gifts is to make gorgeous Christmas stockings and stuff them with goodies like movie tickets, snacks, gift cards, etc. They were a huge hit last year, and I've decided to make them again.  I've changed up my usual pattern a little bit, and I figured as long as I was working on it, I should take some photos along the way so I could share the tutorial with my fans. There are tons of great stocking patterns out there, both for free and for purchase, so if this one doesn't tickle your fancy, just hit up Google or Pinterest to find one that is more your style.

Click the photo to access the PDF pattern and instructions.

Click the photo to access the PDF pattern and instructions.

There are so many ways to personalize and make this stocking your own. Get started today on making one for friends and family (or to sell), just  download the pattern by clicking the photo above. The file is shared through Dropbox, so you can save the entire PDF to your computer. Or, if you prefer not to download, you can access both the pieces and instructions separately below. 

ENJOY!

~~~~~~~~~~~~~~~~~~~

Click  HERE to download just the pattern pieces.


©Robin Hill for Pattern Revolution November 2013

©Robin Hill for Pattern Revolution November 2013

Feel free to make and sell items from this pattern. Enjoy! 


What you need to make the Cuffed Stocking: 
 
·    ½ yard non directional fabric or ¾ yard for directional fabric for both  the outer and lining
·    1 FQ for cuff, scraps for optional applique and ruffle
·    Ric rac or piping scraps < ½ yard total
·    ½ yard Pellon Fusible Fleece 987F interfacing 
·    Scissors or Rotary Cutter and cutting mat with ruler
·    Pins, universal needle, all purpose thread
·    Sewing Machine and/or Serger 
·    Ironing board/iron

Assemble pattern pieces. For your convenience, cutting reminders are written on the pieces.

Cutting:
Stocking-
·    Cut 2 outer
·    Cut 2 Lining
·    Cut 2 Interfacing

Optional Cuff-
·    Cut 1 Outer 5” x 17.5”
·    Cut 1 Lining 5” x “17.5”
·    Cut 1 Interfacing 5” x 17.5”
·    Cut 1 Ruffle 3.5” x 36”

Hook-
·    Cut 1 Outer 6.5 x 3.5
·    Cut 1 Interfacing 6.5 x 3.5

Optional Applique-
·    Cut 1 Heel and 1 Toe
·    Cut trim to go around inside edge of both pieces

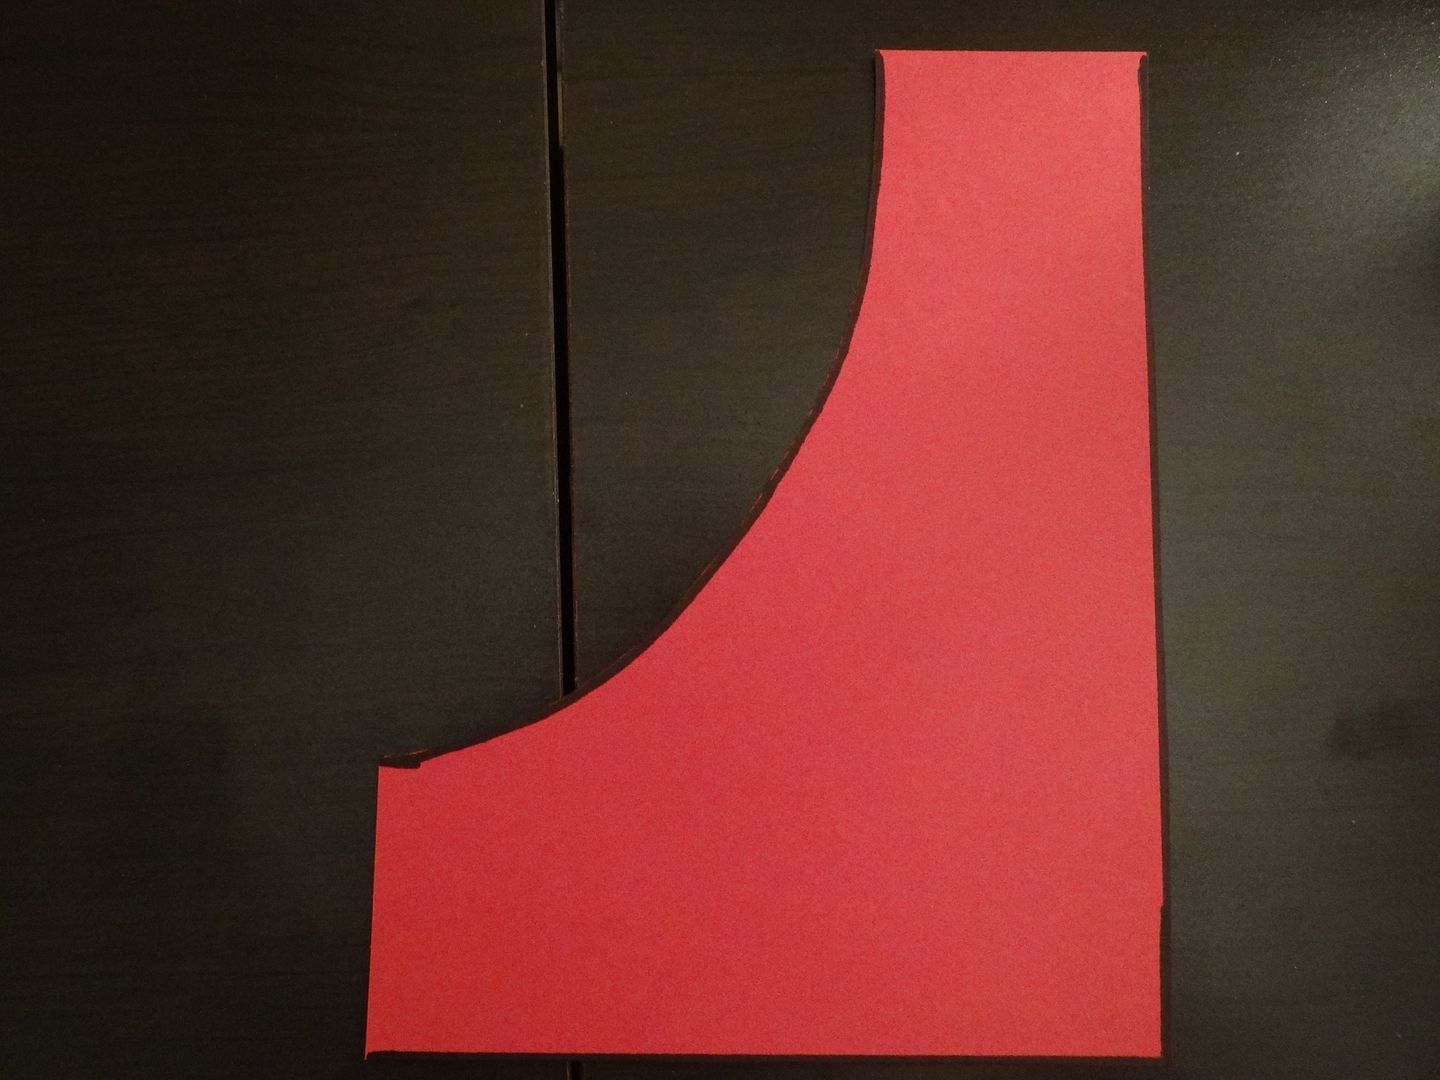
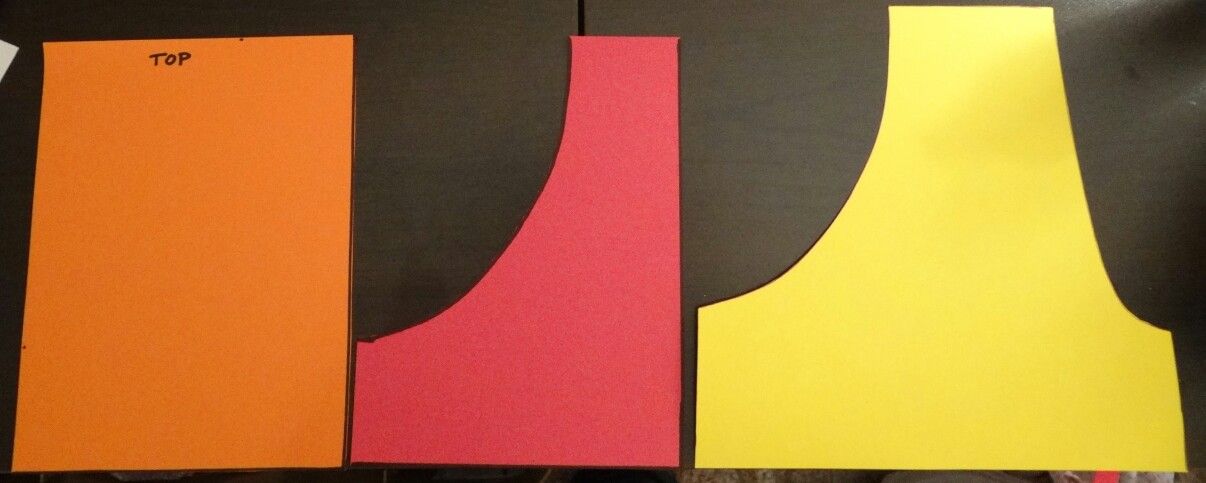
When you are done, your pile should look something like this. 

stocking003.jpg

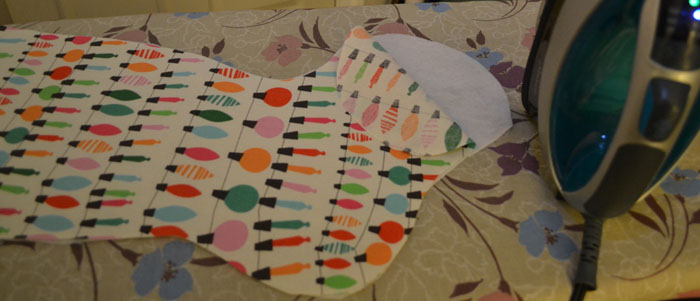
Iron on interfacing to 2 outer, 1 cuff and hook.

stocking004.jpg

Sewing: ¼ “ SA unless otherwise noted.
Sew rick rack or piping along inside edge of applique with fabric right side up.

stocking005.jpg

Flip trim over and press.

stocking006.jpg

Pin to appliqués to stocking front, sew in place along inside edge. Baste the outer edges in place.

stocking007.jpg
stocking008.jpg

-----

stocking009.jpg

Sew outer stocking pieces, right sides together. Repeat with lining.  

stocking010.jpg

Take your hook piece, fold in half the long way, right sides together and sew down the long side. Then turn right side out and press. Topstitch.


stocking012.jpg

For No Cuff Directions, Skip to end.


stocking014.jpg
stocking028.jpg

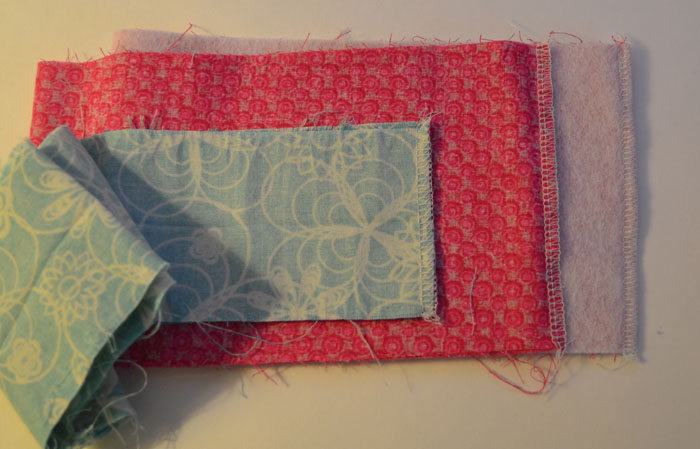
Take your cuff pieces and ruffle and fold in half, matching up the short sides with right sides of fabric facing. Sew along the short side. 


stocking029.jpg

Take your ruffle piece (loop) and fold the fabric in half down the center so that the wrong sides are facing in. Iron, then run a basting stitch along the raw edge. 


stocking030.jpg

Ruffle your loop by pulling your basting bobbin threads. Pull until your ruffle loop is the same size as the cuff (with interfacing). Pin ruffle to cuff, matching the raw edges and baste in place.

stocking032.jpg

Then pin cuff lining piece around the ruffled cuff, matching raw edges.

stocking033.jpg

Serge or sew then overlock stitch or zig zag raw edge.

stocking034.jpg
stocking035.jpg

Pull lining away from outer cuff, pressing out seams. Then tuck lining inside the cuff, pull ruffle down, press, and topstitch. 

stocking038.jpg

Insert lining into stocking with wrong sides of fabric facing. 

stocking043.jpg

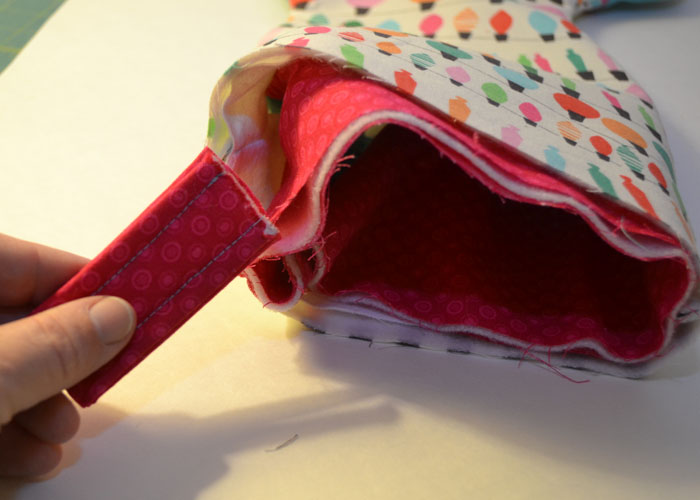
Then insert the cuff inside the stocking and lining matching up the raw edges. Fold your hook into a loop and insert it at the back seam with raw edges facing up. 


stocking044.jpg

Carefully pin all layers together, matching raw edges.


stocking045.jpg
stocking046.jpg

Sew using 3/8 seam allowance. Trim the edges so they are nice and even if they are not already, then serge (you may want to disengage knife) or zigzag. 


stocking048.jpg
050.jpg

You did it!

No Cuff Directions

Before inserting the lining into the stocking, turn edges of both pieces down ½” towards the inside and press.


036.JPG

Match up the pressed edges, and insert the hook at the back seam. 


037.JPG

Topstitch around the stocking at 1/8”.


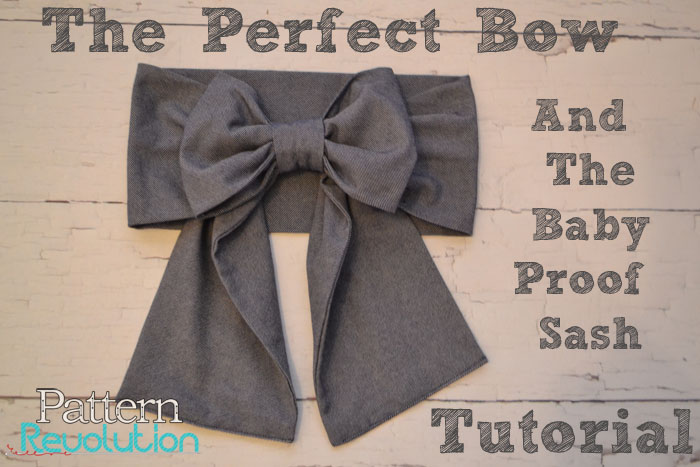
The Perfect Bow and the Baby Proof Sash Tutorial

Every morning it is a struggle to dress my feisty 2 year old. All her pretty sashes hang untouched in the closet, while the dresses they go with get worn over and over. I love the look of a pretty bow, but my baby wont hold still long enough to tie it nicely, and in the miraculous event that she does, she unties it and removes the sash a few minutes later. GRRRR!!! Tell me I'm not the only one with this problem???

And so I fiddled around in my sewing room and came up with just the right answer. 

058perfectbow.jpg

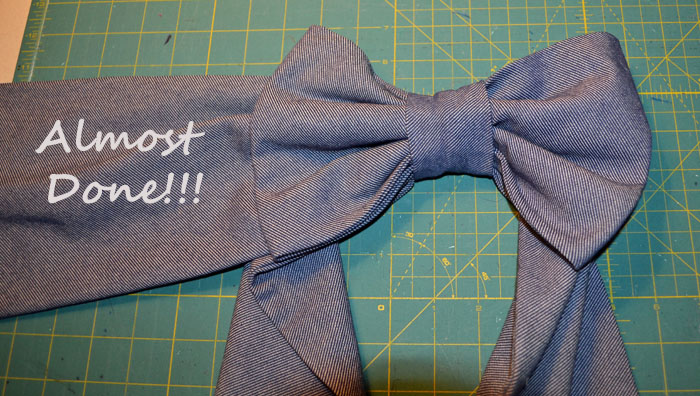
There are 3 pieces to the baby proof sash. The Bow, the Bow Center, and the Sash. 

Supplies: Sash and bow fabric, thread, sewing machine, scissors or rotary cutter, needle Kam Snaps and snap pliers. Kam snaps, by the way, are my FAVORITE things for garment closure for my crazy toddler. Fast and easy, but still secure.

Decisions, decisions....

First, you need to determine your sash length and width. Measure your child's waist while wearing the garment, add 2" for sash length.  Decide how wide you want the sash, double that and add 1/2". Cut your sash.

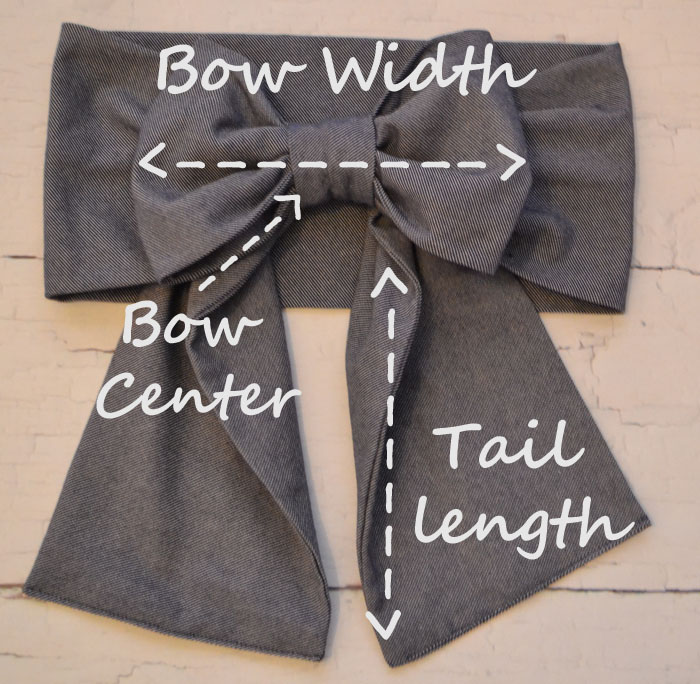
Then, you need to determine the bow width and tail length that you like.


058002perfectbow.jpg

This is all a matter of preference, and you can experiment until you find the bow size you like. Some people like big floppy bows, others like neat and tidy little bows.  The bow portion of the sash is one long strip. The width of the strip should be the same as the width you chose for your sash. The length should be the bow width x 2 plus the tail length x 2. Cut your bow strip. My bow here was 14" wide (yep, that's a big ol' bow!) and 45" long. (Tail length 13" X 2 + bow width 9.5" x 2 = 45")

Your bow center is going to be 6" long, but you must decide how wide you want your bow center to be. Just eyeball it, you really can't go wrong. Then double that number and add 1/2". Cut your bow center 6" long by width x 2 plus 1/2" . 

Making it!

Cut your sash strip and your bow strip according to the above directions, then fold right sides together along the length. 

029perfectbow.jpg
030perfectbow.jpg
037perfectbow.jpg

Set sash aside for now. 

031perfectbow.jpg

Pin bow ends closed.  Then fold your bow strip in half lengthwise with the fold on the left, matching up the ends. 

032perfectbow.jpg

Lay edge of sash on the bow width line and stitch down using a straight stitch, making sure to backstitch at beginning and end. This closes the 1 sash end and attaches it to the bow.

033perfectbow.jpg
038perfectbow.jpg
039perfectbow.jpg

Time for a tiny bit of hand stitching. 

040perfectbow.jpg
041perfectbow.jpg
042perfectbow.jpg

Time to make the bow center. 

036perfectbow.jpg
043perfectbow.jpg
044perfectbow.jpg
045perfectbow.jpg
046perfectbow.jpg
047perfectbow.jpg
048perfectbow.jpg
049perfectbow.jpg
050perfectbow.jpg
051perfectbow.jpg
052perfectbow.jpg
054perfectbow.jpg
056perfectbow.jpg
057perfectbow.jpg

That's it! You did it! Snap it on your baby girl. No tying, no nothing. Snap and go! 

058001.jpg

Thread Catcher Tutorial

032threadcatcher.jpg

For too long, my sewing room floor has looked like this. There's always a pile of scraps and threads on the floor next to my serger, and of course, the mess doesn't stay there...it gets tied up in my rolling chair wheels or tracked through the house by my little ones. I know, I know, how hard is it to pull a trash can next to me while I sew??? Not hard, and I do that sometimes, but I still miss the mark half the time and have a pile on the floor regardless.

Well, I've finally decided it's time to clean up my act. I've enlisted my husband to help, not because I can't do this all on my own, but because he spent his entire day swinging in the hammock in the backyard drinking his precious homebrew, and it's about time he does a little something today to earn his keep. Don't worry,  I just fed him a great pot roast dinner to help soak up some of that beer...can't be using power tools while tipsy, can we?

Serger Thread Catcher Tutorial

Serger Thread Catcher Tutorial

Here's what you'll need to complete this project: 

  • 1 piece of lauan plywood 1/8- 1/4 inch thick cut to size.
  • 2 scraps of material (one to cover the base and one to make the catch bag) 
  • E6000 glue or some other really great adhesive
  • Heat N bond
  • Sewing machine and thread

The first thing you need to do is measure the base of your serger. 

Mine measures 10" x 10".   I want my base to be 10" X 13". Yours should be the base of your serger X the base + 3". 


Measure your base and cut to fit.

Measure your base and cut to fit.

Next you need to mark the hole placement.

My hole is 1" in from the edge, 5" wide and 2" deep. It is 1" off center to the right. 

2.jpg

Trace your hole, round the corners. Use a drill to make a hole big enough to get a jigsaw in, then use the jigsaw to cut out your hole.

Tell your husband he can go back to the hammock.

011threadcatcher.jpg

Now it's time to get your fabric ready. I cut my fabric 3" wider than my base all the way around, so mine is 13" x 16". Cut yours 3" bigger than your base dimensions.

012threadcatcher.jpg

Now it's time to whip out one of my favorite products of all time-- Heat N Bond.  Cut your Heat N Bond to the same dimensions as your fabric. 

014threadcatcher.jpg

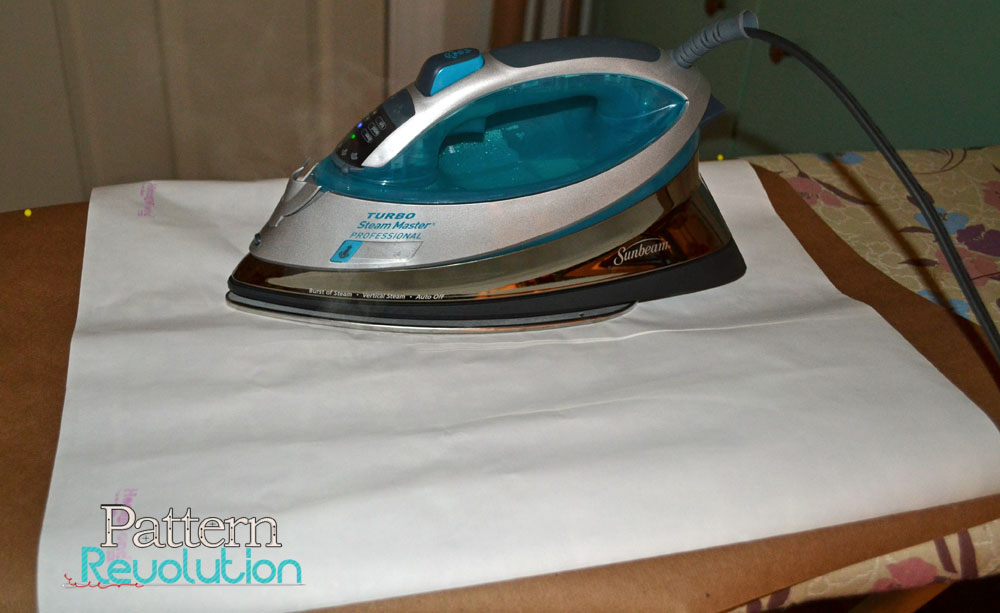
Iron the Heat N Bond to the wrong side of your fabric. I put craft paper down over my ironing board to protect it. 

015threadcatcher.jpg

Peel the paper backing off and place the fabric over your base.

016threadcatcher.jpg

Pull the long sides tight and tape in place temporarily.  

017threadcatcher.jpg

Iron the fabric to the top of the base to secure.

018threadcatcher.jpg

Trim a mitre into the 4 corners to reduce bulk. Then fold the bottom up. 

019threadcatcher.jpg

Iron to secure, then repeat with the top flap, be sure to miss the tape on the sides. Remove the tape and Iron the long sides in place. 

020threadcatcher.jpg

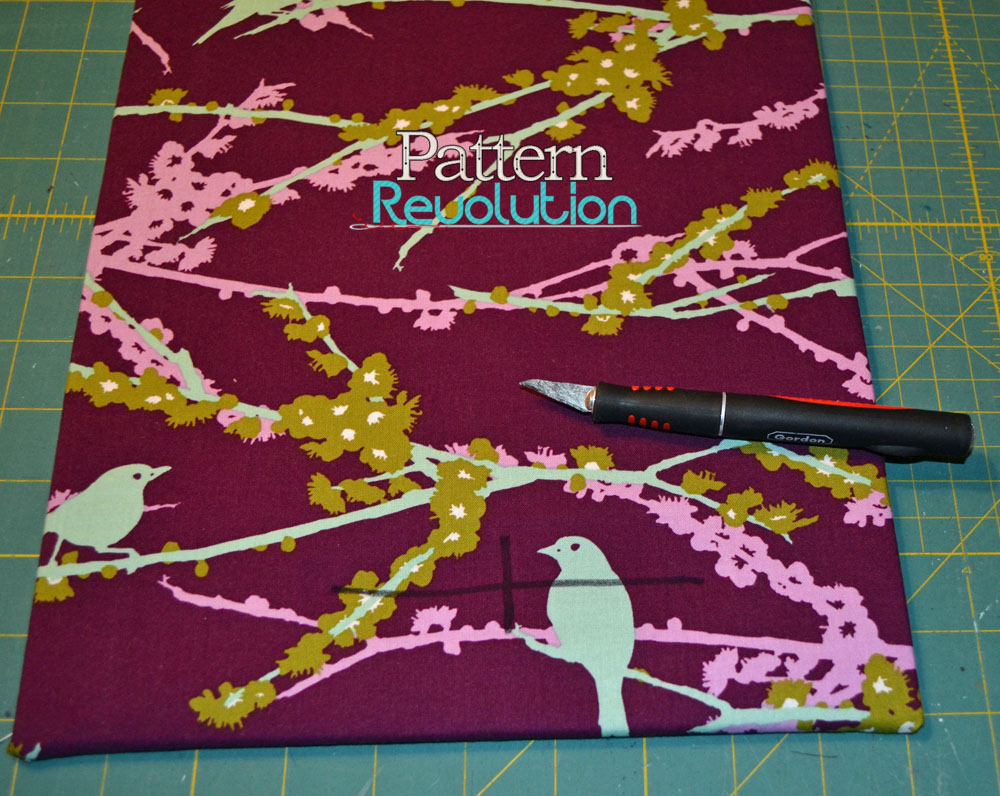
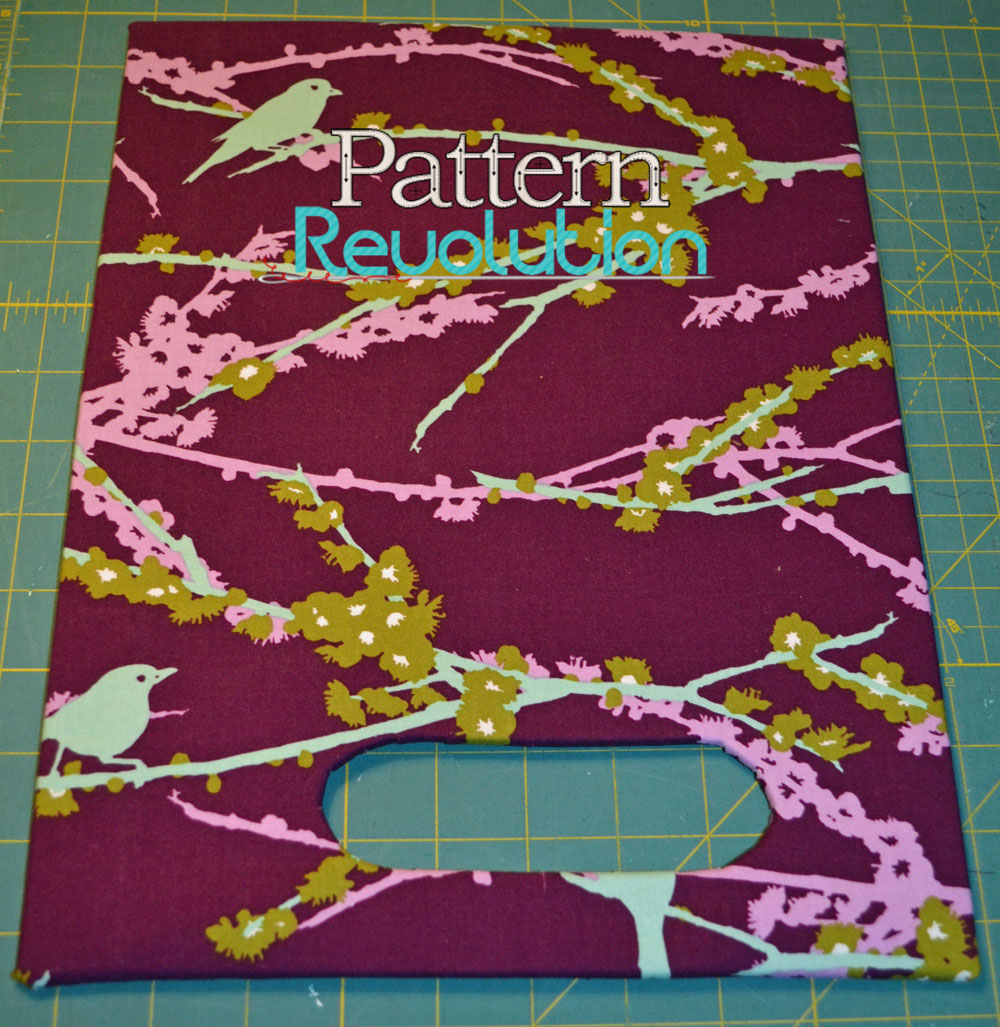
Mark the width and height of your hole and use an excto knife to cut through the fabric. 

023threadcatcher.jpg

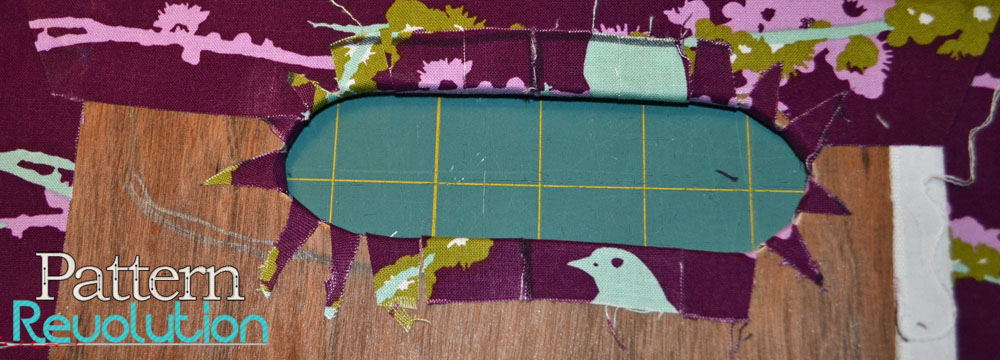
Trim any fabric on the backside that is covering the hole. Make several small snips all the way around and pull the fabric towards the back. 

024threadcatcher.jpg

Pull each snippet tight toward the back and iron in place. 

025threadcatcher.jpg

Now you should have something like this. Next, take your second fabric scrap. Cut it to 24" X 6". Fold the right sides together matching up the short sides.

026threadcatcher.jpg

The fold will be the bottom of your bag. Sew up the sides stopping 2" from the top, be sure to backstich at beginning and end. 

027threadcatcher.jpg

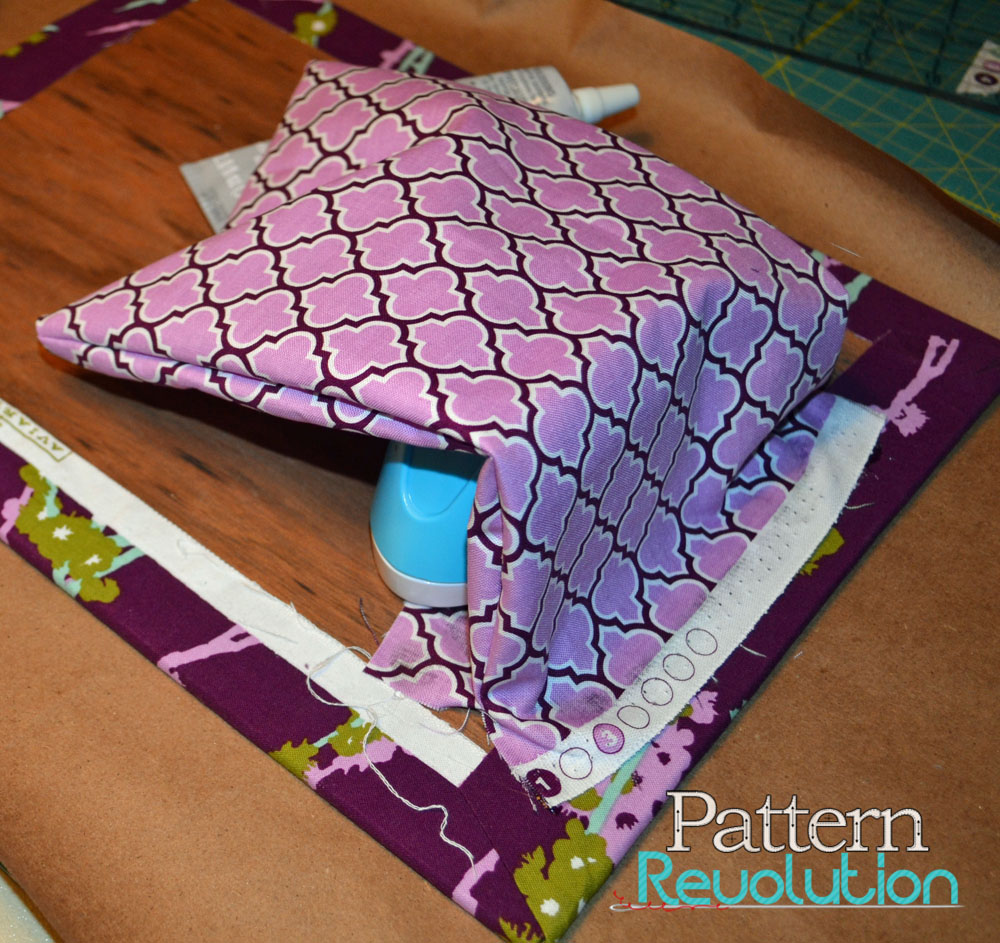
Get out you E6000, turn your bag right side out and open the bag at the side seams. 

030threadcatcher.jpg

Put your adhesive all the way around your hole. First place the top lip of the bag over the adhesive and smooth the fabric, then open and place the bottom lip over the bottom portion of the hole. 

031threadcatcher.jpg

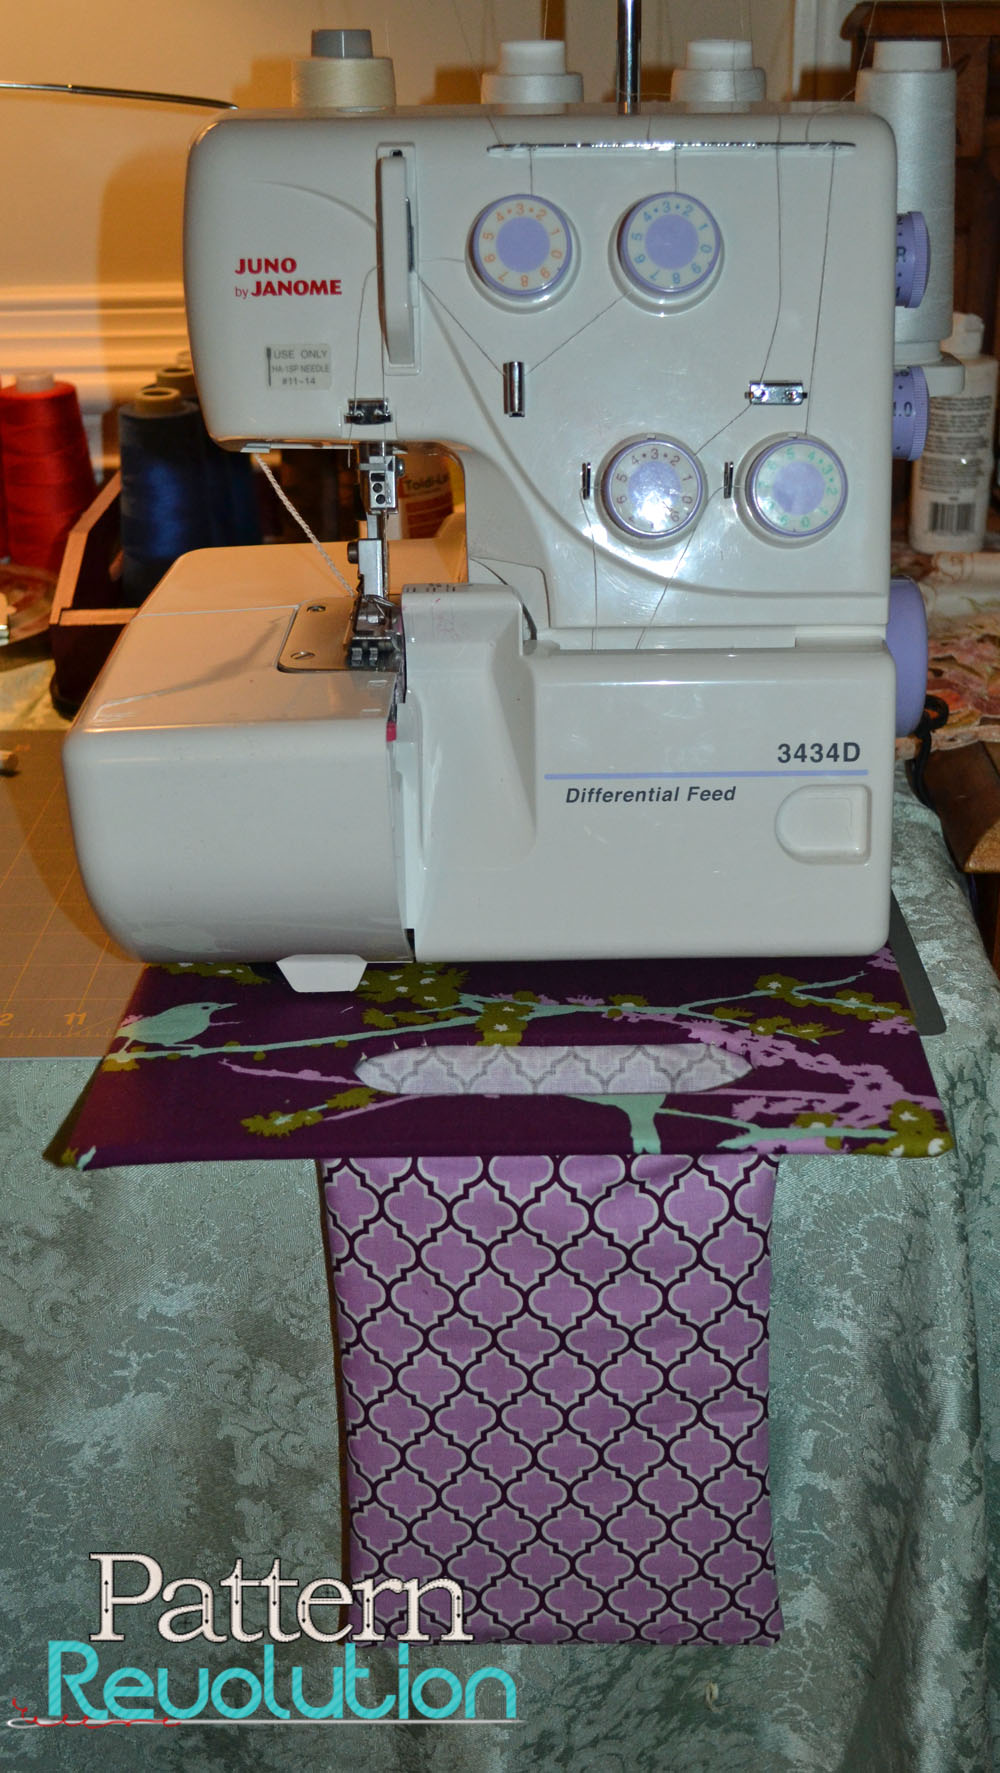
Leave it to dry. Go join your husband in the hammock, but only if it's sturdy enough for two. Come back in the morning and this is what you'll have: 

033threadcatcher.jpg

One totally awesome thread catcher!

Enjoy, and happy sewing! 

Robin

Delightful Delaney- Free Tutorial to Close an Open Back Top


If you're in the fantastic Facebook Group PDF Pattern Sales and Promotions, you've probably already seen a whole slew of adorable Delaney Tops that have been posted by members. The Delaney Top pattern is a sweet open back summer top by Astrid Novak of {SIG}nature Creations.


You can purchase it in her Etsy Shop HERE.
You can also enter to win a copy at the bottom of this post!
Also, don't forget to watch her awesome bow tying video; it's just above the giveaway!

And now, what you all came here for--the fabulous tutorial by Jerrinne Haas!

Hi, my name is Jerrinne. I’ve been sewing for as long as I can remember. About 5 years ago, I started sewing children’s clothing for my 2 little girls and 2 little nieces (and all their little girl friends).
I could probably design my own clothing (I’ve done it a few times and was fairly successful), but, I’d MUCH rather pay a nice lady (or guy) to design, size, and test the patterns for me!!! I typically don’t like making modifications to patterns, but, when I saw the sneak peak of Delany dress, I had to have it! I loved that adorable little pocket and the bow tie back. However, here in Seattle, with all our rain and grey skies, an open back top didn't seem time/cost effective for me…so, my brain started trying to figure out how to close the back. I bought the pattern the day it was released and had completed 2 closed back Delany dresses by the next morning. My girls LOVED them.

Late one night, after my girls had gone to bed, I was enjoying a glass of wine (or two) and I was spending way too much time on Facebook. I saw that there was lots of interest in a closed back Delany dress. I have no affiliation to SIGnature Creations, but, the pattern was well written and I love supporting small business/work at home moms, so, I posted a quick picture of my dresses...hoping to inspire and encourage others to buy and make their own dress. The pictures were a hit! I was asked by Robin Hill (with the blessing of Astrid Novak of SIGnature Creations) to write a tutorial on how to close the back of the Delany Top/Dress.

My first version worked fine. These were the very first ones I made and the picture that I posted on the Facebook group. 

I've actually made several since then (and even gifted a couple). Up until last night, I was ready to write a tutorial on how to close the back and add a placket (like pictured above). I even wrote out a rough draft and took all the pictures…but, they just weren't going together as smooth as I would like.

So, I changed gears a bit… 

This way seems so much “cleaner” looking and was so easy!!! I love that the size and the shape of the opening, is totally in your control!!! I absolutely love it and hope you will too!!!
NOTE: I think this method will probably only work up to size 5T. Because the larger size skirts are cut from “selvage to selvage,” there may not be enough wiggle room in the larger sizes to close up the back. The skirt portion will probably be too narrow. To close up the back size 6 and up, you might need to cut another piece of fabric to make a front and a back and attach at the sides, but, that would require a whole other tutorial.

To get started, cut the pieces out according to the pattern PLUS a 3” X 5” rectangle from the skirt material.

Sew the bodice and pocket as instructed in the pattern (pages 1-14):

Here is my bodice, skirt, and extra piece
Sew the skirt together (do not hem the skirt or add the pocket yet):


1) Fold short ends, right side, together. (I serged my ends first. 
  You can serge, zigzag stitch, or leave raw…whatever you are used to doing when sewing seams.)


2) Line up short sides.


3) Pin and sew.


4) Press seam open.

Make the lining/placket piece:


1) Mark at 1” and 2” on the top of the extra piece of skirt fabric.
 You can definitely make the distance between the two dots wider.
  (I would say, there needs to be at least 1” between the two marks, in order to tie the bow.)


2) Mark in the middle, 2” to 4” down (depending on how long of an opening you want.) 
  ***Note: I did 4” for an 18 month dress, but, I think this is kind of long and will probably use 2” next time. 4” may be more suitable for size 5T.***


3) You will have 3 marks. Two at the top and one toward the center bottom.


4) Connect the dots, making a curve toward the bottom.


 5) Trim the fabric, leaving about a 1” border.


6) Serge/Zigzag stitch around the edge

Make the Sew on the “placket” and making the slit:


1) Place the placket on top of the skirt piece, right-sides together, 
at the top of the skirt, centered over the seam.


2) Pin in place


3) Sew along the line you made in the last step


4) Clip down the middle of the placket piece(and down the seam of the skirt) that you just sewed. 
  Make a few extra clips at the curve. Be careful NOT to clip through your stitches.


5) Flip and turn your cut piece towards the inside of the skirt


6) Press smooth


7) Turn over and top stitch around your slit to hold the placket piece back.

Add your pocket, hem, gather and attach to the bodice 
(instructions are in the pattern)…and you are DONE!!!! 


My adorable niece wearing SIGnature Creations, Delany Dress, Size 18 month with the opening length of 4”


Free Brownie-Goose Summer Sailors Pocket Tutorial


It's an awesome day 

for 
Brownie Goose Fans!

Today Brownie Goose released the extended sizes of her uber popular and incredibly hot- this- season Summer Sailors! You can purchase the pattern HERE that ranges from 6-12mo- through size 12 girls. Or, if you already have the pattern, you can purchase the extended size upgrade only HERE for just a buck!!!


And if that isn't enough good news for one day....
Brownie Goose fan and
*****SUPERSTAR*****
Kari Steiger has written  a free tutorial forBrownie Goose and Pattern Revolutions fans
explaining how to turn those precious faux pockets into real working pockets!
Check it out below!


WHO LOVES BROWNIE-GOOSE’S SUMMER SAILORS?
  We do!!

WHO WANTS FUNCTIONING POCKETS?
 We do!!


Checking on her pine cone in her pocket 

Hi everyone, I’m Kari.  I love the Brownie-Goose Summer Sailor shorts.  In fact, it was my very first paid PDF pattern I sewed!  I quickly made a pair according to instructions.   Although I love the original pattern, my girls love to fill their pockets with treasures.  So I added pockets to my 2nd pair!  Adding pockets is actually very easy.  It’s just a matter of deconstructing the front pattern piece.  I learned about constructing pockets last year when I made my daughter a pair of Paperbag Pants by Shwin&Shwin.

After I finished my pair of Summer Sailors with real pockets, I posted a picture late (read: way past bedtime) at night on the PDF pattern group.  Within 15 minutes, I had several inquiries as to how I did it.  I quickly made a rudimentary tutorial, using just one picture and posted it.  This basic tutorial gets referenced almost every time BG summer sailors are mentioned.   The original tutorial was a bit lacking.  So without further ado,

Drum roll please………

Here is a STEP BY STEP guide showing you how to add functioning pockets to those beloved shorts (and any other pants really!):

STEP 1:   Print your pattern, tape pages together per instructions.   Trace or cut out the size you need.   (In my example, I’ll be making a 2T.)

STEP 2:  Set the BACK piece aside.  We’ll be working with both the FRONT and the FAUX POCKET pieces.  Take the FAUX POCKET piece and set it on top of the FRONT pattern piece, lining it up in the outer corner.  Trace the around the FAUX POCKET.  Cut away the traced area of the FAUX POCKET.  This is now your “new” FRONT piece.
  
"new" FRONT
                                                                                                                                                                                                                             
STEP 3:  Now we need to construct the pocket pieces.  On a new piece of paper, trace the FAUX POCKET.   Next, determine how wide and deep you would prefer your pockets.  In this example, I will be adding 2” from both the top and the bottom of the curve of the pocket.  It’s up to you to decide how big your pockets need to be.  Just be mindful that they need to fit within the “new” FRONT piece.  We don’t want any pockets peeking out! Mark your distance on your paper.  Draw intersecting lines to complete the rest of the “rectangle”.  Cut the new shape out.  (You may also round the bottom inner corner of the pocket if you wish.)


STEP 4:  Trace your shape from step 3 on a new piece of paper, making sure to mark the top to make sure the outer corner matches your original pattern. (The outer side will slope slightly as the original pattern).This will now be referred to as POCKET.  Cut out.  On the original “rectangular” piece, cut away the FAUX POCKET tracing.  This piece will now be your POCKET LINING.
          
This is your POCKET.

This is your POCKET LINING.
                                                                                                                                             
STEP 5: To review, you have 3 pieces – POCKET, POCKET LINING, and “new” FRONT.   Pin pattern pieces to chosen fabrics and cut out.  Remember, to cut a MIRROR image for the other side of the shorts.  Grab your bias tape as well.


Here is one side of the front, cut out.  Note the pins in the POCKET and POCKET LINING.  This is to remember the top of the POCKET and the right/correct side of the LINING.  Also, if your shorts are mainly white as mine are, choose a POCKET LINING that won’t show through.


STEP 6: Now the fun begins!  Take your “new” FRONT piece and your POCKET LINING piece and match the curve up wrong sides together (WST).  Take your bias tape and sandwich it around the curve.  The bias tape will hide the raw edges so there’s no need to finish those edges first.   Pin bias tape in place and sew.  Helpful hint: Sew your 4 sailor buttons on the front now.  I didn't and it made it really difficult to sew them on later.
        

STEP 7:  Grab your POCKET piece and match up the outer edges with your “new” FRONT.  Flip over.  The inner edges of the POCKET and POCKET LINING should match up perfectly.  If not, trim to match.   The POCKET and POCKET LINING should be right sides together (RST).  Pin the inner edges and sew with ¼” seam allowance.   Finish edges in the manner you desire (serge or zigzag to prevent fraying).


STEP 8: Baste the POCKET and POCKET LINING to the “new” FRONT on the top and outer edge to prevent shifting.
                                                
Baste 
Close up of top basting
Close up of bottom basting
STEP 9: Repeat steps to construct the other front side of the shorts.  Now, you have real pockets!  Don’t you just love them?!   Please note:  I learned the hard way by not having the buttons on yet.  Don’t make my mistake!      


STEP 10:  Continue the pattern as normal.  Be careful when sewing around the crotch.  Make sure your pocket doesn't get caught under the needle! (I speak from experience…) 

STEP 11:  When you finish, make sure you take a picture!  They truly are works of art.  Can you stand the cuteness?!

In the great words of Amy Norris…. “YAHOOOOOOS!”

Clutching the pine cone in her pocket
     
 I've paired Miss A’s Summer Sailors with the Jill Frock.

She loves the outfit as much as I do!  She told me “Thank you, thank you, thank you for my new outfit, Mommy! I’m so proud of you!”

Love this free tutorial? Share it with your friends on Facebook and pin it on Pinterest so all the world can share in the awesomeness that is Brownie Goose Summer Sailors (with real pockets!).