
Making your Own Labels with Spoonflower and a GIveaway!
/Today we have the lovely Veronica from Sew Very here to share an amazing tutorial for creating your own custom labels through Spoonflower. Whether you just want something for the garments you make for your children or labels for the custom clothing you sell in your boutique, this is such an amazing option to creating custom labels! We also have an amazing prize below: Sew Very has donated a $20 gift card to Spoonflower, and Laura of Vintage Laundry has donated her gorgeous Washing/Care Template. What an awesome prize that can get you started towards finishing your garments with professional looking labels.
Now Here's Veronica to tell you how!
------------------------------------------------------

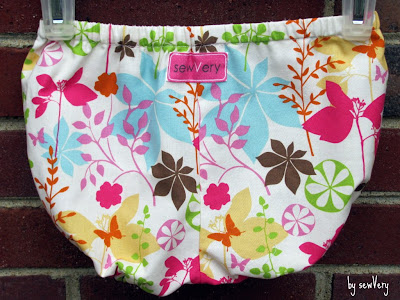
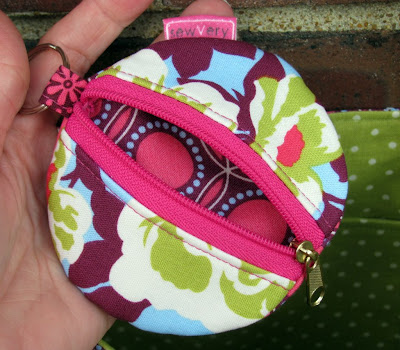
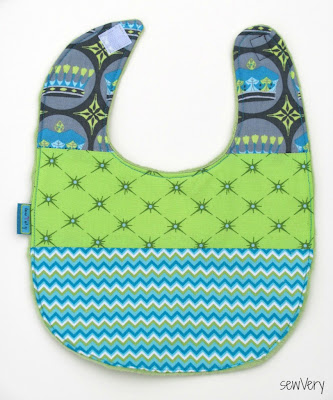
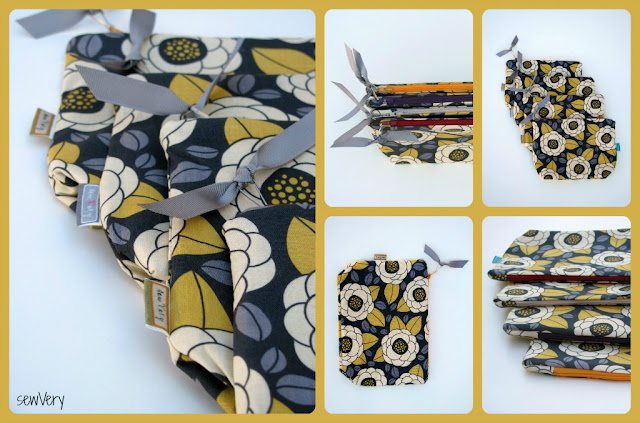
On pretty much every item I make, I attach a colorful sewVery clothing label, and today, I'm going to share with you how easy it is to make your own clothing labels!

But first, here's the entire story and how-to behind my colorful mix of sewVery labels!
Several months ago when I started sewing a lot, I decided I wanted to brand my clothes like so many other bloggers were doing. I searched Etsy, but the price for even a small quantity of custom labels with color seemed expensive. After more research, I came across a post from Kate at See Kate Sew, where she shared some basic information on how she made her own labels by printing them out as custom fabric at Spoonflower. I used her post as a guide to get me started.
My first step was to create a graphic for sewVery. For me, I wanted something pretty plain that could be used on either boy or girl items. Now, since everyone uses different photo editing software, I'll just give you the steps on how I spaced my labels and the dimensions I used. Anyone can create a simple logo using Word (that's what I used), Photoshop, Picasa, PicMonkey, or any photo editing or drafting program. I'll also give you tips or advice based on my experience.
My configuration is based on an 8 1/2" x 11" area that is filled with four columns of labels and uses a minimum pixel size of 150 pixels. In my example, I have two sizes of labels; however, you can just design one or even more. The thing to keep in mind is that the spacing between the columns and rows must stay the same in order to make cutting out the labels with a rotary cutter easy to do.

When you upload your file to Spoonflower (read below for further instructions on how to do this), you'll repeat the 8 1/2" x 11" page over and over on a yard of fabric to get approximately 500 custom labels all for roughly $20!


Here's the math for 1 yard of fabric:
1 yard of fabric area = 42" x 36" = 1,512 square inches
sheet of paper area = 8.5" x 11" = 93.5 square inches
1,512 / 93.5 = 16.17 sheets of paper per yard of fabric
* Keep in mind that with the 8 1/2" x 11" sheet of paper configuration I used, you'll actually only get 15 full sheets of labels plus the top two rows of of 5 more sheets.
Since I can fit 16 large labels and 16 small labels per sheet of paper, this means I can get
32 labels per sheet of paper x 16.17 sheets of paper per yard of fabric = 517 labels per yard of fabric!
I was very indecisive about what colors I wanted to use for my labels, so I just put together lots of color combinations that I liked and ran with it. The result was that I can color coordinate my label to the item that I make! I often get compliments on my labels because of this!
I suggest consulting the color chart from Spoonflower prior to designing and placing your order. It includes the RGB color and code. Here's what it looks like.

Spoonflower has a very useful Help page that includes a lot of valuable information about color selection. For instance, don't use two dark colors because the colors will blend together too much when printed on fabric. Contrasting colors work best together. I wish I had considered this before I placed my first order because a couple of my color combinations didn't work well. Also, the script font in white on the smaller labels didn't show up as I had hoped. As you can see in my examples above, the yellow, white, pink, and teal blue options all turned out really well.
Once you've created your logo and saved it as an image file, you'll be ready to create your labels. First, upload your file to Spoonflower HERE. Once the image is loaded, make sure the Fabric tab is selected then choose Basic Repeat, the Design Size (no smaller than 150 dpi), the fabric you'd like to print your labels on, and the quantity of fabric you want printed. You'll see a preview image of your labels laid out on the quantity of fabric you are ordering. At this point, either save your design and/or add it to your cart. Pay for your order and your label yardage will arrive in the mail in just a few days!
When the fabric arrives, be sure to wash and dry it. If you measure the labels after washing and drying it, you will notice some minimal shrinkage. Iron the fabric and then take your cutting mat, ruler, and rotary cutter and start cutting out your labels making sure you leave an approximate 1/4" border all the way around the label.

I keep my labels sorted by color and size in some clear plastic sheet protectors. When I need a label, I then fold the raw edges to the back and iron them. To keep these edges from unfolding, I then add a small amount of fabric glue to those seams. After it dries for a minute or two, I then press the entire label again from the front side.

For the smaller inseam labels, I fold the side edges in, press, and tack down with a little glue (if necessary). Then fold the label in half so that the raw edges meet and press.

When I'm ready to sew one of the larger labels onto an item, I simply pin it in place and stitch around the edge following the border I created on the image. For the smaller labels, position the label in between two pieces of fabric with right sides together making sure that the white portion of the label will be sewn into the seam allowance.

That's it! Now you can make your very own clothing labels in a wide variety of colors for just pennies! I hope I've answered all your questions on how you can make your own clothing labels. As always, I welcome your comments and would love to hear from you. Hope you'll come visit me at my blog, sewVery, and check out my other sewing projects and tutorials!
Have fun sewing!
--------------------------------------
Thanks Again Veronica - I can't wait to make some labels of my own!!!
Now enter below for the chance to WIN!


