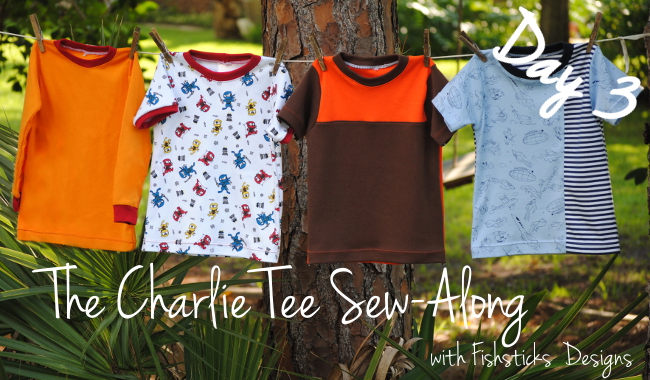
Fishsticks Designs Charlie Tee Sew-Along Day 3
/

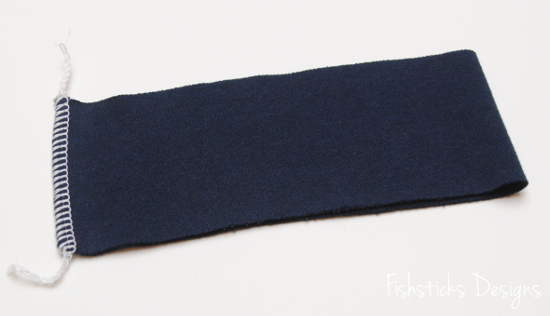
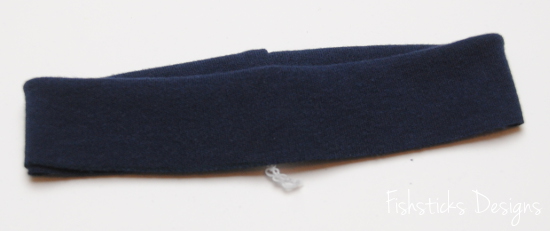
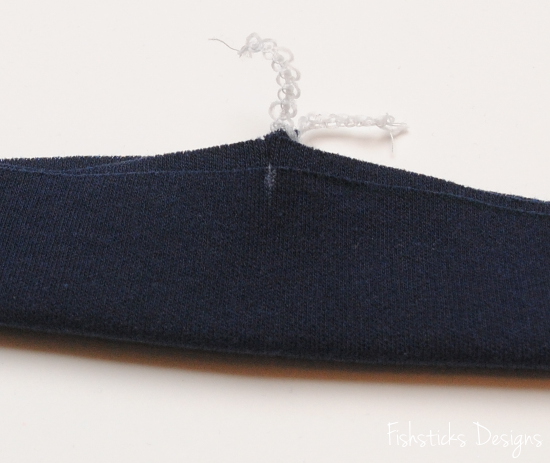
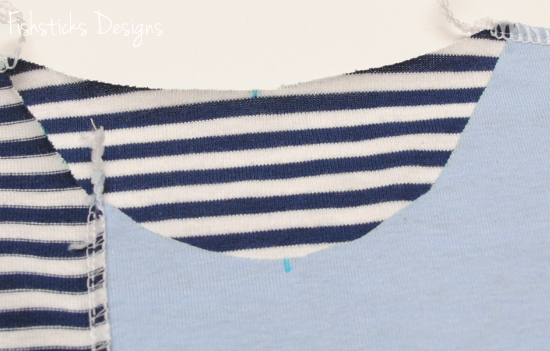
Welcome to the Pattern Revolution Social Sewing Feed! We're giving our Sew Along Center a makeover, we hope you'll stick around to see all the fun changes! Meanwhile, you can find a list of previous Sew-Alongs here!


Welcome to Pattern Revolution! We're a collective of women focused on encouraging and educating the modern sewist. Our team is made up of moms, shop owners, hobbyists, and masters of the trade. Our skill levels and project interests may vary, but our love of electronic PDF patterns are the same. Read more about the future of sewing patterns, or dive right in and let our posts inspire you
Disclosure of Material Connection: Some of the links in the posts on this site are “affiliate links.” This means if you click on the link and purchase the item, Pattern Revolution will receive a small affiliate commission. These commissions help keep the lights on at Pattern Revolution and we appreciate all of our readers for using them to purchase when possible. A complete list of our affiliates can be found on the "Sponsors and Affiliates" page. Pattern Revolution also receives a copy of the patterns featured on this blog free of charge. All reviews and options are the those of the reviewer alone and they receive no compensation for their review. Pattern Revolution only recommends products or services we use and believe will add value to our readers. Pattern Revolution is disclosing this in accordance with the Federal Trade Commission’s 16 CFR, Part 255: “Guides Concerning the Use of Endorsements and Testimonials in Advertising.”