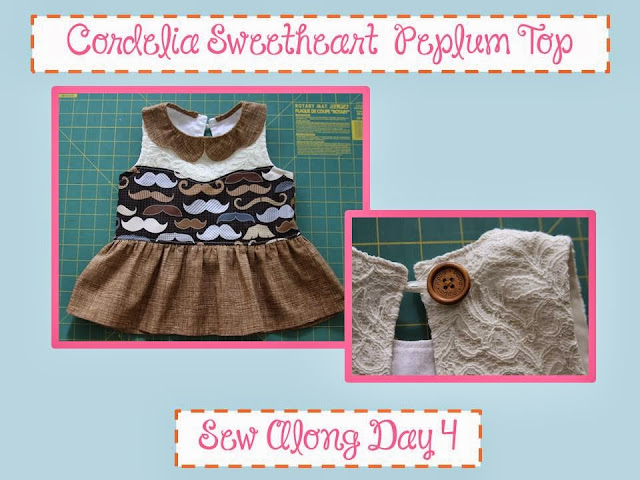
Cordelia Peplum Sew Along Day 4
/In the pattern directions, Michelle has given us instructions to slipstitch the lining to cover the seam that joins the bodice and the ruffle. I know, I know you may be gasping and saying, "WHAT?!! You mean I have to break out a needle and thread and actually do some old fashioned sewing by hand?!" LOL Truth be told, this is the very best way to finish your garment so that it looks neatly and beautifully finished inside as it does on the outside. However...if you truly despise hand sewing or are pressed for time to finish as I was with my mustache peplum top, there is another way to complete this step that doesn't require hand sewing. Hope springs eternal, right? ;)
So here is what you would do...after turning under your lining a 1/4", pull it down to cover the seam and press with your iron. Take your top to the sewing machine and topstitch on the bodice, just above the seam joining the ruffle to the bodice. Go slowly taking care to ensure that the lining is still pulled down over the seam and that the needle is in fact catching the lining. This doesn't create quite the beautifully finished lining that slipstitching does, but hey... it gets the job done! And no one, other than you will really know, right? ;)
If you choose to complete the optional step of adding the Peter Pan collar, then I recommend leaving off the button till that is done. After attaching the collar, press once again with a very hot, steamy iron. Don't forget to use a pressing cloth if needed. Can you tell I love my iron? I'm always telling you to press with a hot iron. However pressing after you sew seams really does make a world of difference in how the finished product turns out. Once the collar is attached and topstitched, then sew on the button and voilà! You have finished your Cordelia Sweetheart Peplum Top! Aren't you proud of yourself? Of course, you are and rightly so! So stick around for one more day as we show off our finished garment, preferably on a lovely little model, tomorrow! :)


