Runway Deconstructed: #ChallengeCreate Vintage Entry, Explained
/VOTE HERE
*Becca and I are the first bubble in the poll at the bottom of the post
Becca and I loved that this week was a 'hint' of vintage - we made ourselves the promise when we entered this competition that we would only make things that we would 100% wear in our daily lives. That can be hard when you have a costumer and a vintage category - my brain starts churning over what is period appropriate and whether I should also create period undergarments to be consistent with the time, and on, and on, and ooooooooonnnnnnnnnnnn. Thankfully there was that little word 'hint' to help Becca and I keep our promise to ourselves and make my brain relax enough to sew this look up with three kids underfoot.
My look started with inspiration. I don't wear dresses very often, and I love the one I made last week, so I really wanted to make more pants since I know I will wear them. When Becca suggested the 30's, I stalled out - the 30's aren't inherently known for pants, but I started to do some research and was so happy with what I started to find.... PANTS
...more specifically, Beach Pajamas, but still - PANTS! And who just recently published a great wide leg pant pattern - well my dear friend Jodi at Jocole - such an easy pattern, which is a good thing when your first, completely finished, pair shreds because the fabric is rotten (sigh).
Luckily I had a big enough piece of grey material to cut another pair - which is great since I didn't exactly have time to go to the store and buy more!
So, wide leg pants were married with a simple fitted Tank Top - modified from the Deer and Doe Plantain pattern. And a bright pop of color in the Red Shrug. The shrug is also a pattern I created using the Plantain as a base. I adapted the sleeve to have a gathered sleeve cap, added a kick pleat in the back for fun, and finished the edge with a folded band that creates a beautiful neck line.
I probably had the most fun making the hat. It is the Cloche Hat pattern by Stitchwerx Designs. I adapted it slightly to get a perfect fit for my head (with semi - period hair style). It is fully lined in the same grey material as the pants. And my mom can be proud that I finally used the right type of interfacing for the right project.
Overall I am so happy with how my outfit turned out (still sighing a bit about the lost fabric on the original pants) - it has a nod to period without getting me weird looks when I go out and about in PA. I also love that the pieces are mix and match-able in my wardrobe, YAY clothes!
Ahhh, Vintage! Now here's a theme I can really embrace! And my existing fabric stash pretty much begged for a 30's retro look. Classic prints, classic colors...
But this is a *hint* of vintage, so I picked my patterns carefully! For a "classic" silhouette that fit seamlessly with modern aesthetic, I chose:
- Named Jamie Jeans (Cropped to capri length)
- Named Virna Crop Top (Modified to hide the post baby bell-ay!)
- Mouse House Creations Julia Cardigan (Cap Sleeve)
I'm totally pumped with the 100% wearable results! But more than that? I'm pumped by the professional finish on each! It's more than a serger-less seamstress can hope for, especially since I have only been sewing women's apparel since late January!
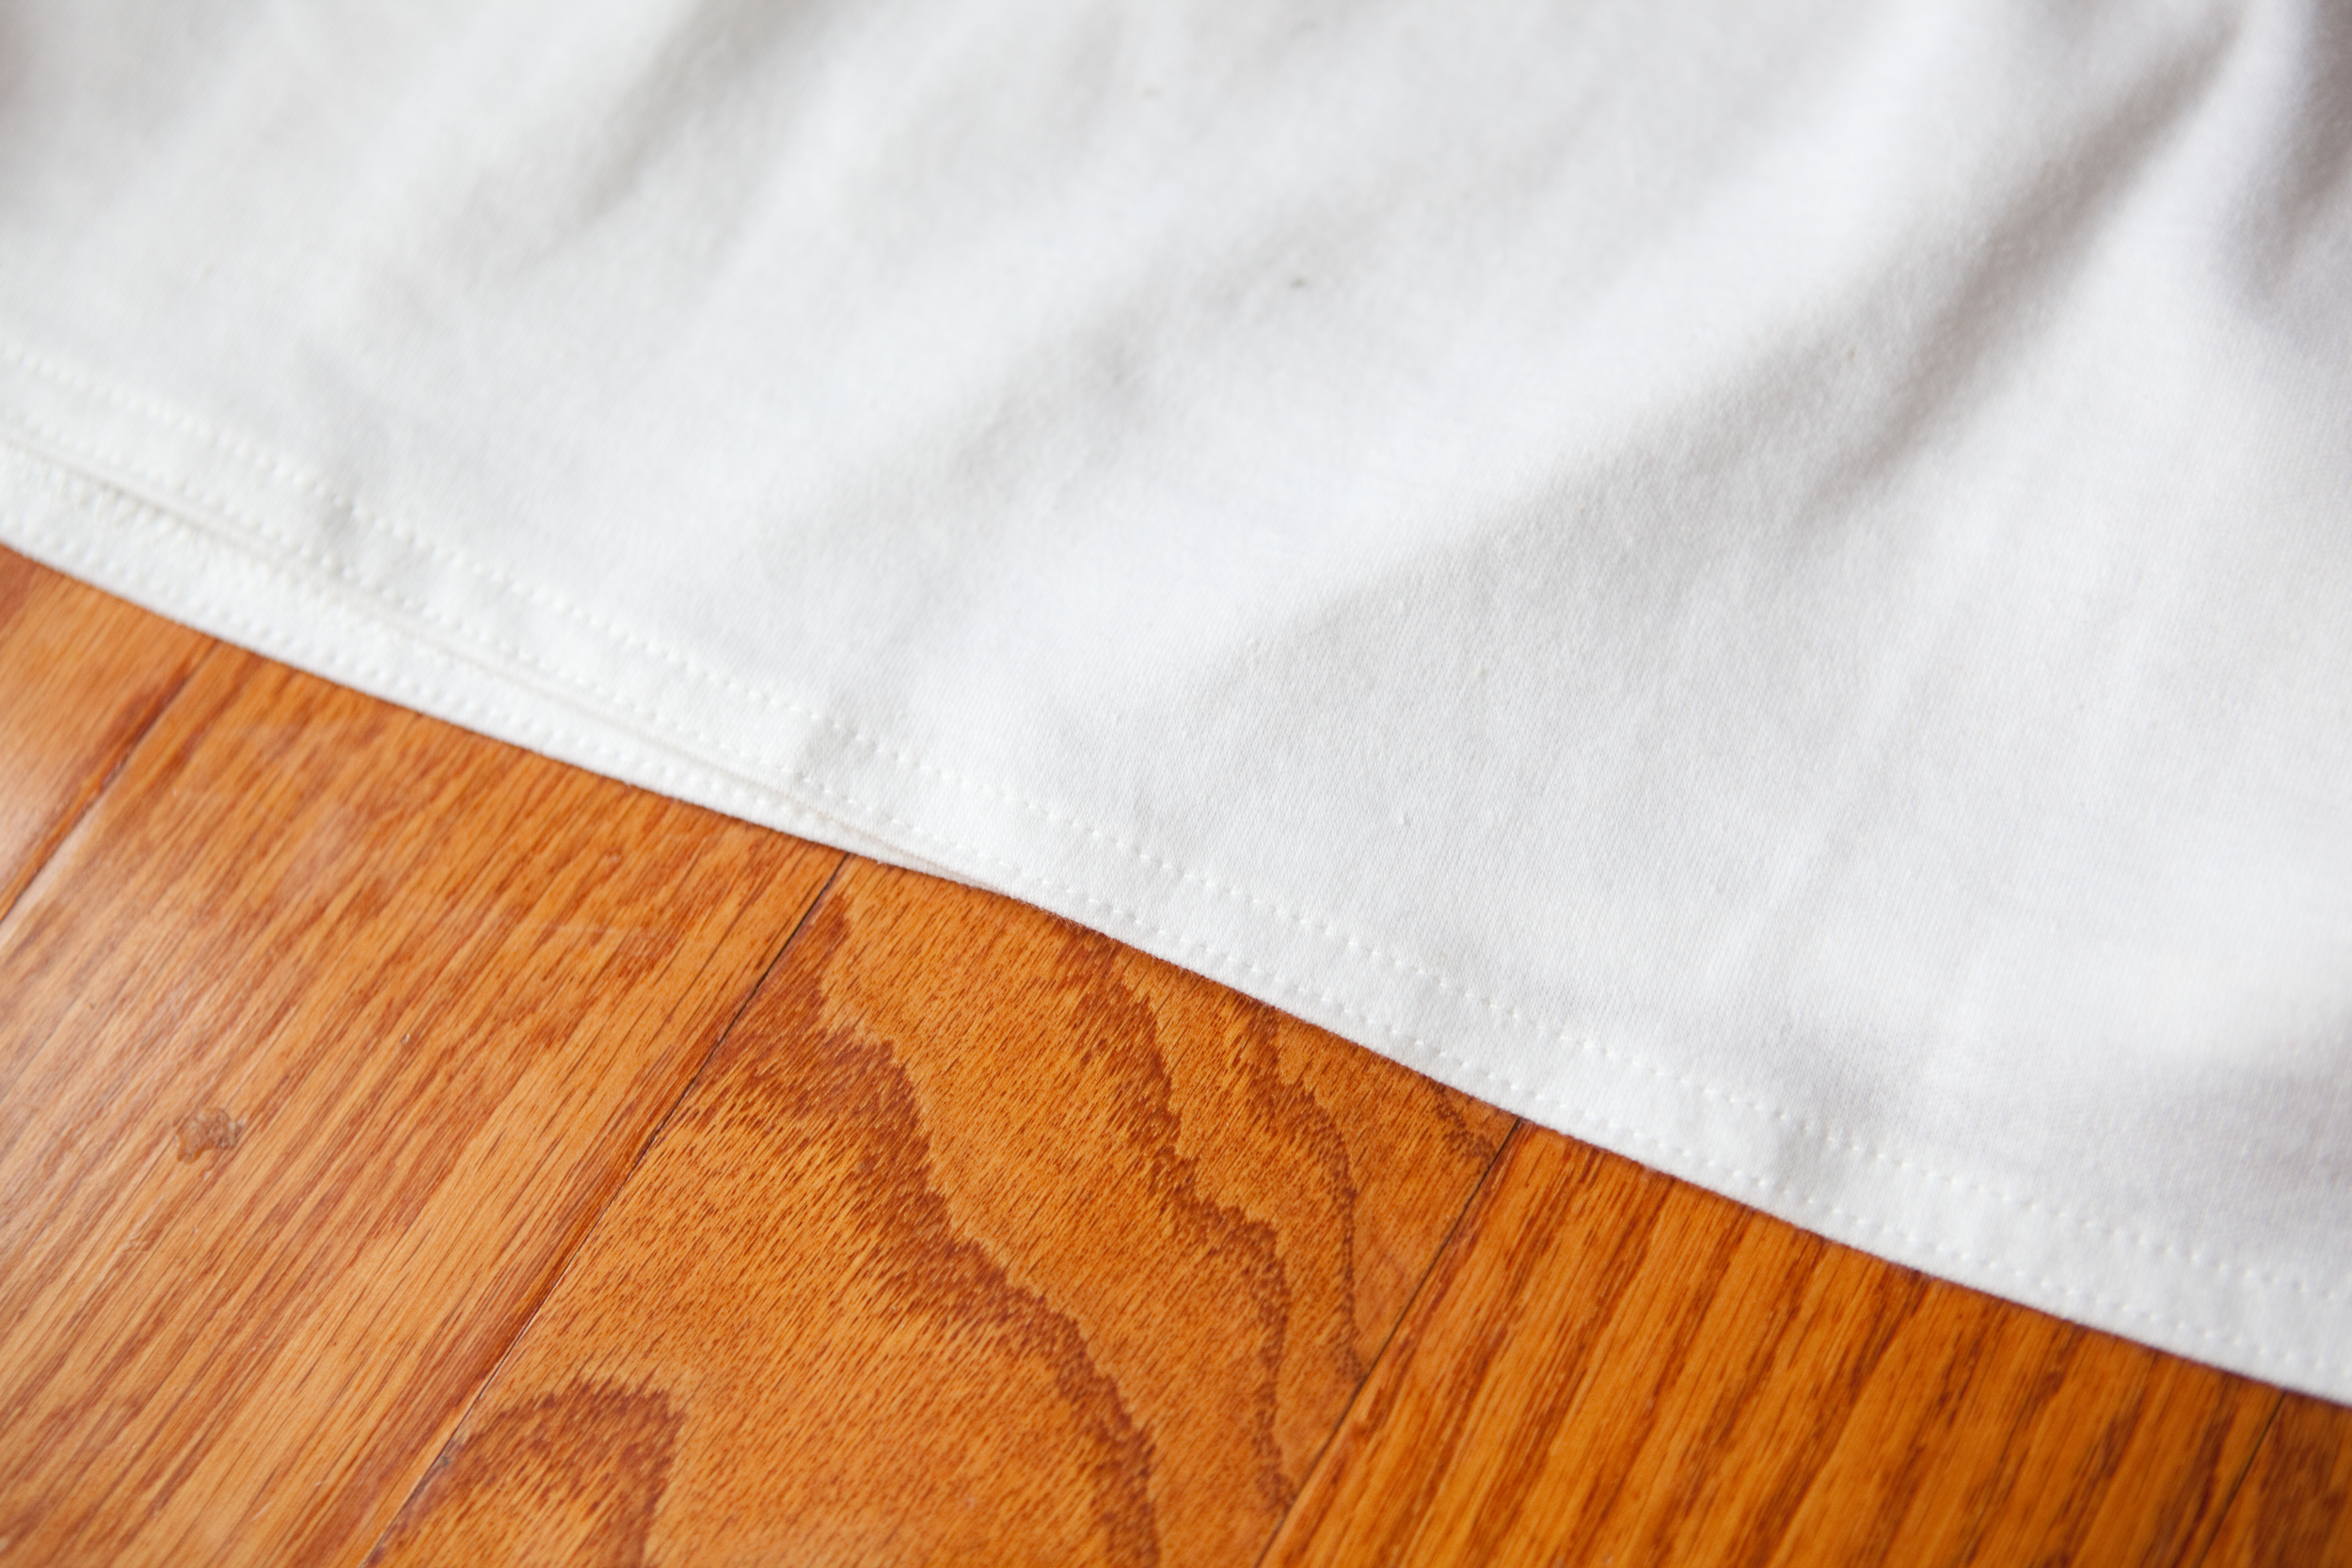
Ignoring for a second that I didn't lint-roll or iron these after wearing them ALL WEEK LONG... let's just admire the stitchwork! Now I routinely proclaim I can't sew in a straight line, so I knew I had to do something different this week to get professional results. The secret ingredient? TIME. Who knew?? If you slow down your pace, straight lines really aren't too hard to come by! High-five!
But what about the Julia Cardigan? What's my secret weapon there? The TWIN NEEDLE.
The knit used here is pretty sheer, so I knew all my seams would be (slightly) visible from the outside. The twin needle neatly stitched all of my raw edges down with what looks like a zig zag stitch along the inside. The result is flat-laying seam with no itchy exposed edges. Seriously: this is how the twin needle transformed my apparel sewing. (And its way more budget friendly than a serger! But let's agree not to tell hubs that when I'm pleading to work a serger into our family budget ;)...)
But what about the Virna top? The professional finish was built right in! It's fully lined, and therefore, fully reversible! I'm rocking this floral knit on the outside, and a solid black knit on the inside.
The detail work on the bodice is super cool. I wish I'd picked a thinner set of knits though, so the edges would have been less bulky for a tighter topstitch. Live/Learn! I also picked this size based on my bust measurements two weeks ago. I am pretty bummed that baby boy's nursing needs shifted drastically enough that I dropped a whole cup size before I got a chance to photograph it!
Don't look too closely, I totally stuffed my one deflated side. HEY! I said don't look! ;) Good thing the reverse side is black! Maybe it won't be so obvious there :)
Anyhow, that's a wrap on week 3! I love it all! If you do too, don't forget to VOTE! Our scores dipped last week so we need our fans to keep us at #1! Mucho Love, friends! <3 <3 <3


