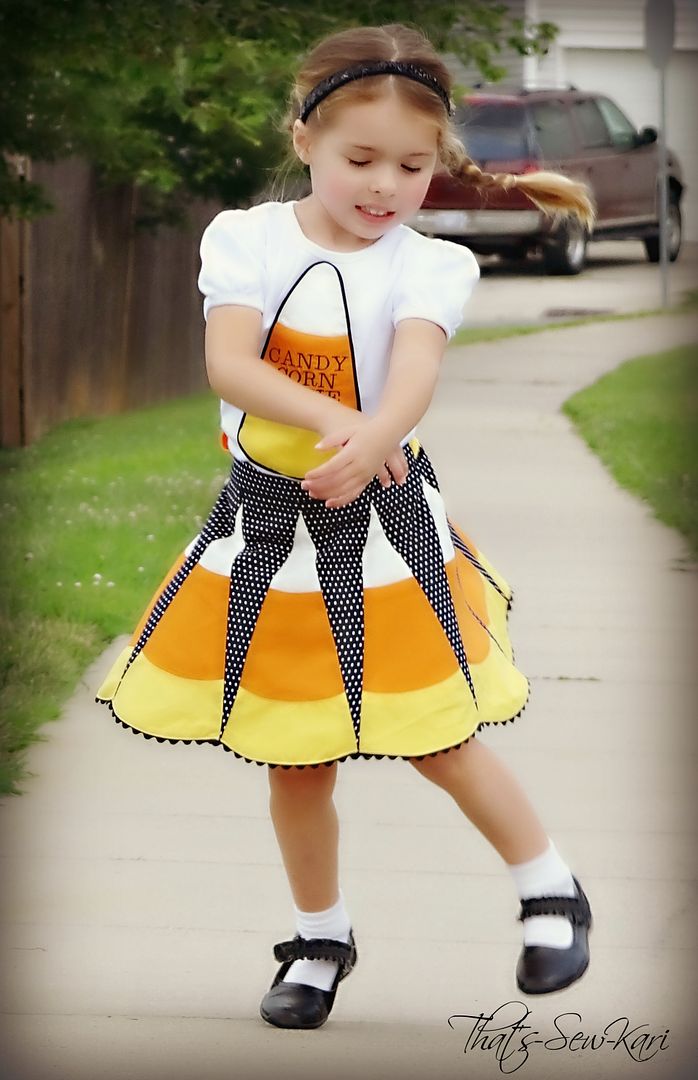
About a month ago, I posted my test version of the Retro Glam Skirt by Little Lizard King. I had chosen a Candy Corn theme and the response was overwhelming! I was going to keep my candy corn sewing process a secret, but I woke up a week ago feeling generous and decided to share my tutorial with all of you. I hope you enjoy!
When I first saw the Retro Glam Skirt, I immediately thought the scalloped pieces were perfect for candy corns. Originally, I thought I'd piece some yellow, orange, and white fabric together horizontally, cut my scallops and call it a day. But, as I researched candy corns, I realized a couple things, 1.) all the pictures I saw had scalloped edges for each color and 2.) candy corns are not an ombre effect - the orange is in the middle! Whew, glad I Googled that!
So, armed with the knowledge that each color was scalloped, I began forming a plan. I could "deconstruct" the pattern piece into my 3 pieces and sew the fabrics with a curved seam, also known as a Princess Seam. The thing is, though, you can't just cut the pattern piece into 3 and make it work. There are these pesky important things called seam allowances that need to be accounted for in order for your candy corns to match up to your original scalloped pattern piece. (By the way, I probably should have gotten permission during my pattern test to do this, but I didn't think about it (or tell a single soul about my plans) until I was finished -- oops!)
Okay, let's get into the nitty-gritty:
1) Print your pattern pieces, MEASURE your test square (seriously, don't skip this step on ANY pattern you print!!!), and cut your size out. Set the triangle piece aside for now. We'll be working with just the scalloped pattern piece.
2) How you'd like your candy corn divided is purely personal preference, but the orange (middle) is normally the largest/tallest of the 3 colors. (I won't be showing the entire pattern piece in this tutorial - just what you need to see.)
3) Draw curved lines (matching the curve of the bottom of the pattern piece) where you'd like your seam lines to be. (They are the solid lines in the picture)
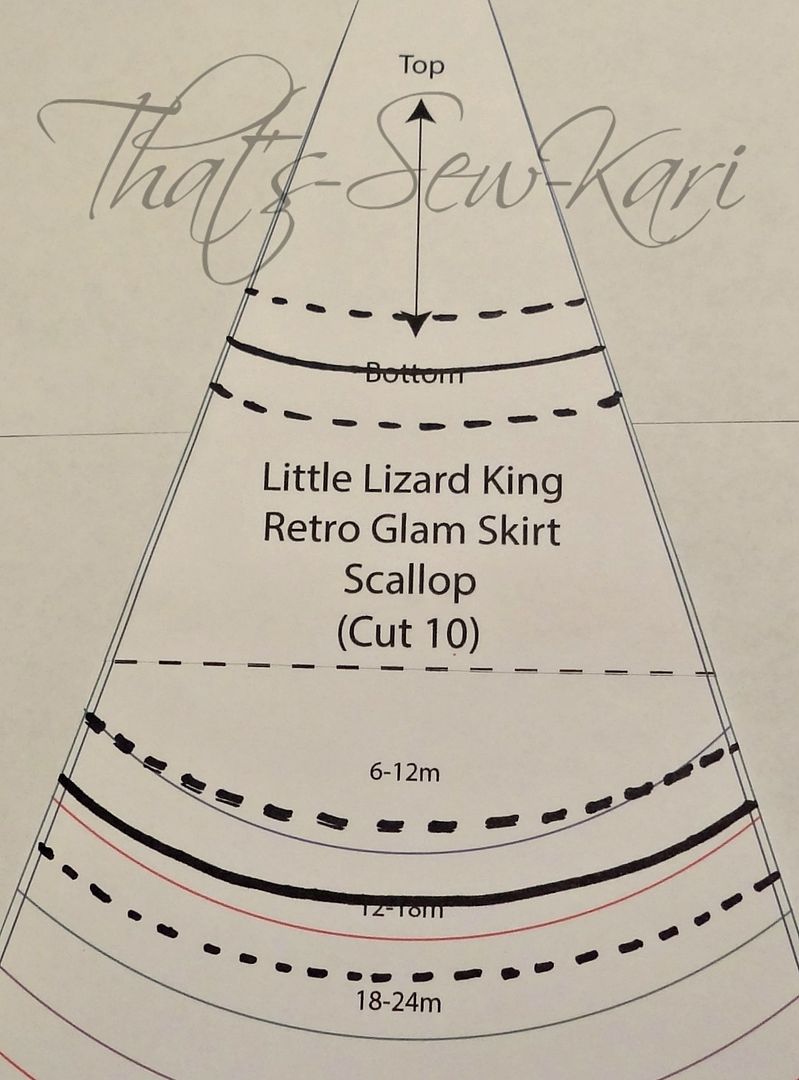 |
| Solid line = intended seam line |
4) Determine what you'd like your seam allowance to be. I'm using a 1/2" seam allowance, but it's purely preference. Using the width of your SA, draw another set of curved lines (might be helpful to use dashes) ABOVE and BELOW the two curved lines you've drawn originally. You should now have 2 sets of 3 curved lines.
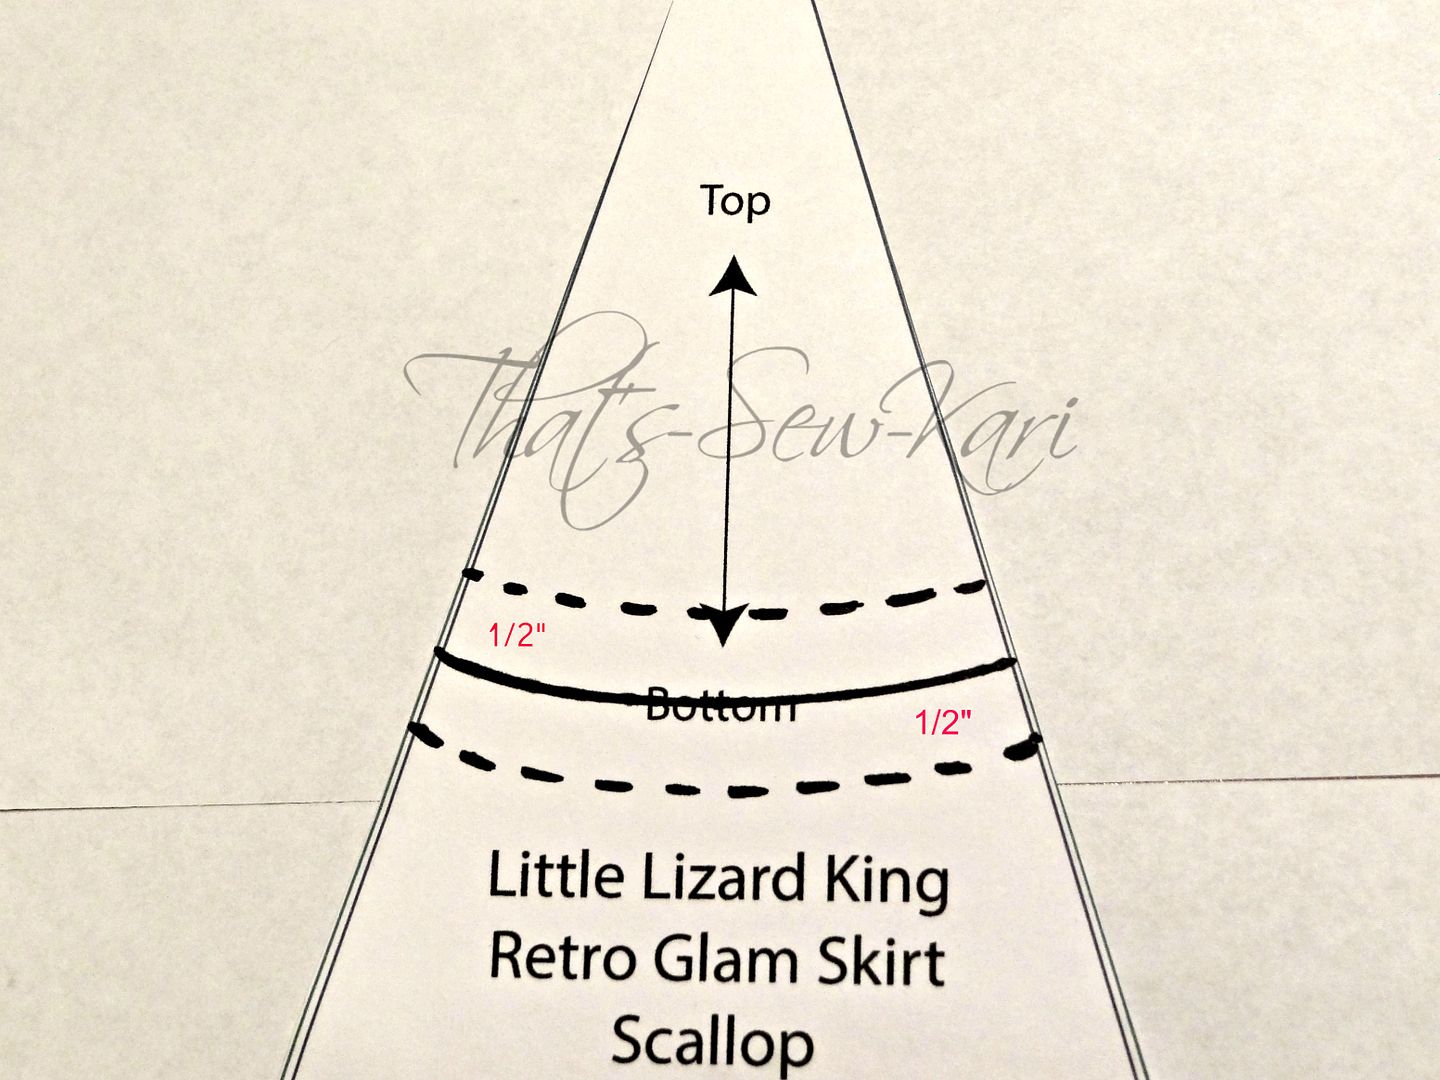 |
| Add seam allowance to both sides |
5) Grab a sheet of blank paper. We'll start with tracing out the yellow portion (the bottom piece). Trace along the outside edge of the bottom. The top line of the bottom set of curves you've drawn will be the top of the yellow pattern piece.
6) The orange piece (middle piece) will use the bottom line of the bottom set of curves you've drawn and the top line of the upper set of curves.
7) The white piece (top piece) will use the bottom line of the upper set of curves.
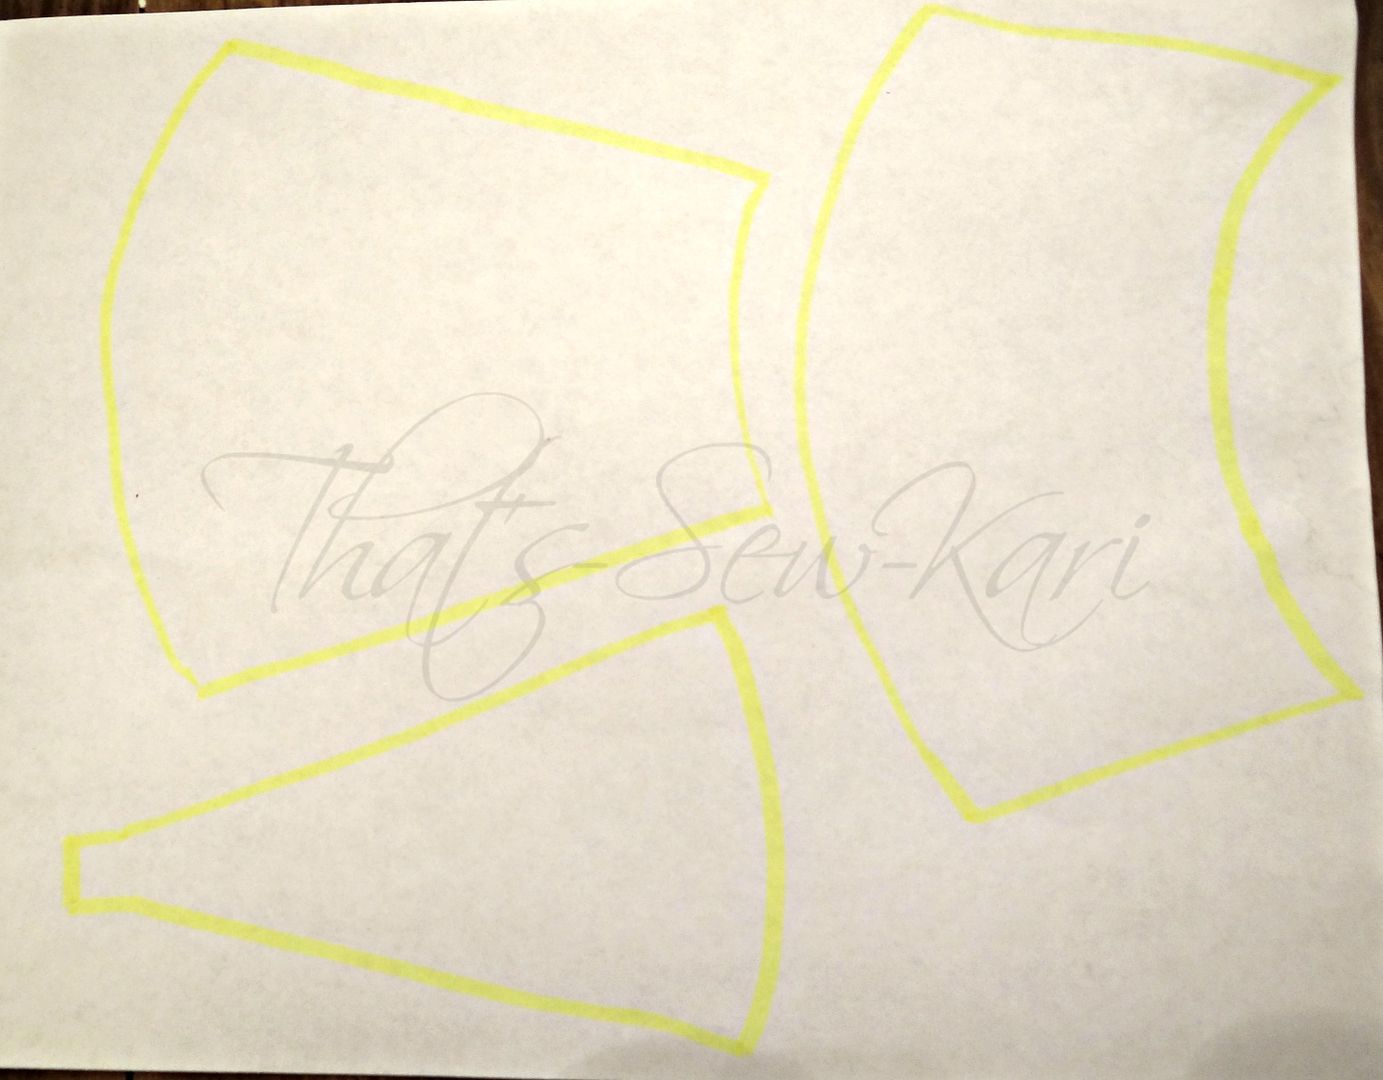 |
| The scallop - deconstructed |
8) Cut out your pattern pieces and cut them out of your fabric. I recommend cutting just one set first to make sure you're happy with the ratios you've chosen.
9) Fold each piece in half and iron in a small crease. This will aid in making sure the middles match up!
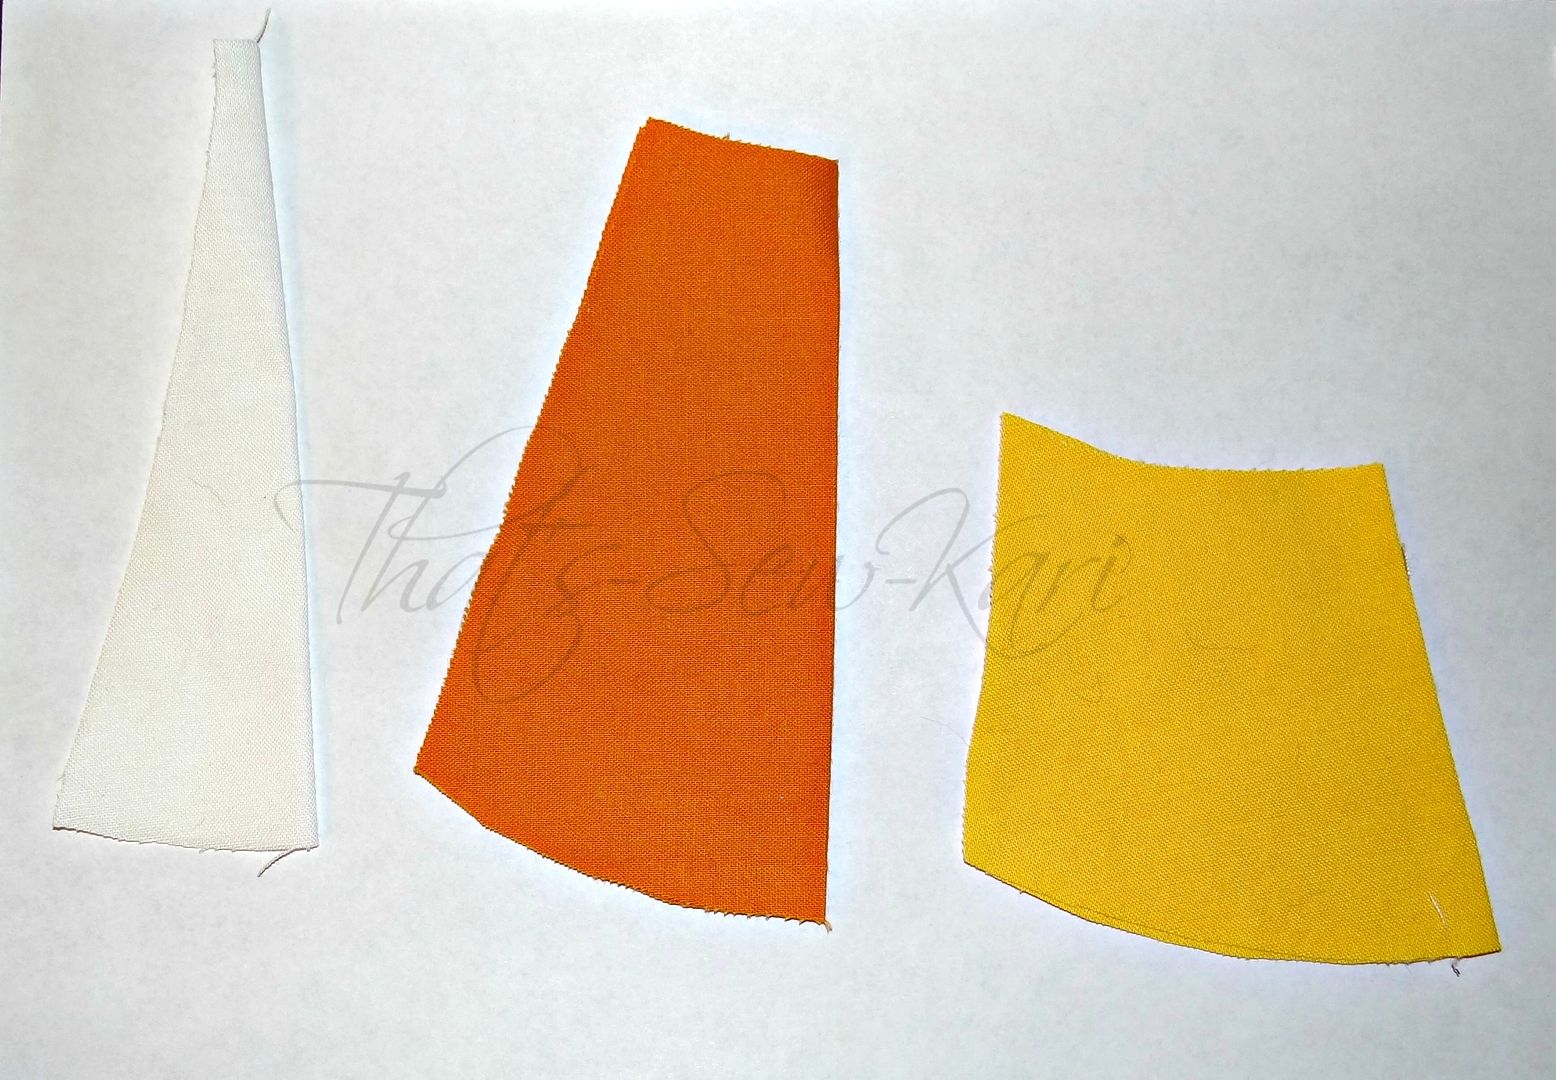 |
| Fold in half and press crease. |
Right sides together, pin the middle of the orange bottom to the middle top of the yellow. You'll see the curves run the opposite direction.
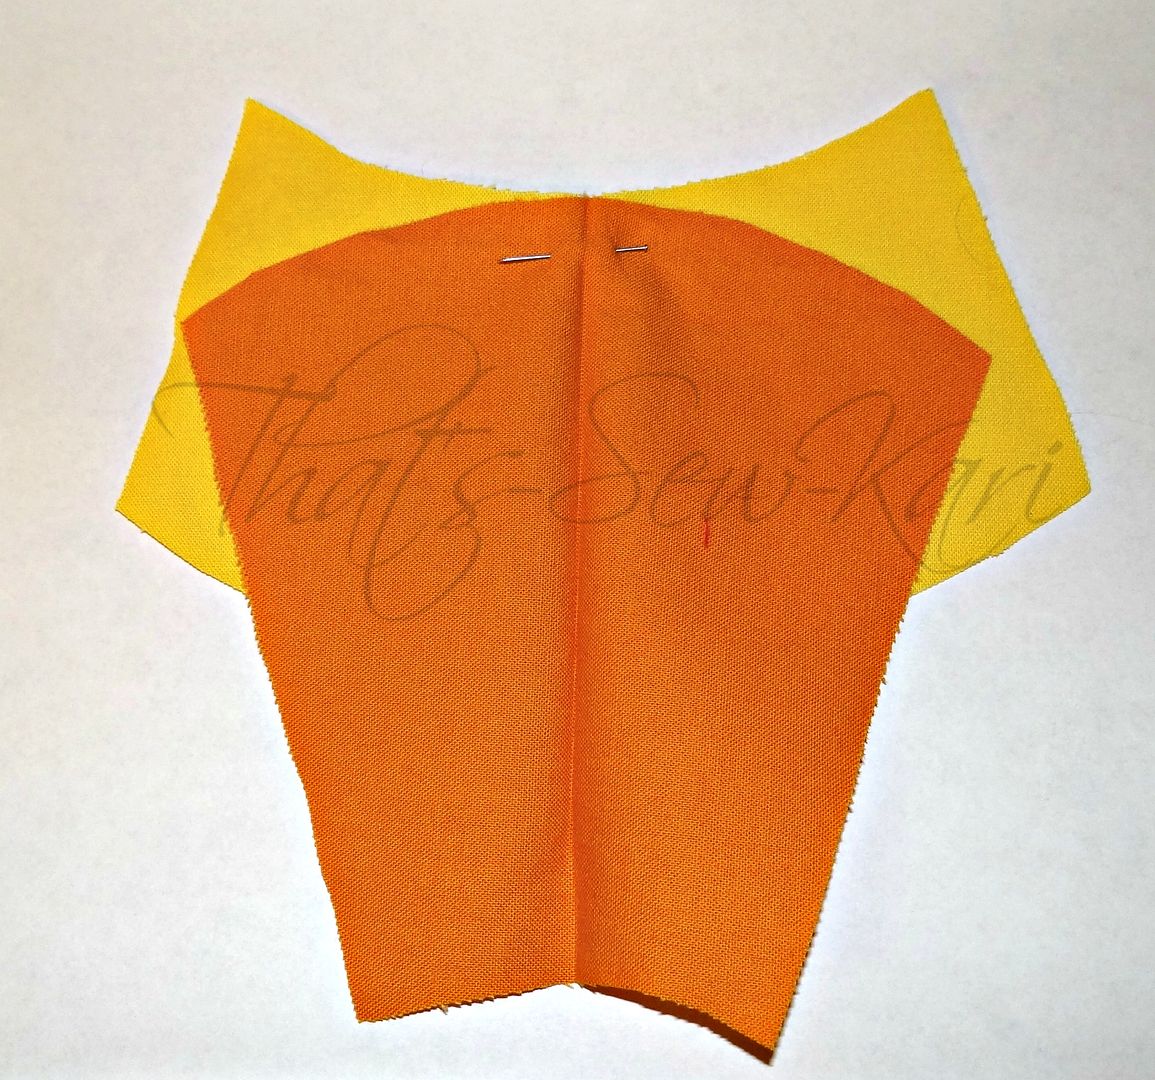 |
| Match up the middle creases |
Starting from the middle, ease your way to one side, matching the edges and pinning as you go. Repeat with the other side.
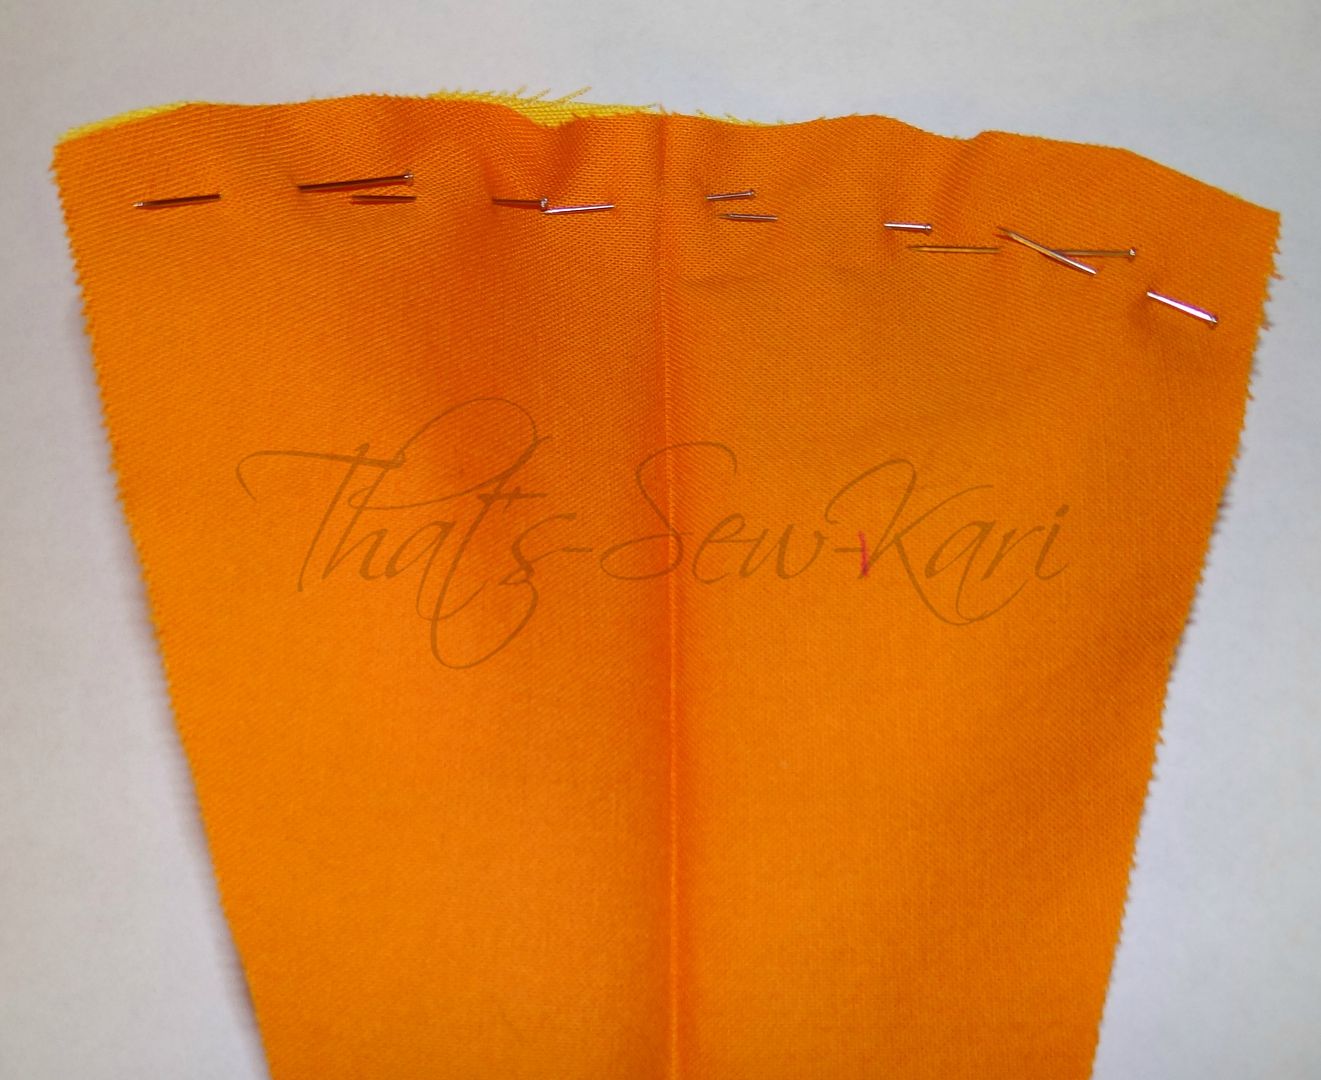 |
| Ease the curves together, pin well. |
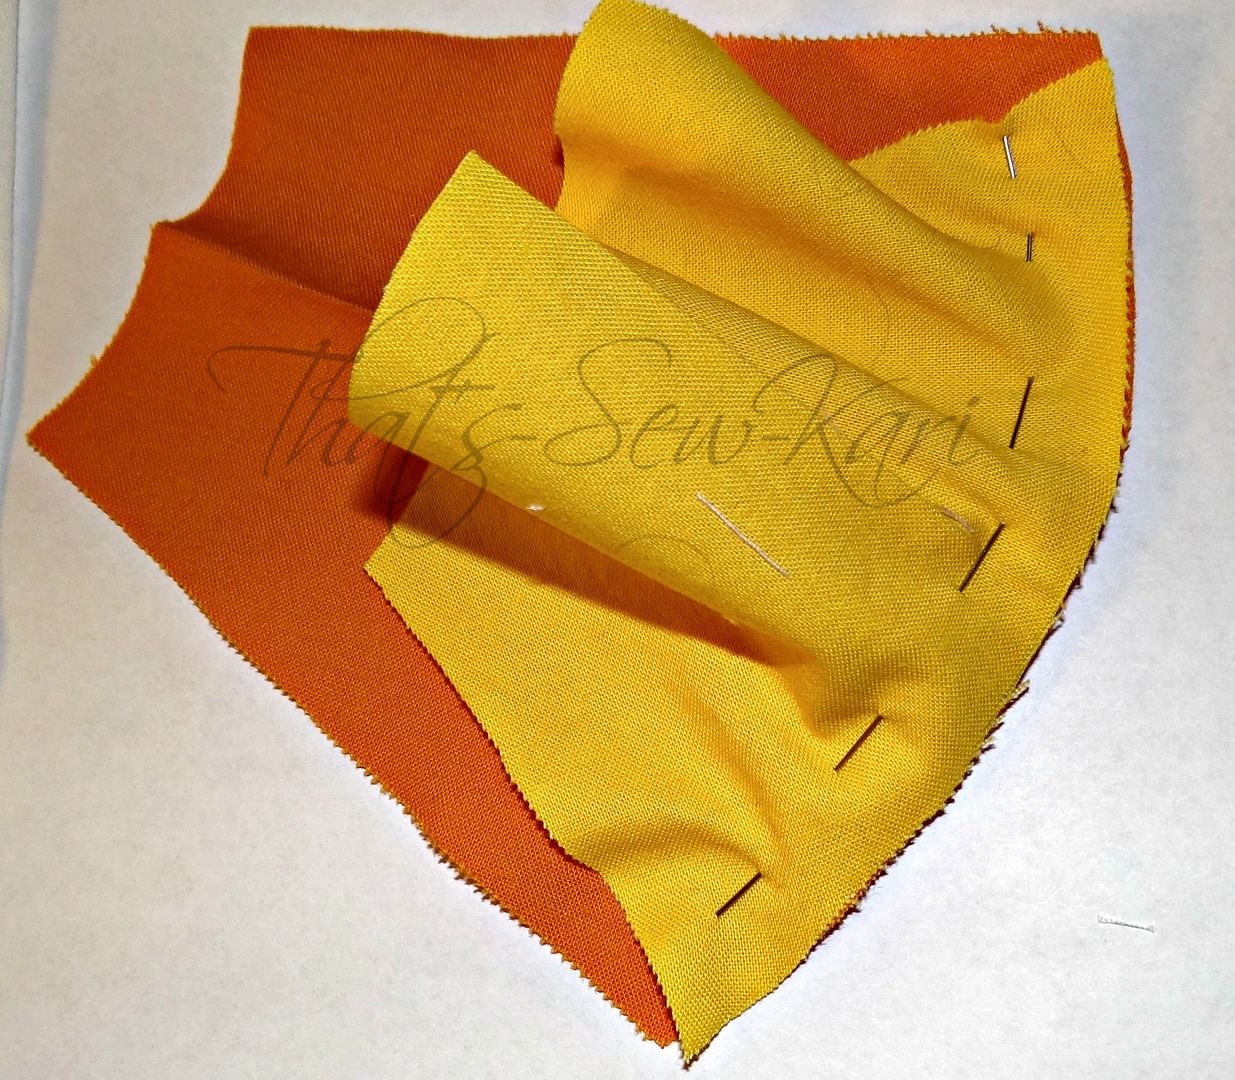 |
| Reverse side |
Now take the white piece and match the bottom of it up with the top curve of the orange piece, right sides together. (I used Kona cotton and I don't even know if there is a right side, but just make sure your seams will be on the same side...LOL). Ease the white along the curve of the orange as you did with the yellow.
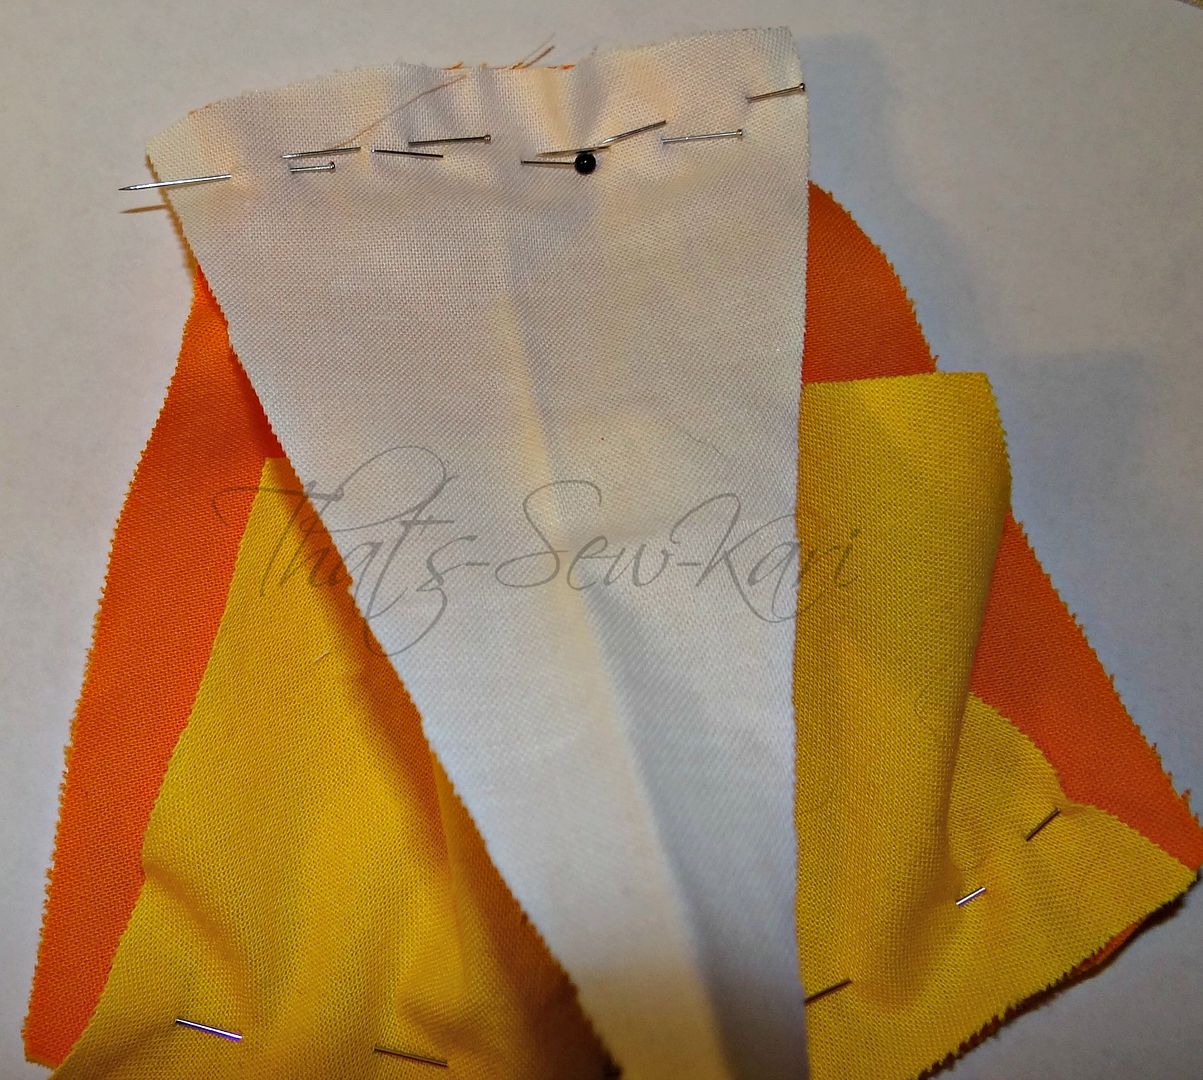 |
| Make sure seams will be on the same side! |
10) Sew along the curves, slowly, so you can smooth out any potential puckers, using your pre-determined SA. (If you are using a serger, I recommend disengaging your knife!) Finish your edges however you'd like.
11) Iron your seam allowances downward (this will allow the seams to lay flat without clipping any curves). Topstitch the seams in place.
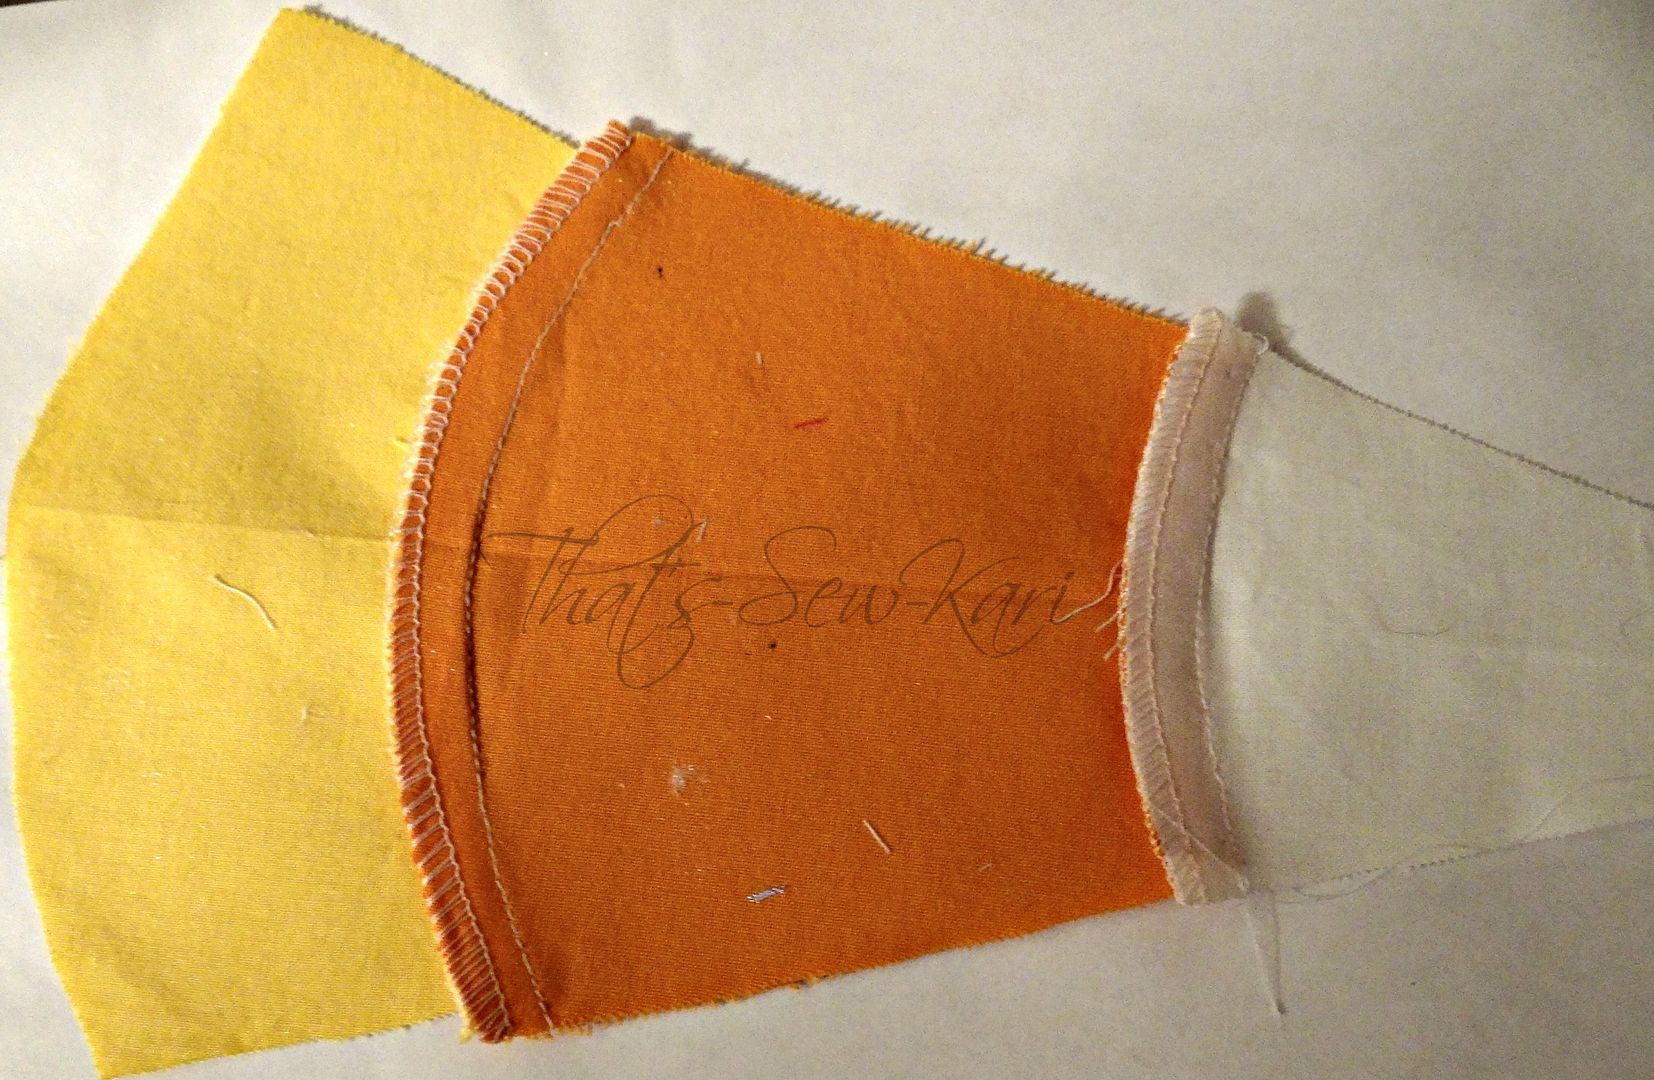 |
| Iron seams downward after finishing edges |
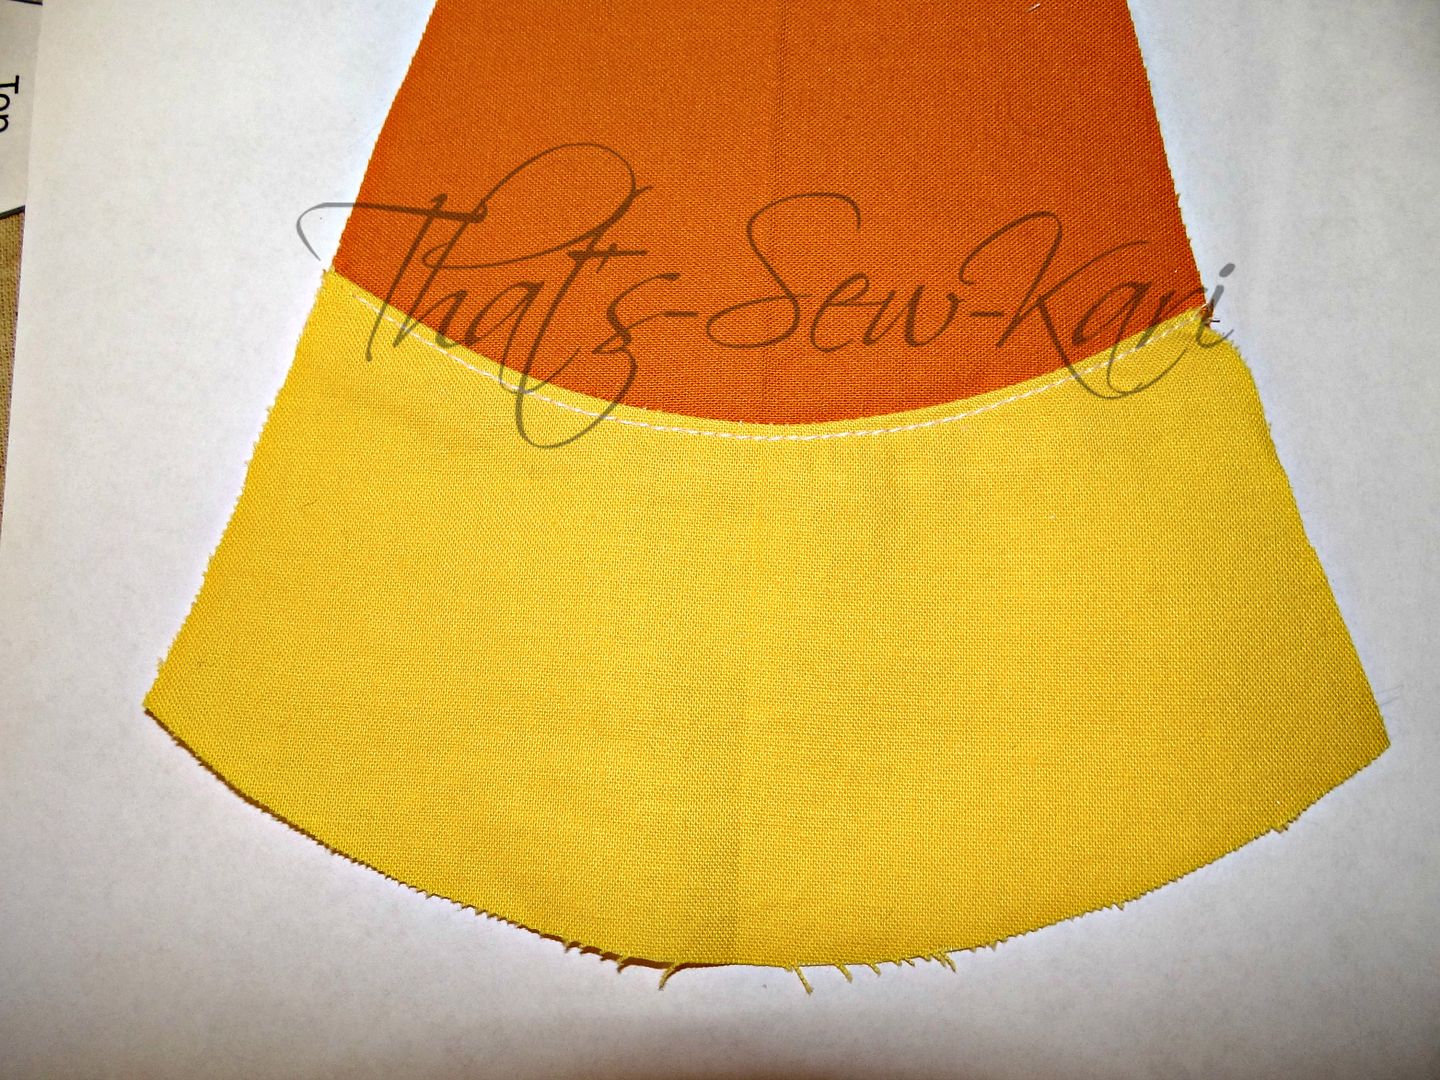 |
| Topstitch along the curved seams |
12) Trim any slight overages on the sides. Place original pattern piece on top to make sure no mistakes were made in the construction of the candy corns. Repeat process for remaining 9 candy corns. Sew pattern according to directions.
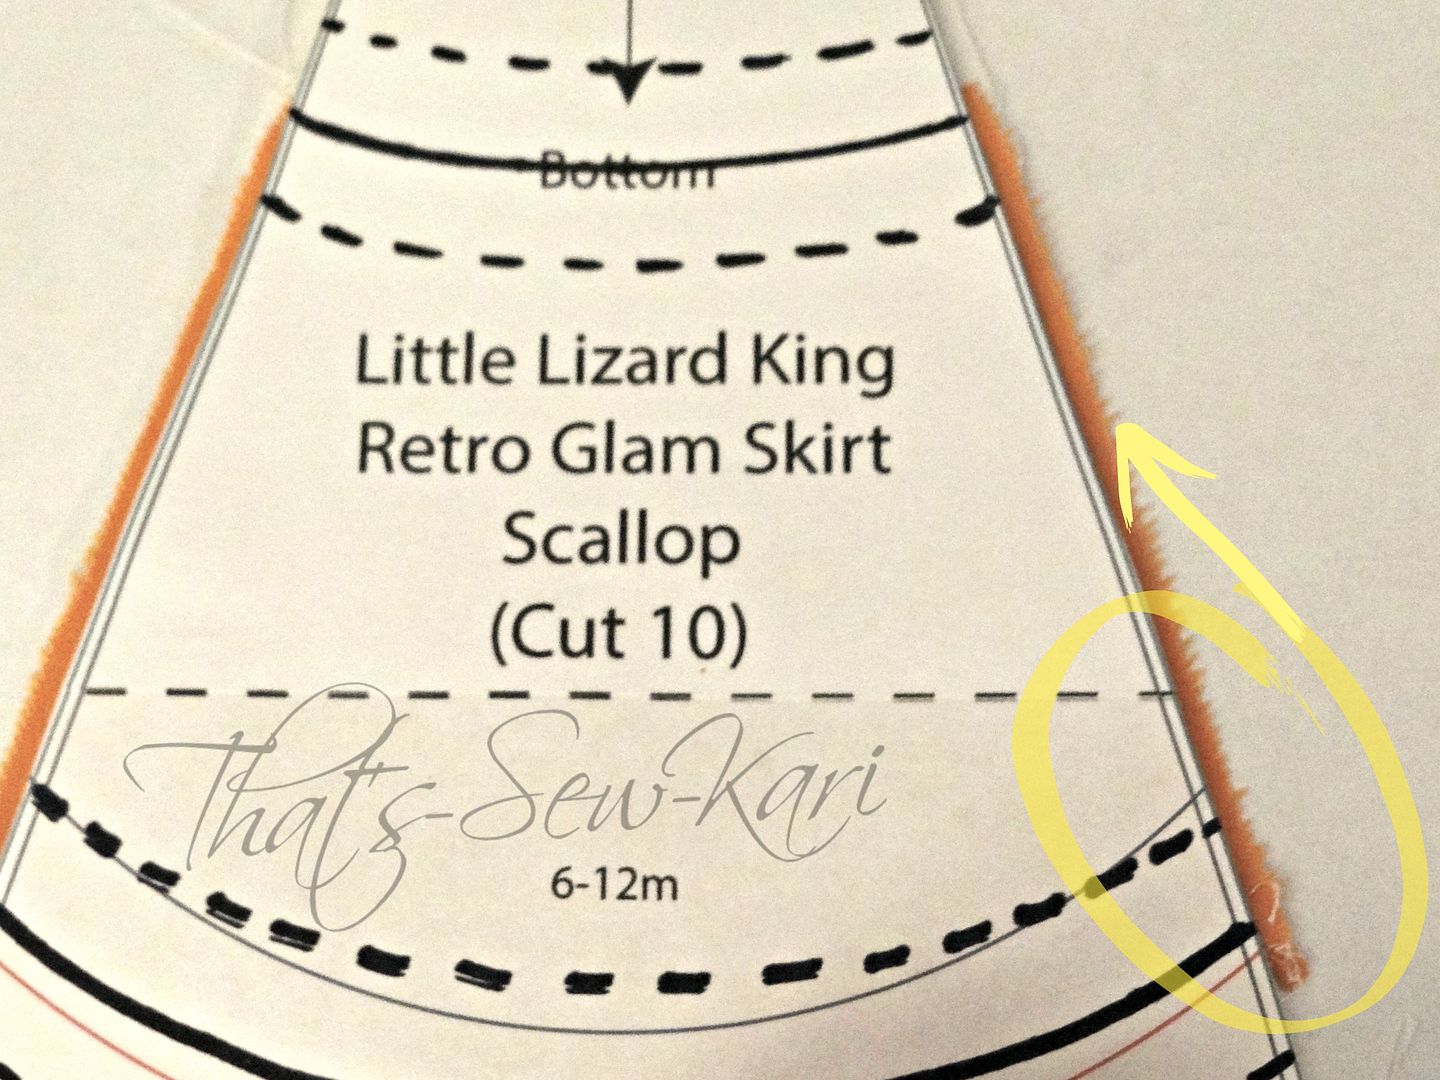 |
| Trim overage! |
Important: In order for your candy corn seams to line up across all 10 panels of the skirt, very precise cutting and sewing is recommended. This is not a quick, pump-out-the-skirt-in-an-hour process, but it is a process that yields great results!
HAPPY SEWING!!!


