
The Cosette Dress for Women by CKC
/I am sure the sewing world will gasp when I admit that until now, I have never sewn a CKC (Create Kids Couture) pattern. I started off the in the sewing world in blogging and had quite a few designers I was partial to, and quite a pattern collection, by the time I realized there were all of these amazing sewing communities on Facebook and discovered the vast variety of independent designers that exist.
Most people when they think of CKC patterns, think adorable ruffles, very cute fabric pairings, and a boutique style that can translate to beaucoup cha-ching in custom sales. So I was a little surprised when I was contacted by Shannon about sewing up something from their Women's line. Now patterns for women are something I am always down for!
I took a look around and narrowed my choice down to the Cosette Dress. I'm not huge on ruffles in my daily wardrobe, but when I looked at this pattern I could hear it screaming VERSATILITY!!!

Here are some pattern Details:
- Only 8 pages to print (the skirt measurements are all rectangles in chart form) *the front and back are the same piece with a different neck cutting line for front and back.
- Bodice, Sleeve (short or long), and optional sleeve flounce
- Size XS-XL with colored lines to mark sizes
- Charts for additional pieces, fabric requirements, size guide, finished measurement guide, and instructions for altering for petite builds.
- Clear instructions with images
- Described as Intermediate level, but I think an adventurous or advanced beginner could easily tackle this project.
Since I haven't made a CKC before, I decided to make a very simple and quick muslin to check the sizing on me (I was also on the cusp of L and XL). I went with the L and decided to make the pattern in all one fabric, and to make it ALL knit. I skipped the sash so that I could style it with different belts and create a variety of looks. In order to get the right length, I added the height of the skirt band and ruffle and then subtracted seam allowances, and I extended the main skirt by that amount -PERFECT.

I went with short sleeves and the folded neck band finish (there are also instructions for a bias bound neck line).


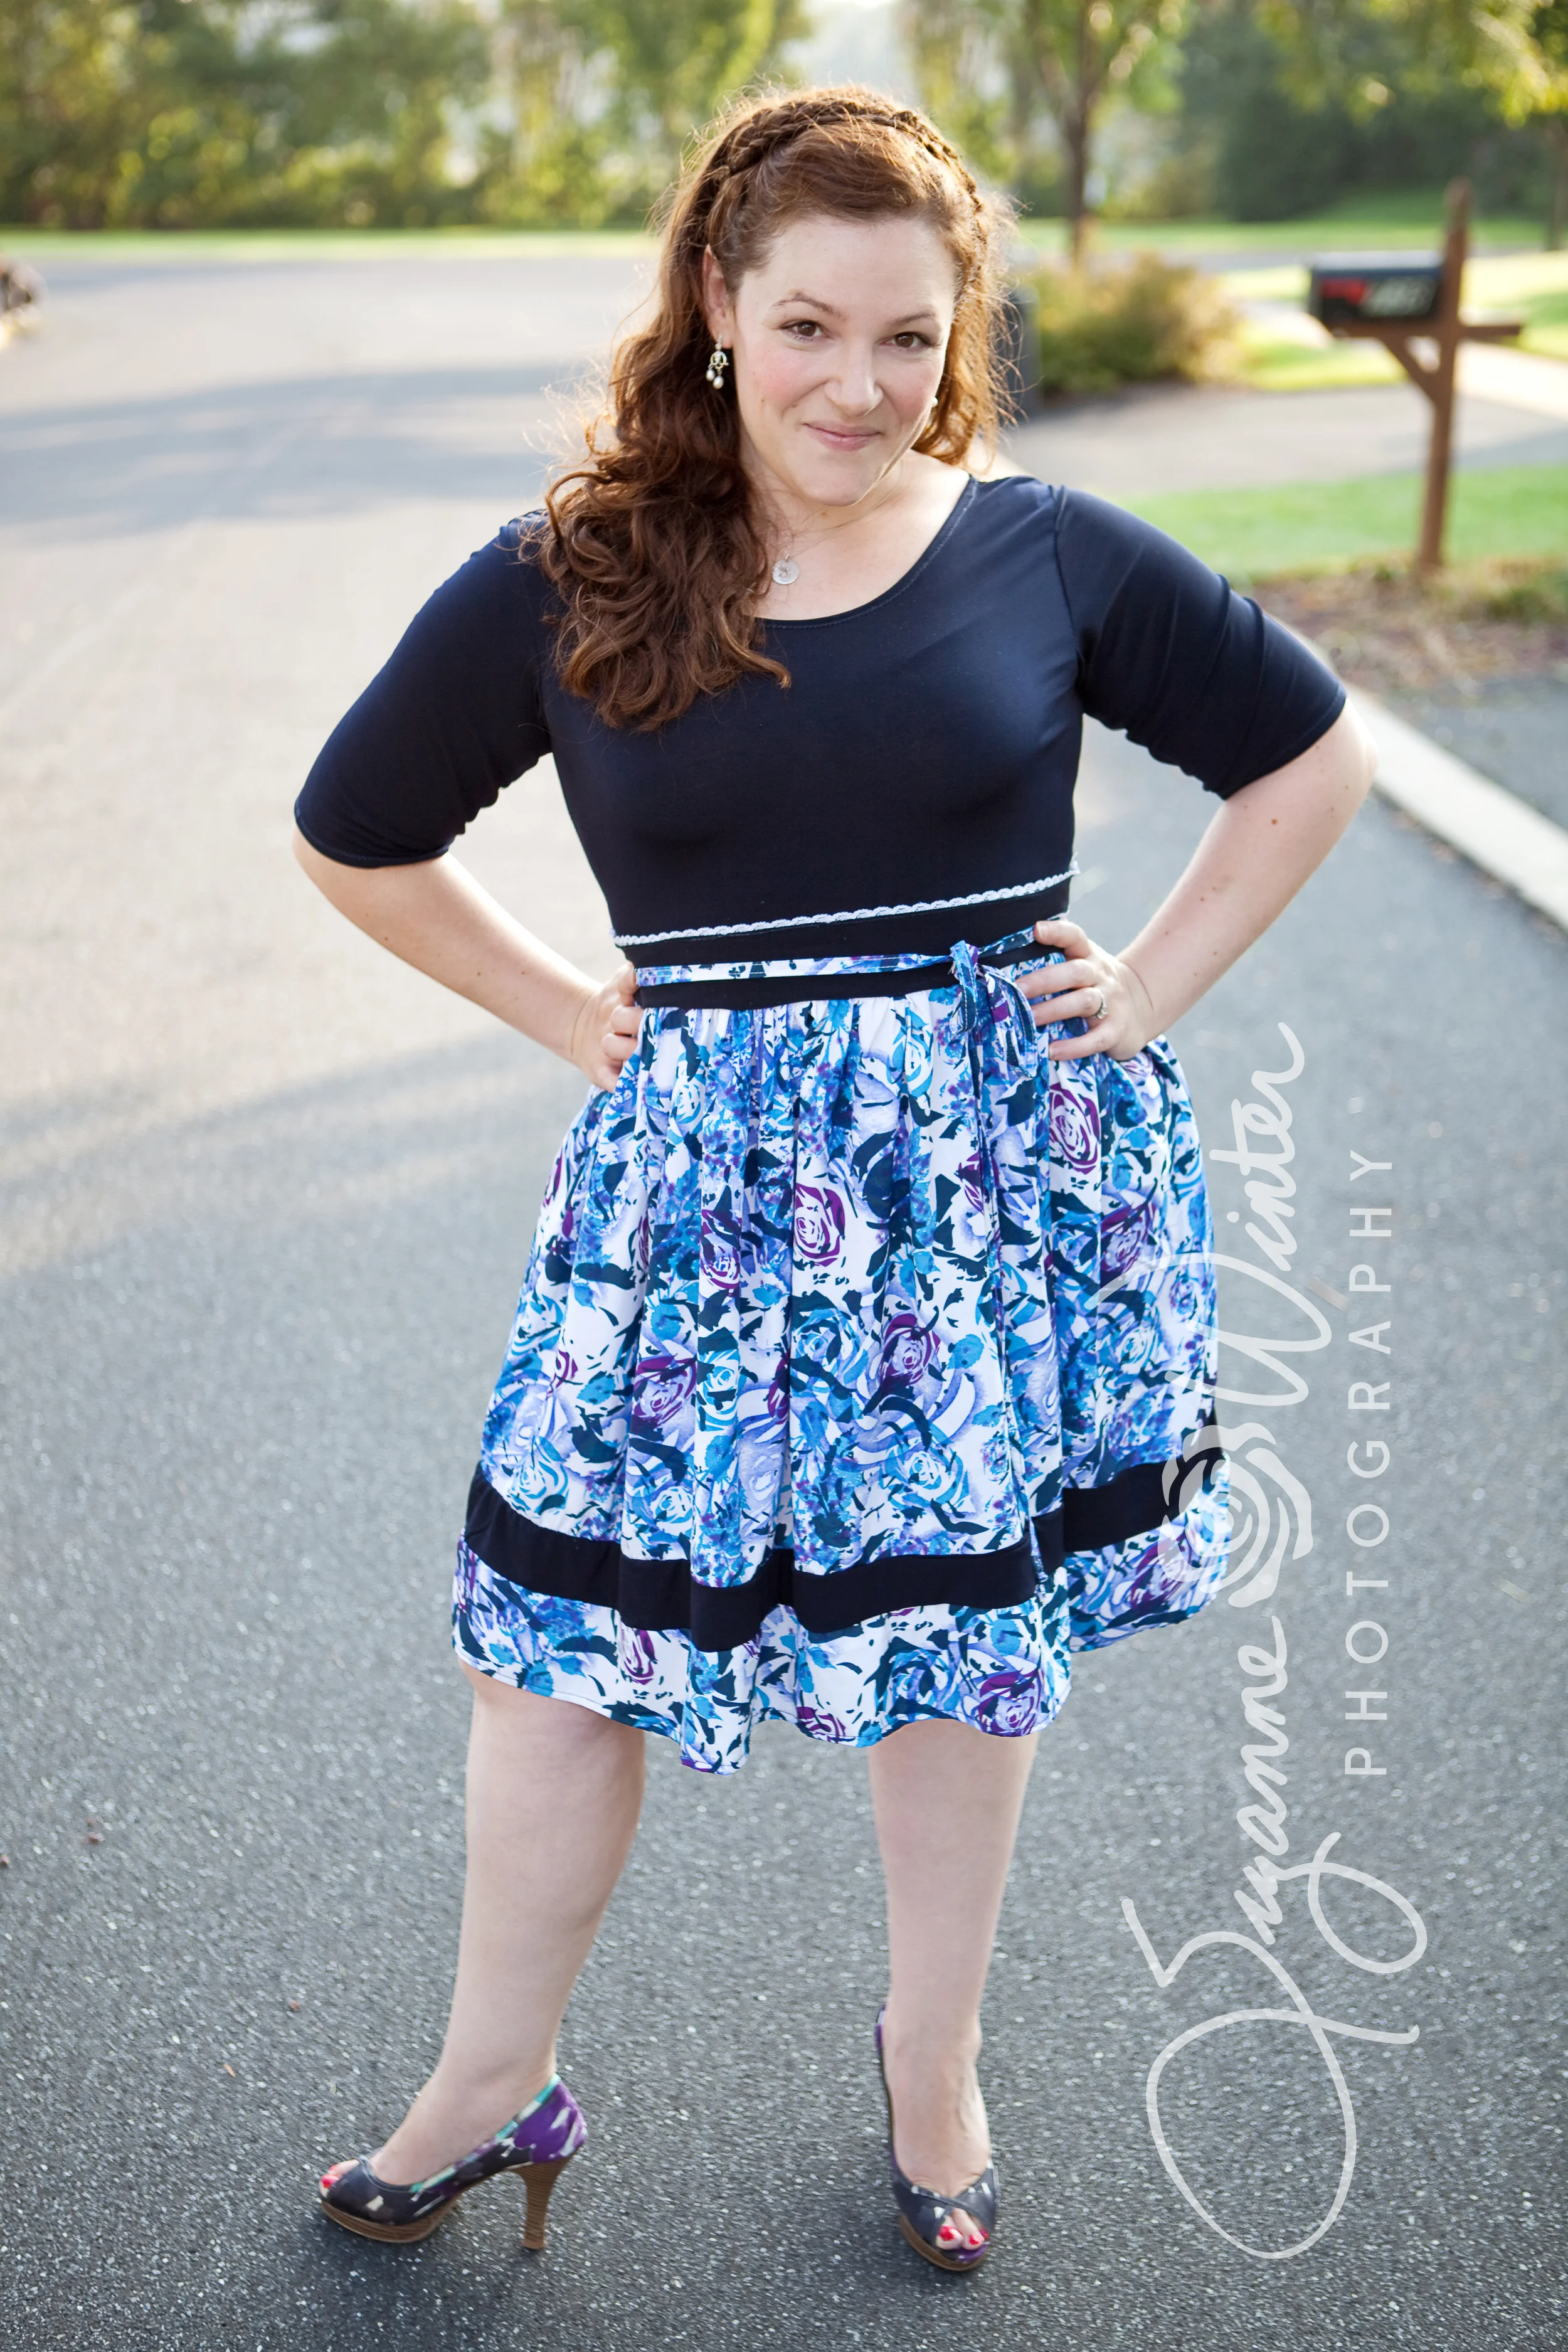
For my second version I wanted to play with mixing the knit and woven, and I wanted to do the sash. Now those who know me, know that I can never leave well enough alone. I really love the banded skirt look of this dress, but I wasn't sure about a mama of 3 in her 30's sporting ruffles in the North East (I could have rocked it when I lived in the south!!!!) And it hit me, all I needed to do was just cut 2 of the ruffles and not 4 - voila, banded skirt that is sooooooo in style these days.
***Helpful hint from a curvy girl - when doing a woven skirt that is gathered, do NOT go with a quilting cotton. You want something with great drape, like a rayon, poly blend, silk charmeuse, even a thin peach skin. This way it wont create more bulk around your waist and hips - I have serious hips and have learned this the hard way!***

In version #1 I thought the bodice was just a touch short on me, so I added 1 inch to visualy lengthen my torso and hit at the spot I find most flattering (this is why muslins are SOOOO important). I wanted to stay dark with my sash to keep the illusion of a longer torso going.... I did not think about two things: 1) A knit waist band stretches, unlike the woven waist band that can act like a corset and suck in that waist, dang! and 2) Blue on Blue doesn't show up as a band at all.... double DANG. I couldn't fix #1 this late in the game - if you are doing a knit sash, just interface it and you will still get that great waist cinch. But for problem two, I knew I just needed to add something to the band to create contrast - a few inches of scalloped lace later and the band looks like a band!!!!

For the sash ties, I decided I wanted to go skinny, and have them double wrap in the front to tie. To do that, I just doubled the sash length and cut it at 1.5 inches to create folded ties (I just folded and sewed like double fold bias).
Since I went with a short sleeve on the first, I wanted something different on this version. I rarely wear long sleeves, but have recently fallen in love with elbow length sleeves - they just look good on my arms and transition into fall and then through spring seamlessly. I just folded the sleeve in half and that worked perfectly for me.


The last change I made was to omit the neck binding. This knit has great stretch and drape and it was simple for me to do just a small rolled hem to finish the neck (you also notice the lower back, I cut the front and back the same on this version to give more of a bateau neckline.)

Overall, I found this pattern an easy sew, and something that is very fun to play around with and put your personal style on. The first version took me about an hour from cut to finish, and the second version took me just under 2 hours - most of that was spent figuring out which of my fabrics to cut in what - cutting is always the hardest part for me ;o)
I've already been wearing the first dress all over town, and I am sure the 2nd will get just as much use - which one is your favorite????


