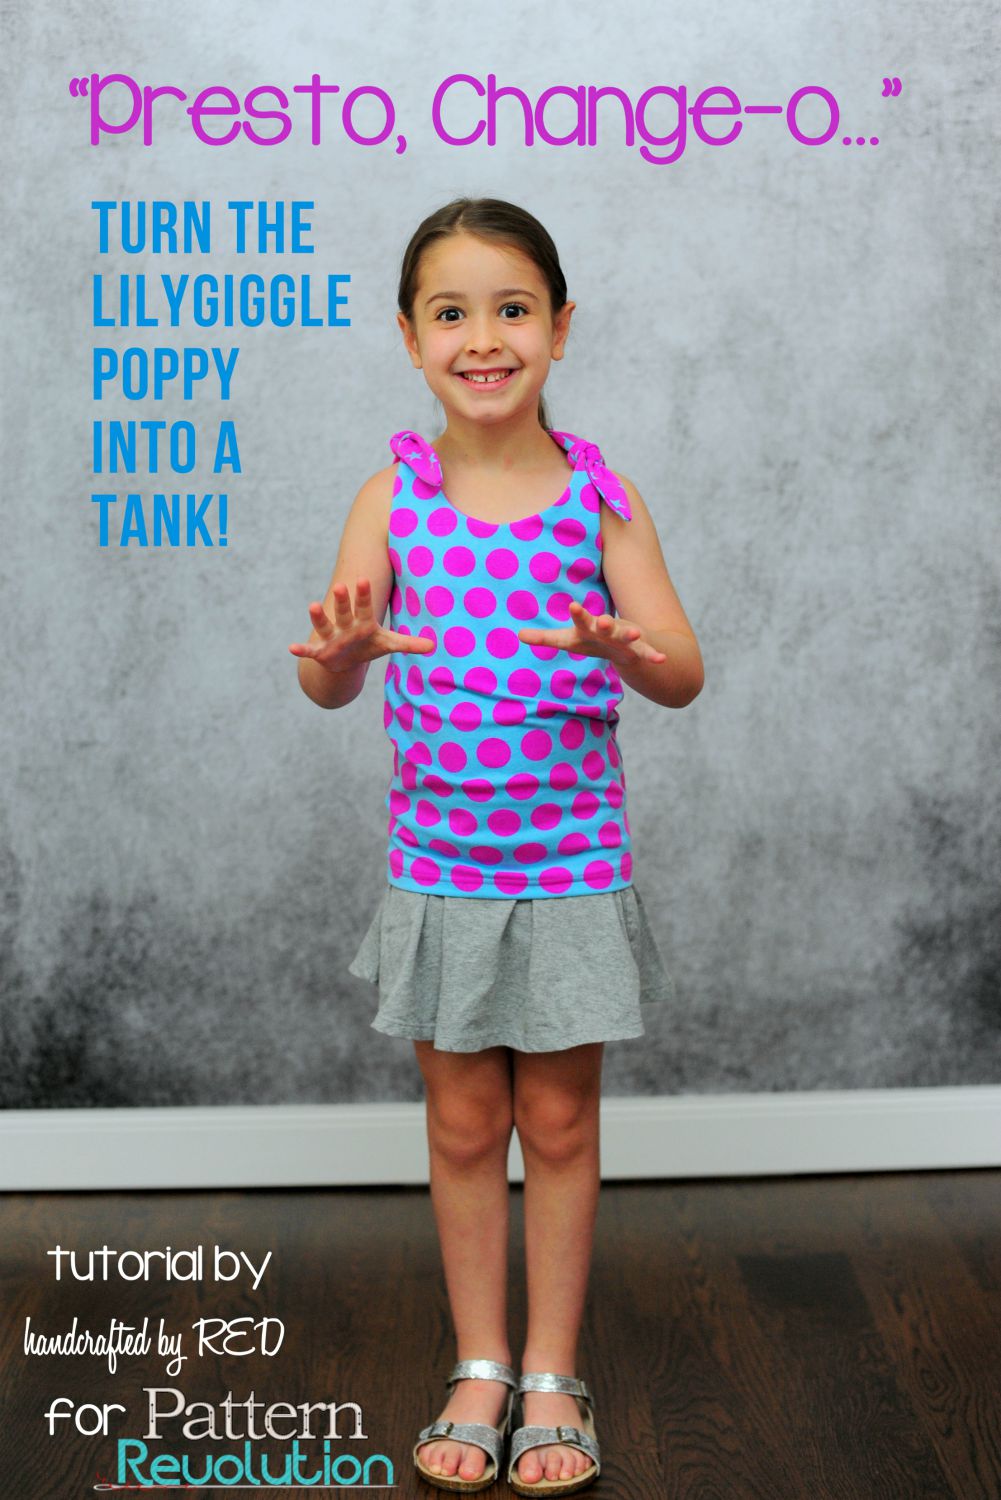
LilyGiggle Poppy Bubble Pattern Hack
/As we sew for Back to School, it is awesome to extend patterns that you already have - or even better, already have printed!!! Today, Rachel is sharing a great tutorial for mixing up the Lilygiggle Poppy into a Tank Top.
-----------------------
It’s no secret that I’m a huge fan of LilyGiggle patterns - they were some of my very first ventures into sewing with knits a few years ago, and I think I own all of the new patterns that LG has released since designer Beth Gaffney returned to designing after a sabbatical last year. It’s also no secret that I’m an unabashed modifier and mix-and-matcher of my favorite patterns. There are just some design elements that are so much fun I want to have them on alllllll the things, you know??!
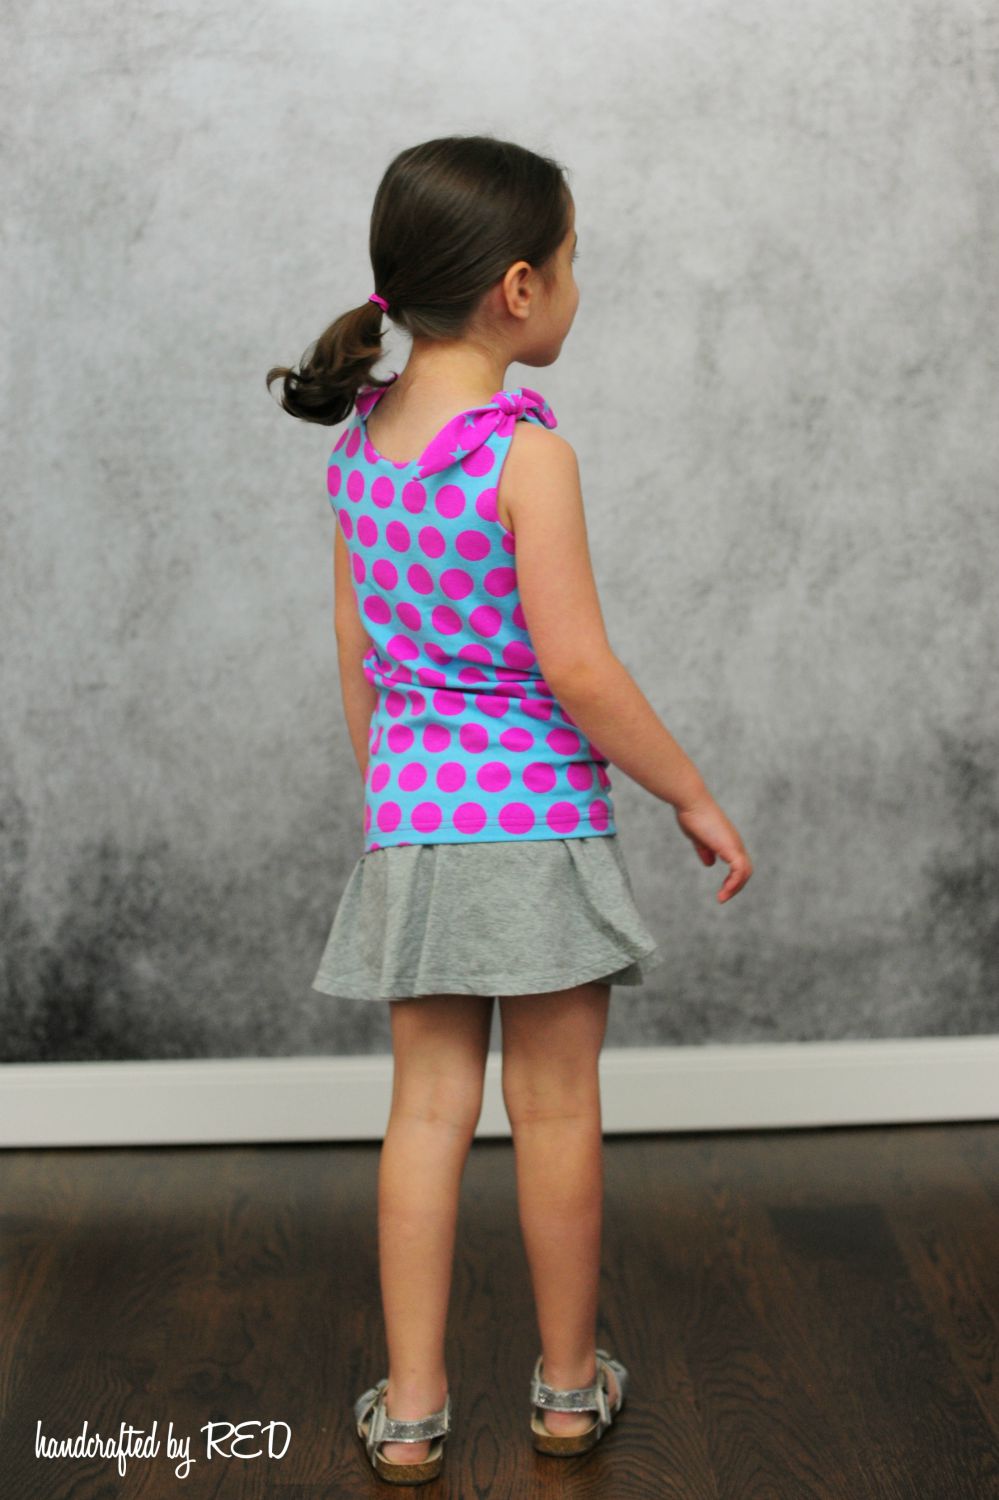
Here at PR we’re big fans of making those mods and making them public - and most pdf pattern designers wholeheartedly support the practice of taking their patterns and adding our own twists. I wanted to share my latest obsession - the tie shoulders on LG’s Poppy Bubble Tunic. The Poppy tunic was one of my very first forays into knits (it was actually the basis for Miss P’s Halloween costume nearly 3 years ago, when she was a butterfly), and I’ve made it several times since. Most recently, I omitted the bodice ruffles and added a simple gathered skirt in place of the bubble skirt and made a fun summer sundress for my little lady. She was enthralled - the lined bodice is a great way to show off a contrasting fabric, since the tie shoulders will show both layers.
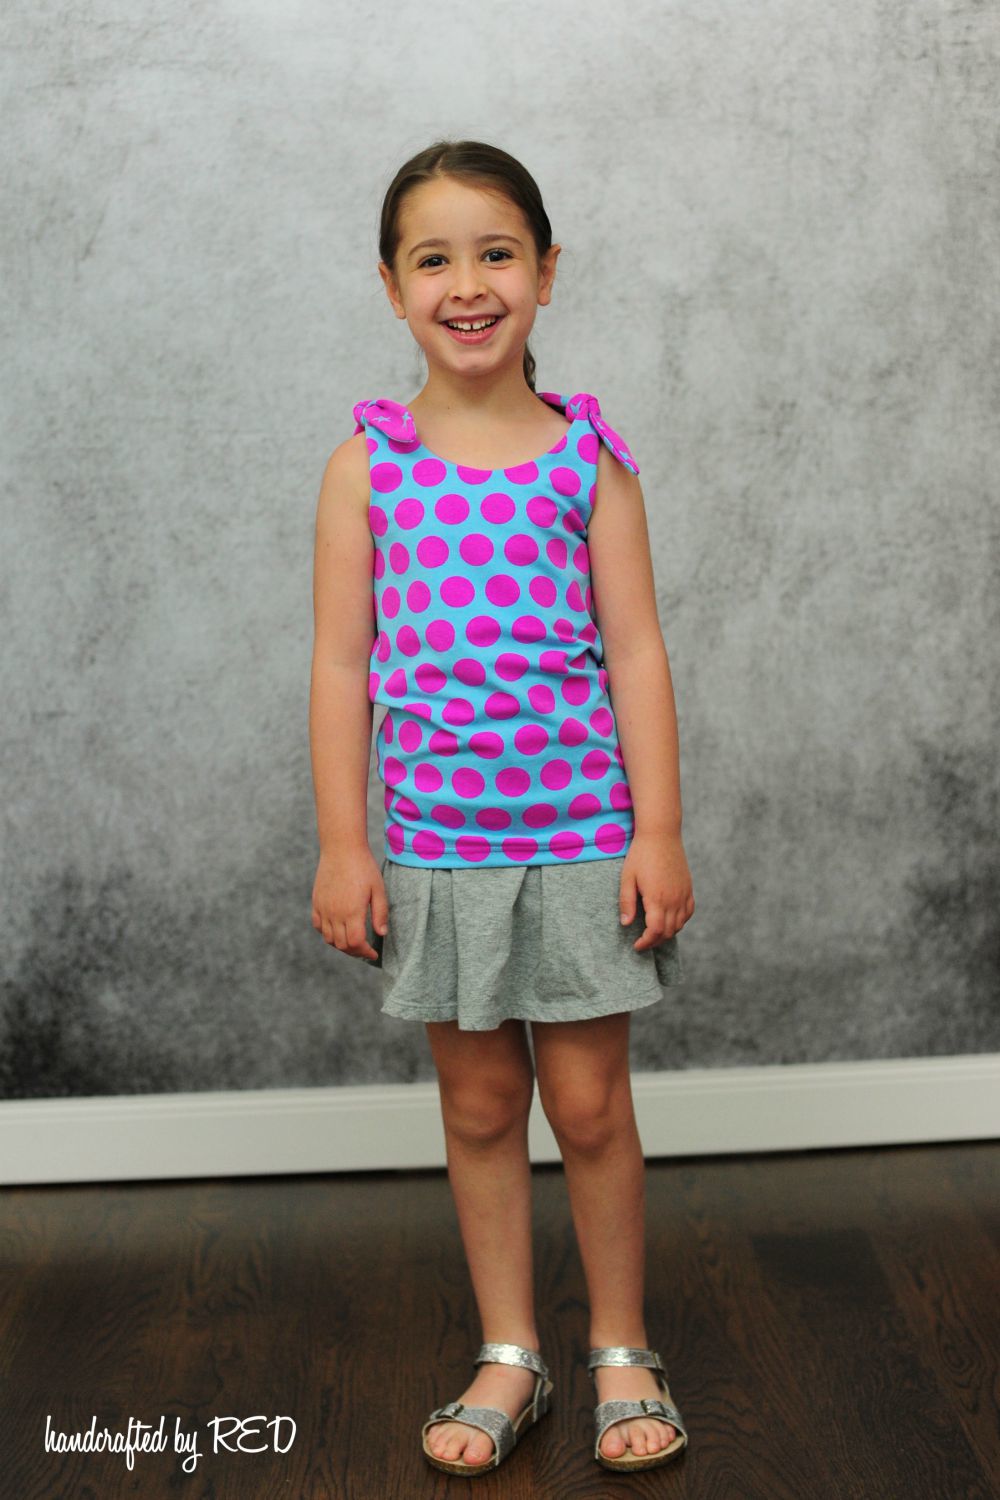
Miss P has taken to suggesting some mash-ups and variations of her own, and she recently requested a basic summer tank top that had tie shoulders. The Poppy tunic was the perfect base, and here’s how I did it. I used the existing pattern pieces to cut my front and back linings. For the main fabric, I measured a tank pattern that fits Miss P to get the measurement from underarm to hem. I simply added the difference in length to my pattern piece, and cut a front and back bodice at the new length. (If you wanted to make your tank fully reversible, make sure to cut your outside AND lining fabrics at the new, longer tank length. When you are ready to hem the tank, press the hem of each layer evenly to the inside, and topstitch your hem in place through both layers.) I chose to make mine not reversible, so I kept my lining pieces shorter.
To assemble the tank, I simply followed the pattern instructions. When I turned the lining to the inside, I stitched in the ditch along the side seams from underarm to the bottom edge of the lining layer to keep the lining tacked in place. (If you think your lining fabric will roll when washed, you can serge or hem the lining before attaching your layers.) My last step was to hem the outside layer to finish the tank. Super simple and a cute tank, too! What modifications have you made lately? Make sure to stop by the Pattern Revolution group on Facebook and share with us!