Zippers: Zip It , Zip it Good!!!!
/Welcome to Zipper week here at Pattern Revolution - WAITTTTTTTTTTTT, don't go running for the hills, saying 'I don't do Zippers', 'Zippers are too hard', 'Aaaaaack zippers, my arch nemesis!!!!!' No, no, no, we are here this week to get you comfortable with zippers, to make them your friend, and to give you the confidence that YOU can conquer zippers.

Today I have a great tutorial for you on adding an exposed zipper to any simple top or dress with a solid back. But first let's take a look at some of the most common types of zippers outside of your standard nylon YKK zip. We love Zipper Island for their quality, customer service, and quick shipping!
Invisible Zipper - this type of zipper is used for dresses, skirts, and anywhere that you don't want to teeth of the zipper to show. This can be a tricky zipper as it takes some practice to sew close enough to those teeth that they don't show on the worn garment. But, once you get the hang of them they are lovely and take less time than a row of buttons - pinky swear!
Bag Zippers - Bag zippers typically have slightly stronger and larger teeth. The zipper trim is usually wider as well, allowing you to sew further from the teeth so that the zipper can open and close smoothly even if fully stuffed.
Metal Zippers - These zippers have larger metal teeth that give a large amount of strength, which is why they are what you use for jeans. They are also perfect for exposed applications as well as they add a bit of 'bling' to an otherwise simple garment.
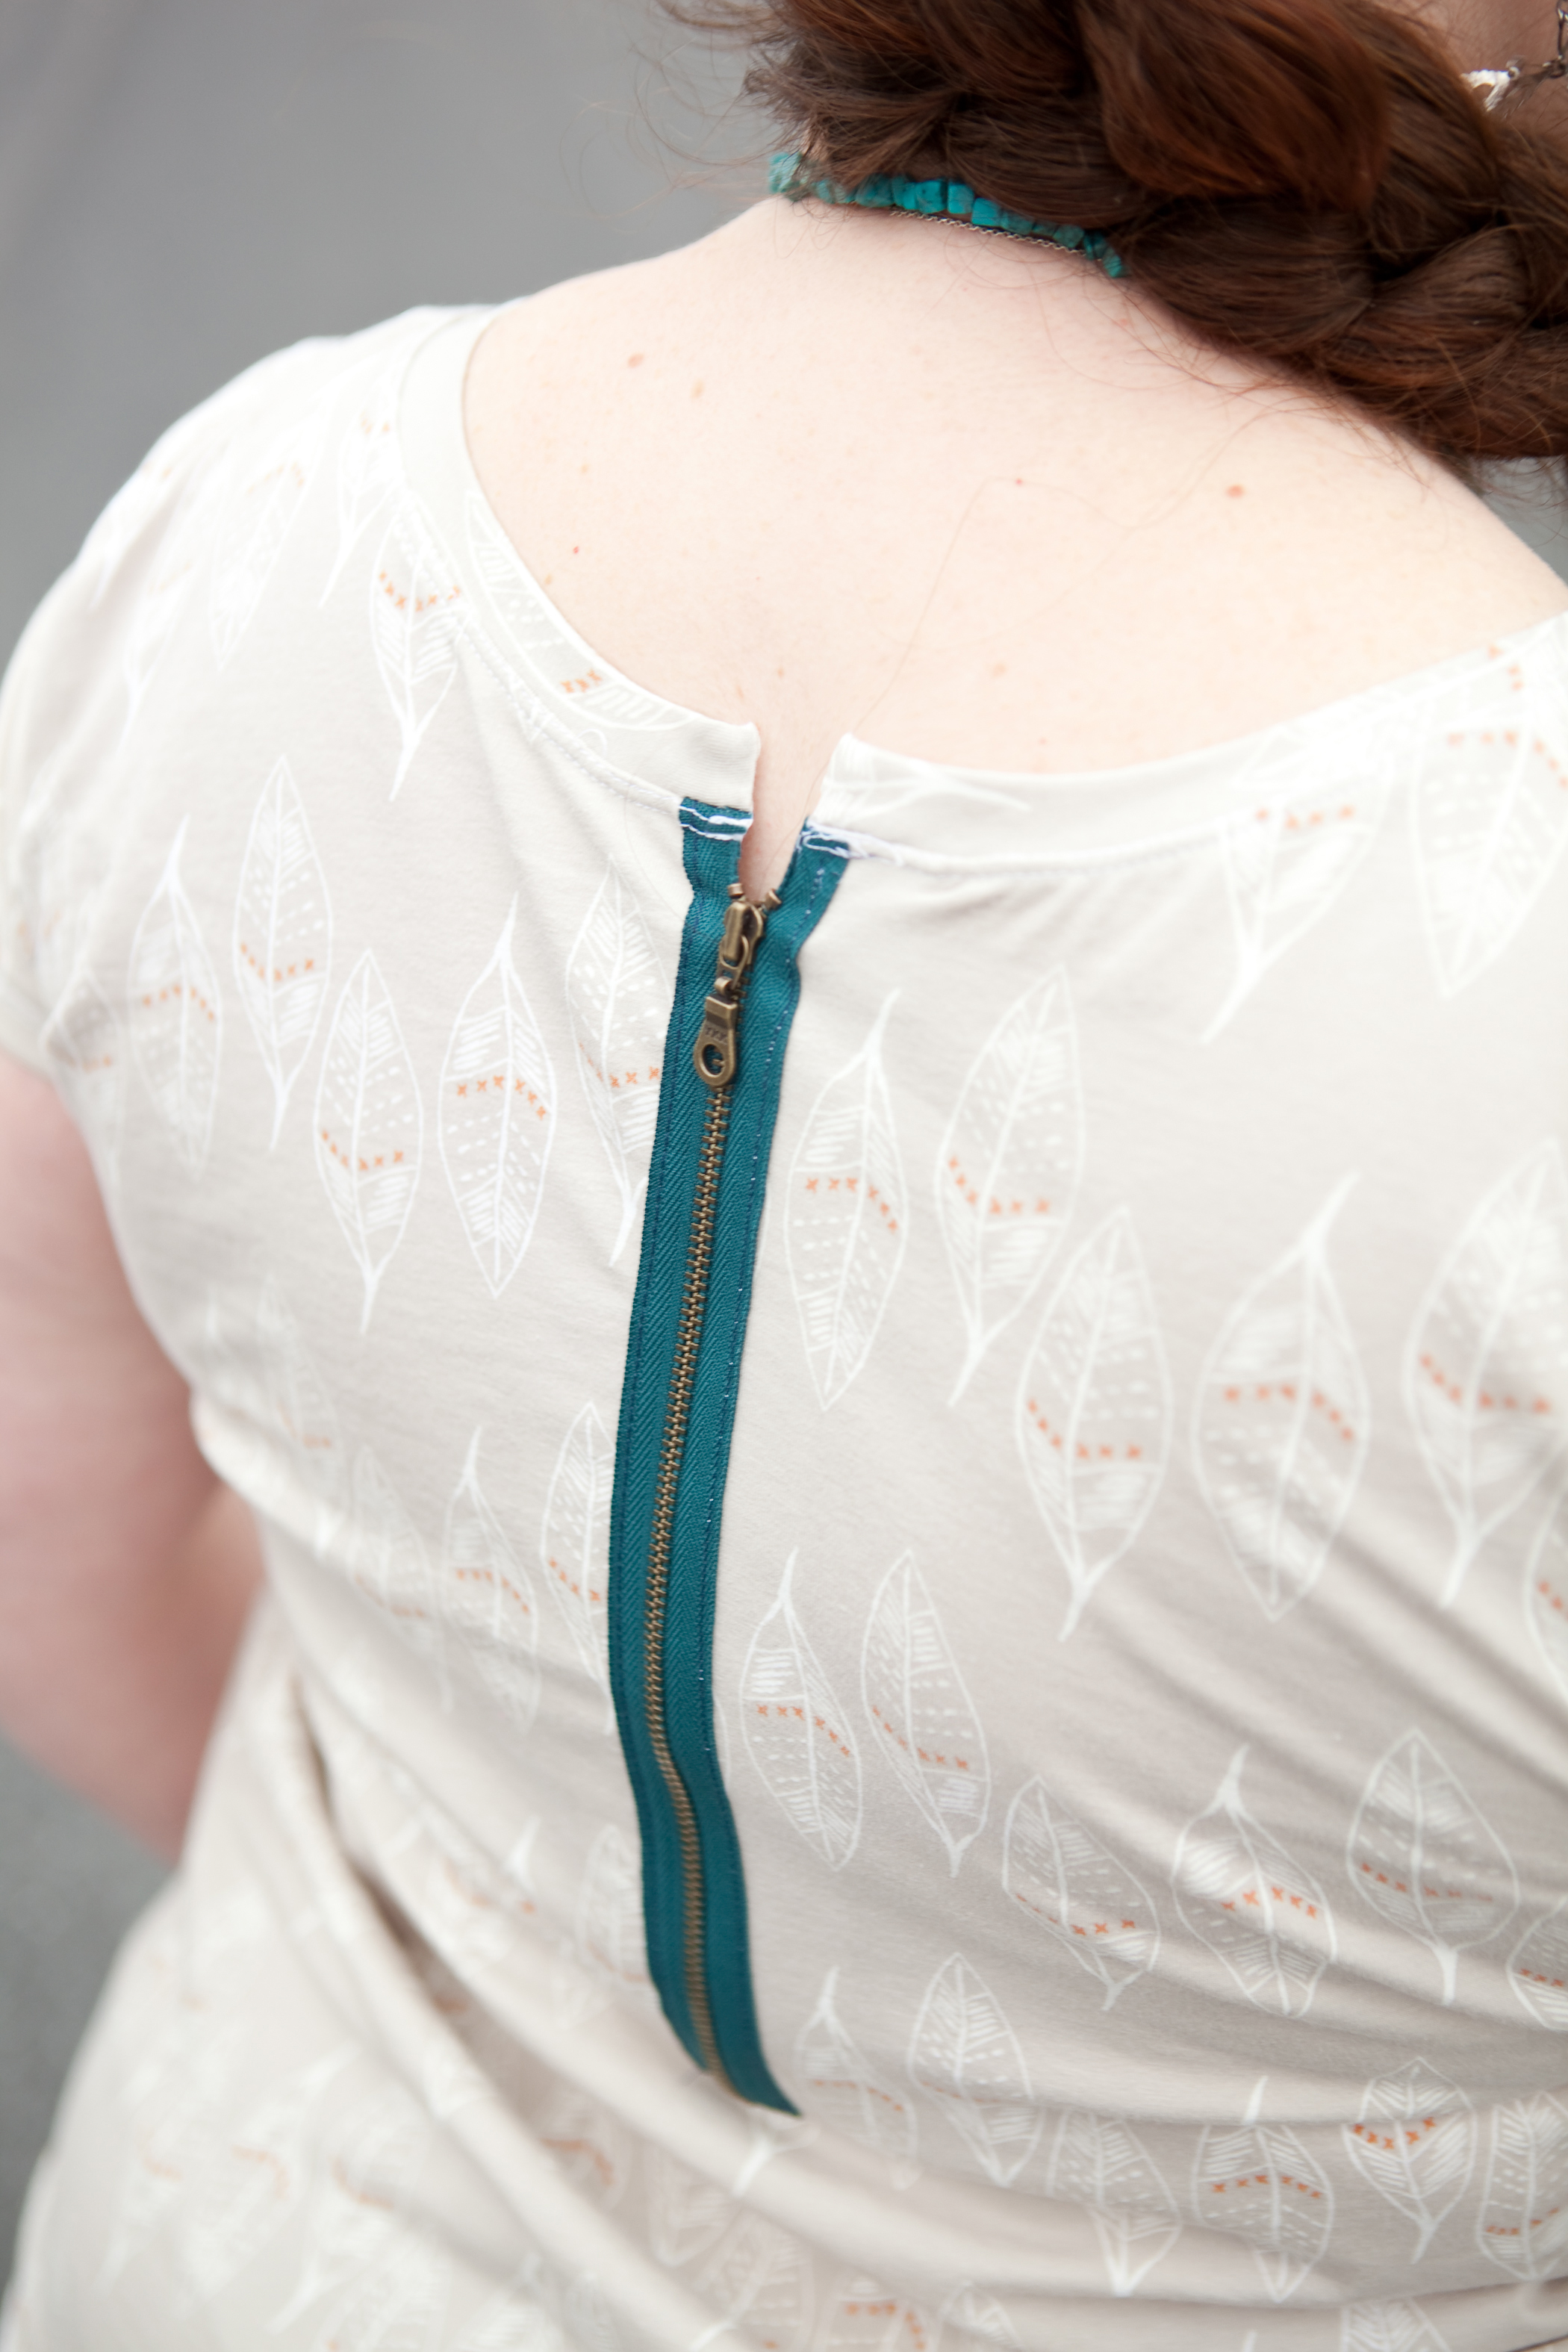
All right - The Exposed Zipper!
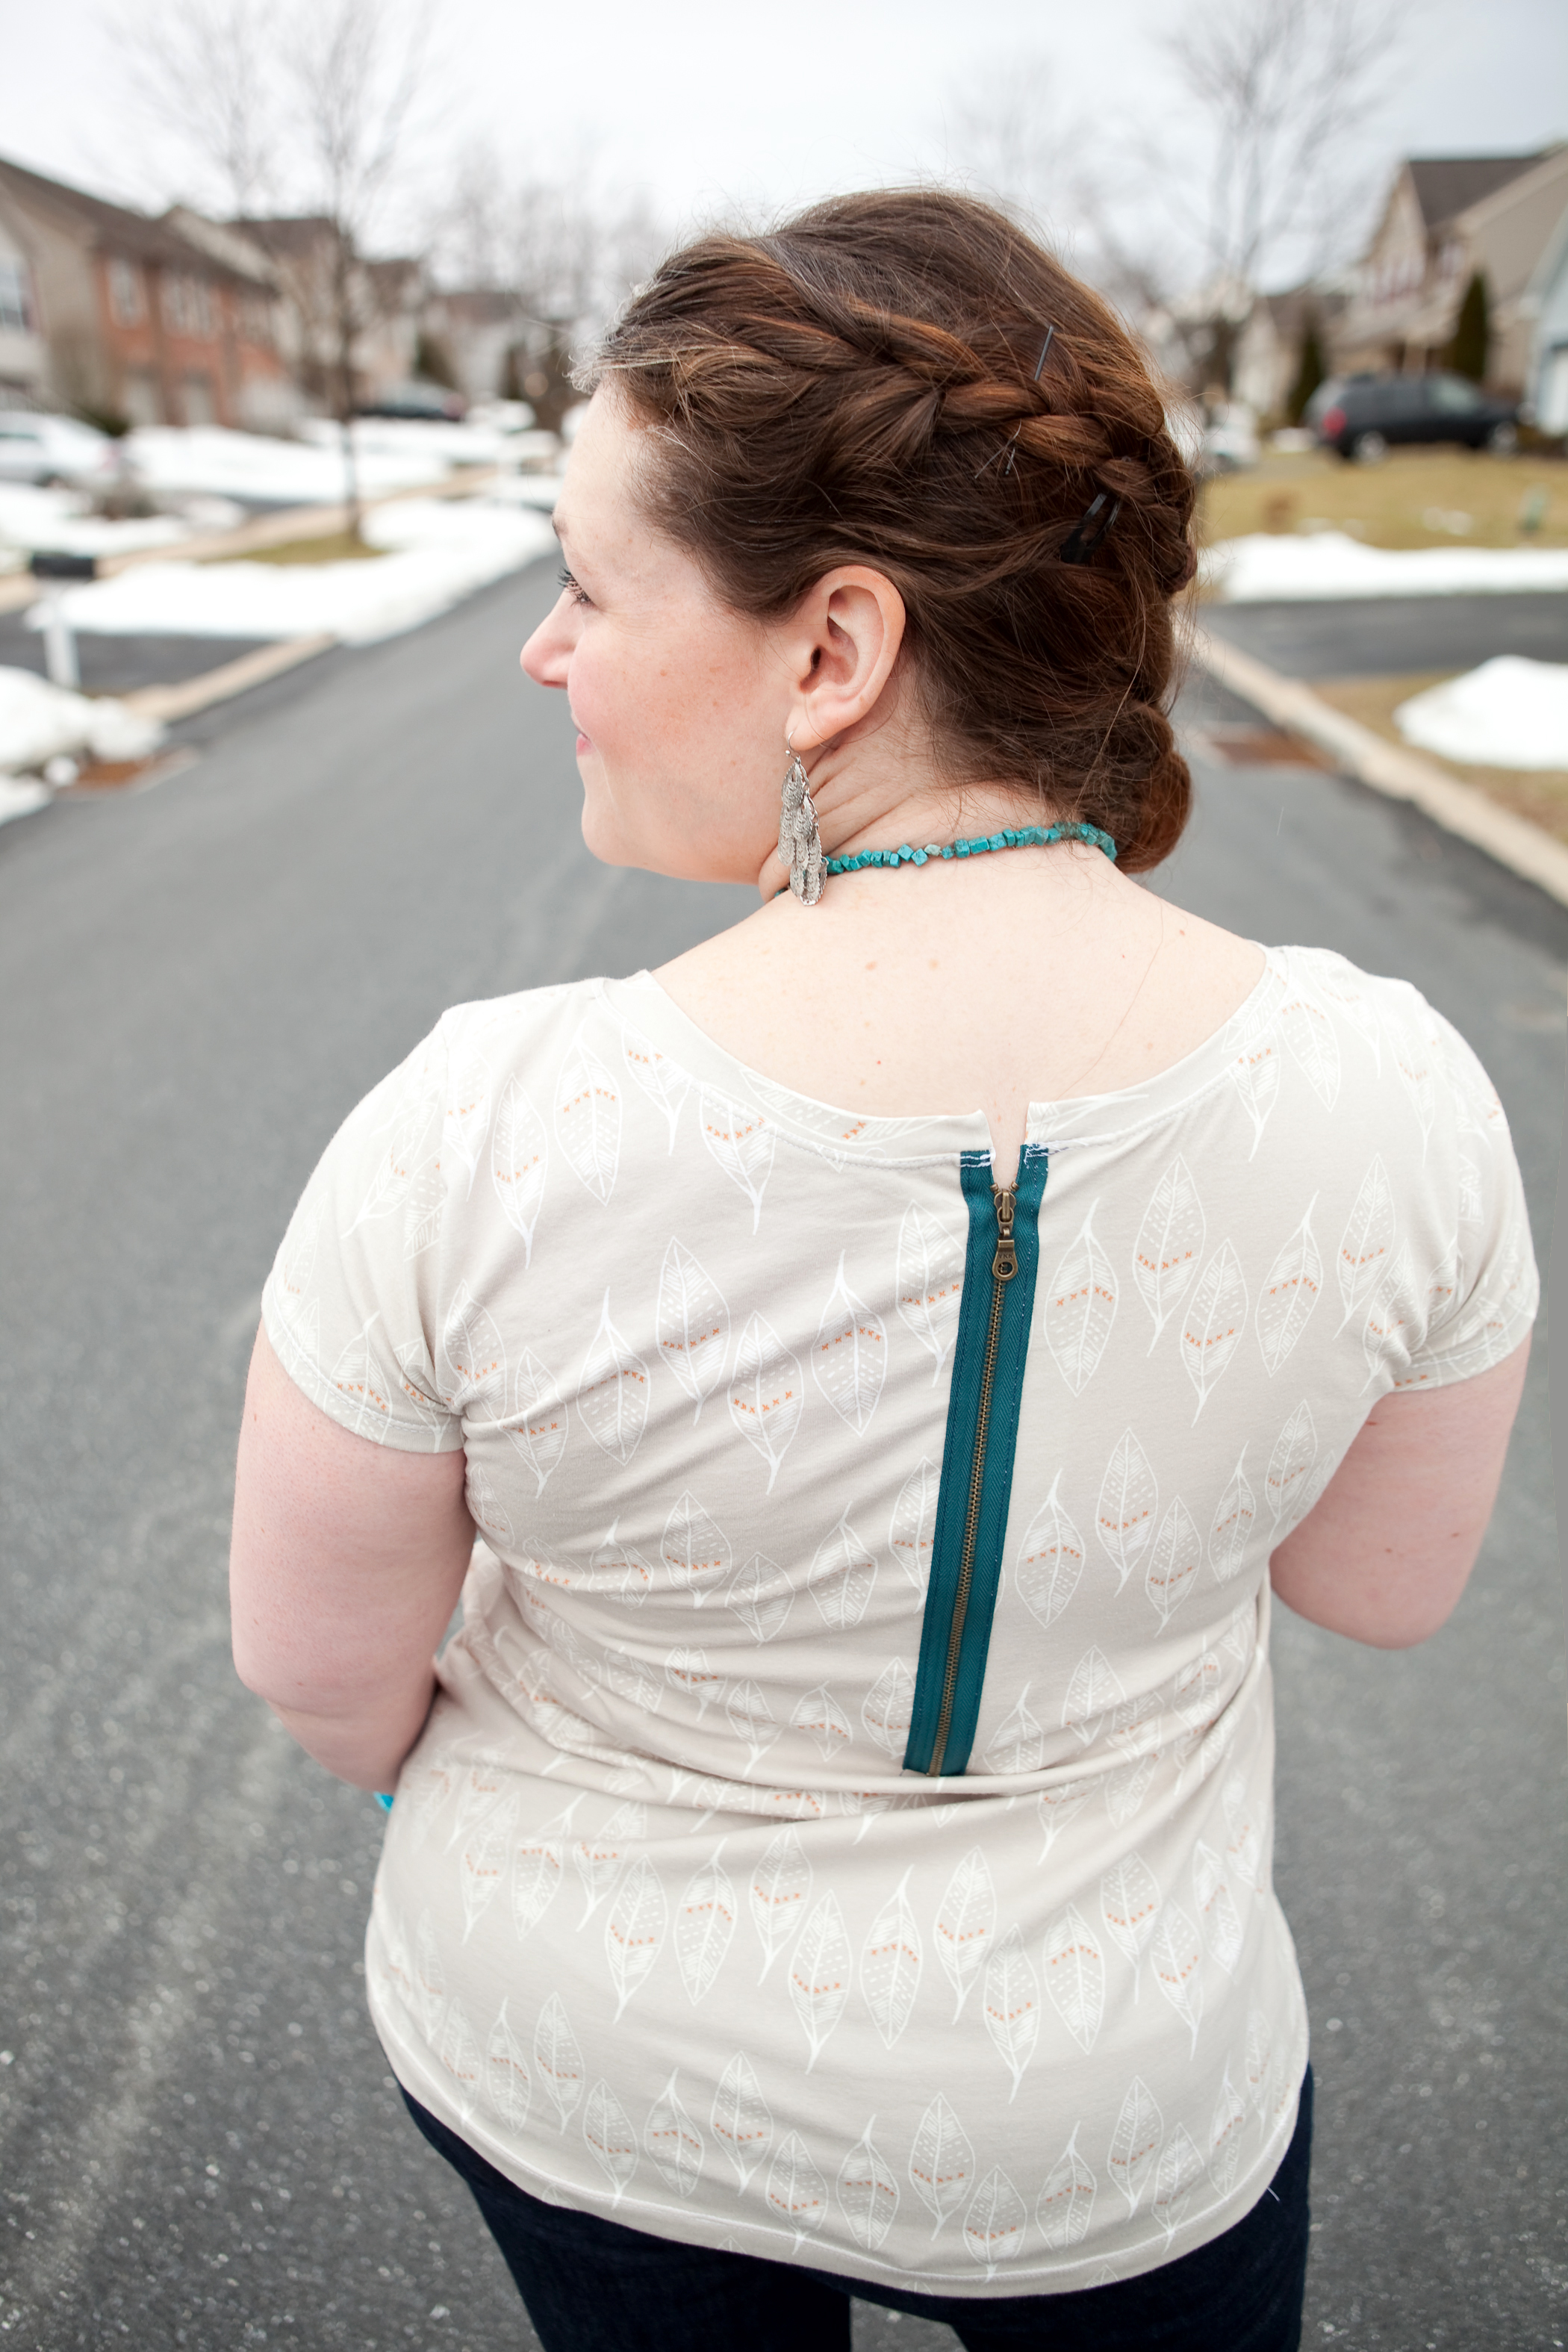
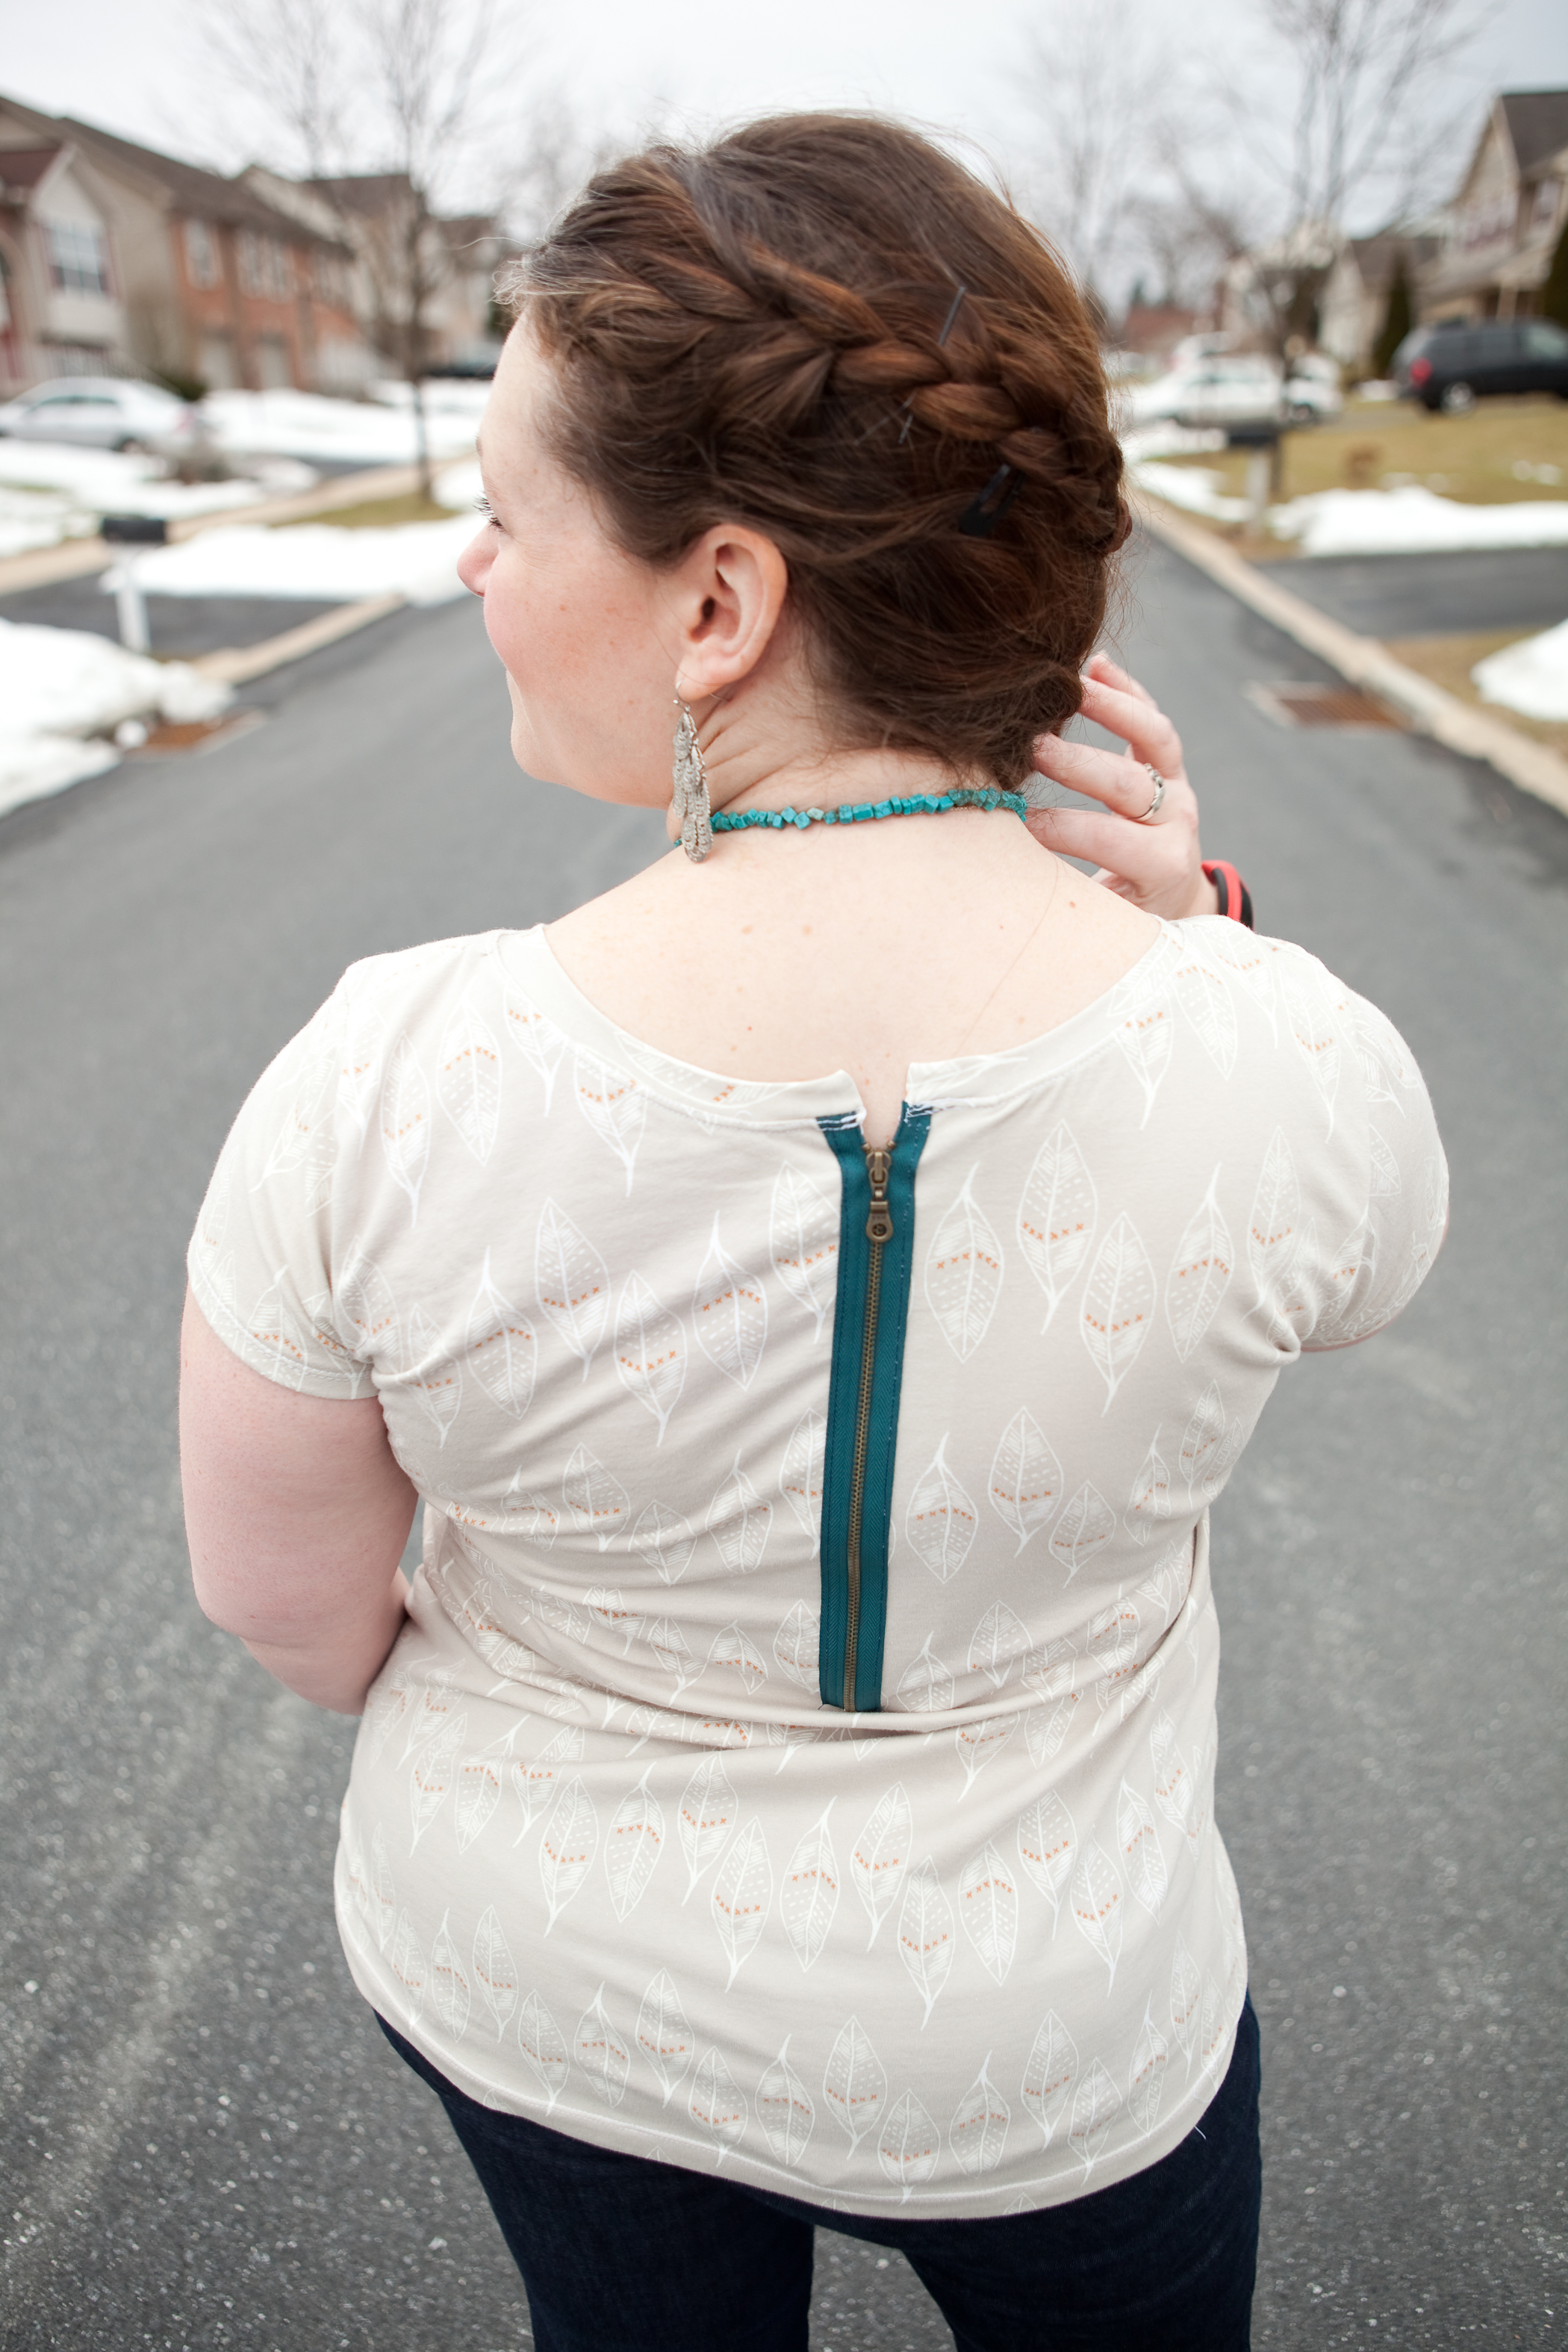
This tutorial will work for any top or dress pattern that has a back cut on the fold - either knit or woven. I am using the Love Notions Hip Hop Top with this gorgeous knit, Gust of Leaves in Silver by April Rhodes from Art Gallery.
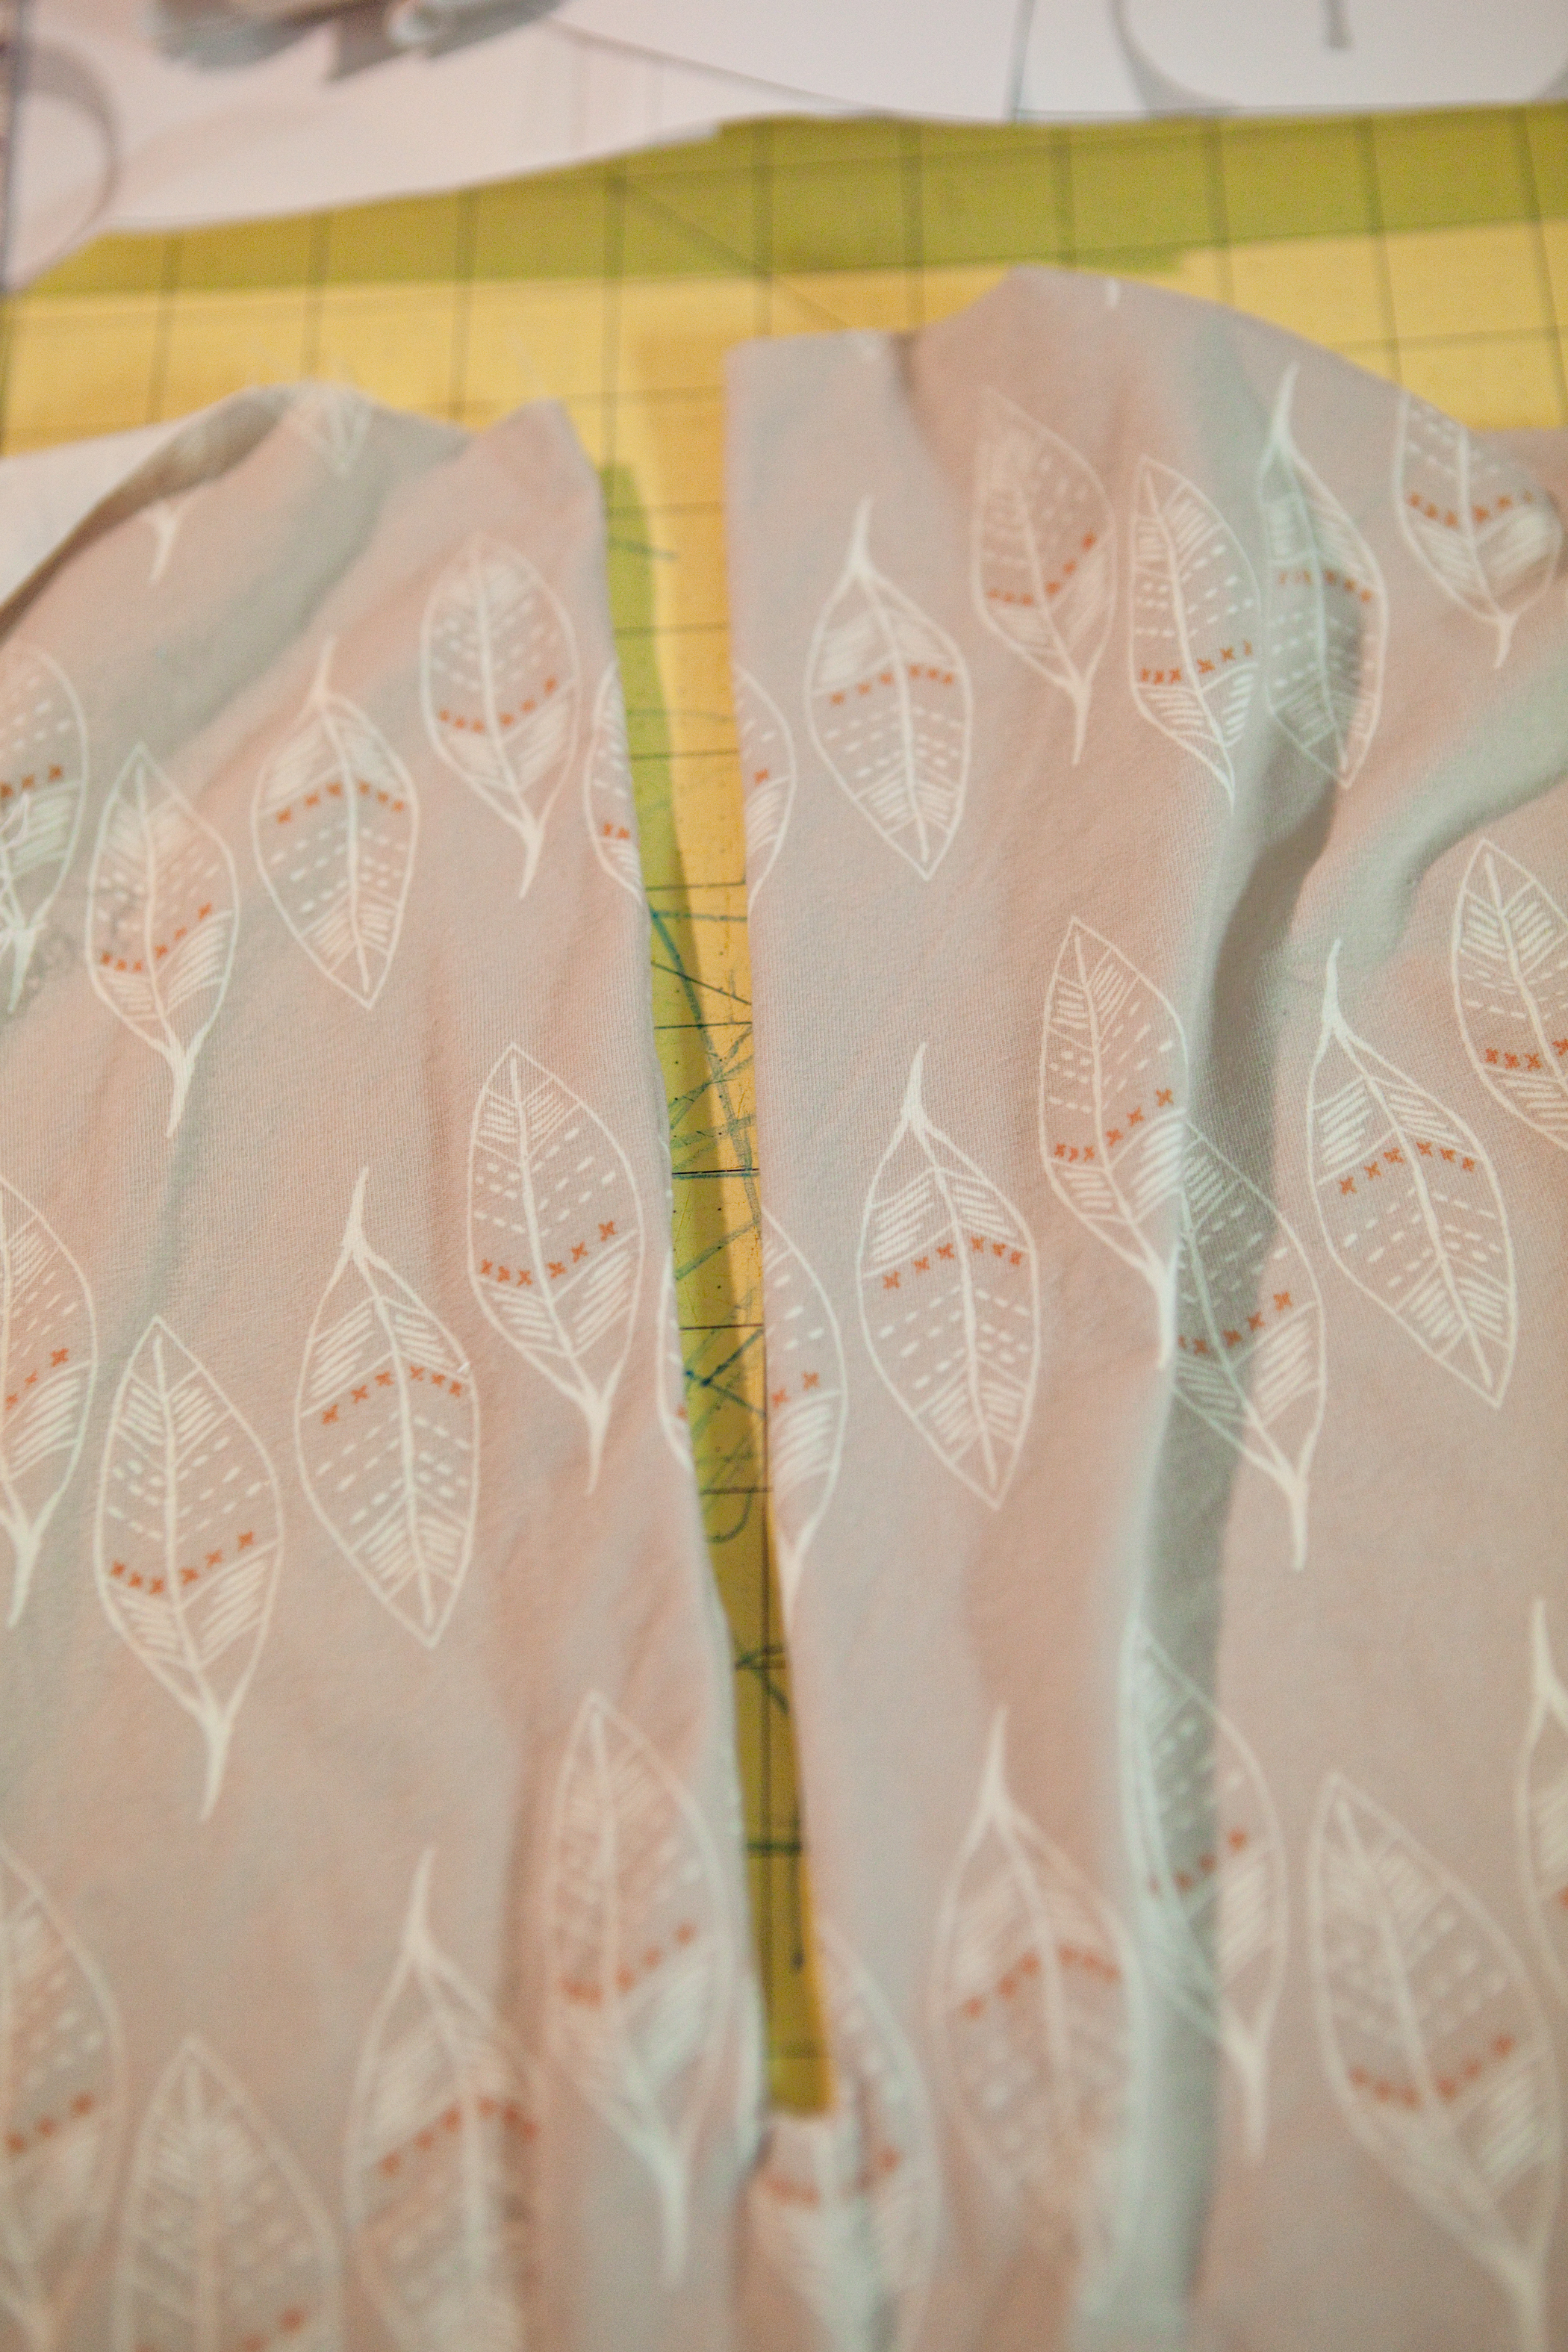
- Start by making a facing for your shirt 2.75 inches x the length of your zipper +1 inch.
- Place this right sides together on your back piece matching the centers
- You will draw a line down the center of the facing and pin in place.
- Sew 1/8 of an inch to the side of the line all the way around


- With a cutting tool, cut down the line. Stop 1/4 inch from the bottom of your stitching and cut out to the corners, creating a large Y.

- Flip your facing in to the inside of the back piece and press well. Your zipper is going to lay along this gap.

- Flip your zipper down, so that it is right sides together with the fabric, and pin the zipper in place. Match the end of the zipper to the bottom of your opening.
- Pin in place
- Stitch across the bottom of the zipper, 1/2 inch from the end.
- Flip your zipper back up so that it is right side out and you will have a nice clean bottom edge for your exposed zip.


- You will now secure both sides of the zipper to your garment. Pin in place so that the fabric and zipper can't shift as you sew.
- Sew 1/8 of an inch from each outer edge of the zipper with a coordinating thread

zipper stitched in place

view from the inside after sewing
You will now follow the construction for your garment up until the neck band.
- Most knit garments have you sew your band into a circle, but we are going to finish each end
- Turn your neck band right sides together and sew the short end
- Flip right side out and press well


- Attach the neck band to the zipper starting at one end and finishing at the other, make sure to pin well in place matching the center fronts and stretching your neck band as needed for knit garments.
- For a finishing touch, you can use a twin needle to top titch your neck band seam allowance

And there you have it - an awesome exposed zipper garment that ups the fashion factor in any simple garment while still keeping your wardrobe comfortable and easy to wear!