The Tilly by Brownie Goose
/The ever popular b-g original Tilly recently got a major overhaul. Responsive designer Amy Norris listened to fans and took this best selling older pattern and updated it to meet her current standards, plus added lots of new options which really expanded the versatility of this pattern. Here are Rachel, Nycole and Nicole to share their versions.
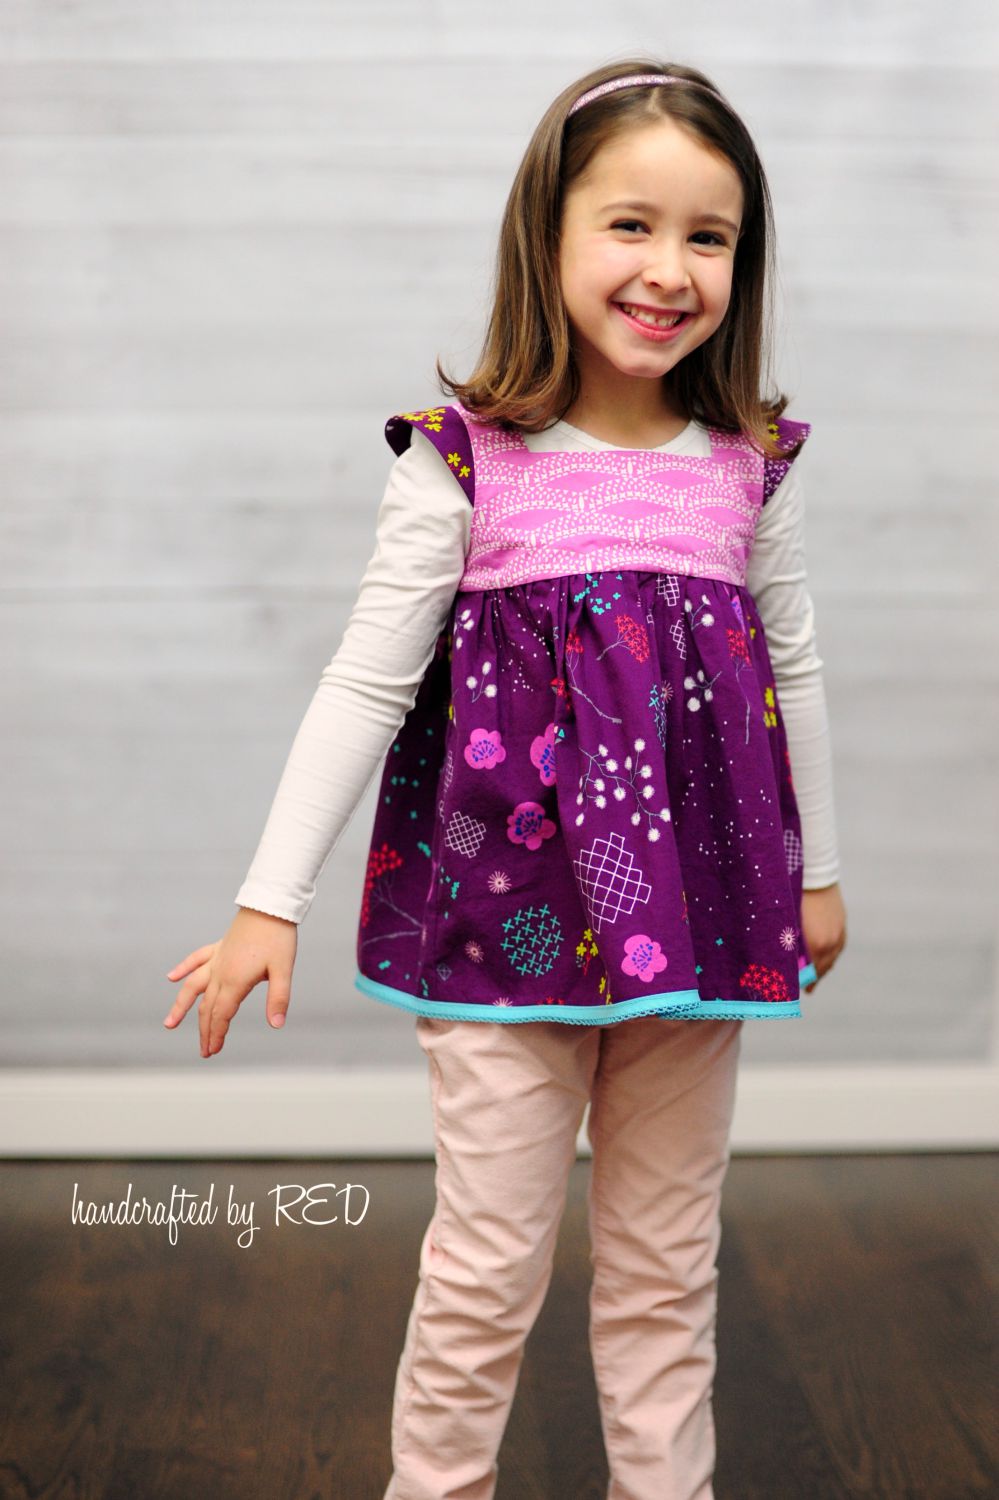
Hello again! Rachel here, this time with a review of the recently updated Tilly Top and Dress by Brownie-Goose Patterns. BG patterns were among the first PDFs I ever purchased, but this was the first time I sewed the Tilly. I’ll be honest, the open back of the original just wasn’t my style. But now Amy Norris, the designer behind Brownie-Goose, has added two other back views (the original open back is now View A, there is a curved back View B, and a full back with a placket that is View C) and expanded sizes, too! The newly updated Tilly now has sizes from 12 months through 12 years! The toddler/young child sizes are still combined sizes (2-3, 4-5, 6-7) which I am not always a huge fan of, but in this case Amy provides a really thorough finished measurement chart that makes it easy to use the child’s measurements to select the correct size and adapt as needed. I sewed the size 4-5 View B top for my nearly-6-year-old, and added a little length to the skirt. The fit was fantastic, and she even had a little room to layer a long sleeve tee underneath. Since we’re staring down autumn here in the Northeastern US, I have to start to come to terms with putting some sleeves on my kiddo’s new clothes.
Speaking of sleeves, the Tilly can be sewn sleeveless, with cap sleeves, or with flutter sleeves. Pattern pieces are included for both of those sleeve options, and Amy also included instructions in the pattern for “super-sizing” the flutters if you want an even more dramatic look. My daughter LOVES flutter sleeves but we’ve done a ton of them lately so I opted for the cap sleeves. I also used pre-made crochet trimmed bias tape (from The Vintage Door on Etsy) to finish the edges of the curved back. The top slipped easily over Miss P’s head, and the overlap in the back is significant enough that it stays closed nicely. I’m really happy with the finished look - the top was easy to construct and came together very well.
The instructions are thorough and full of details, and feature Amy’s signature chatty tutorial style - you’ll feel like she’s in the next room over, just walking you through the project. The only change I made to the pattern was to hand-sew the bodice lining to the skirt instead of topstitching it in place. I’m a big fan of hand-sewing linings, strange as that may be.
So, what are you sewing as the seasons start to change?? Make sure to share over on FB in the Pattern Revolution group!
Until next time,
Rachel


