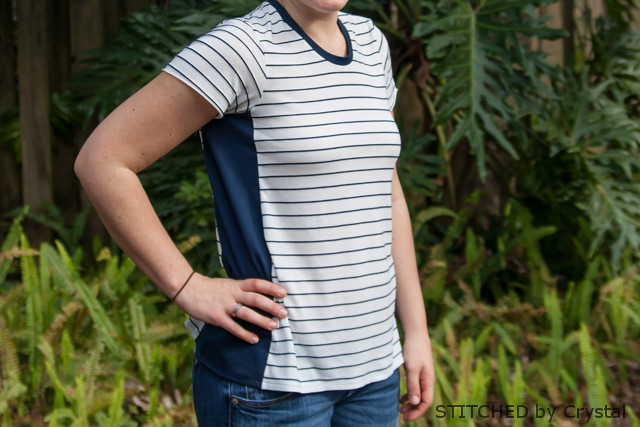
Tutorial: Adapting the Melanie Misses by Modkid with a Key Hole Cut Out
/Today we are talking all about the Melanie Misses Tunic/Dress Pattern by Modkid. You can see Sarah's full Review of the Pattern Here.
Crystal is with us sharing how to add an easy adaptation to your Melainie - or any knit top or dress - that will add an extra touch of style and sophistication. It is details like these that elevate a wardrobe from basic clothes to wearable fashion!
Modkid Coupon anyone? Coupon code: SELFCARE2014 gets you 20% off your entire order on our Etsy store through the end of the week (expires Friday 2/21/14 at midnight CST) Be sure to thank Patty for this special discount for Pattern Revolution fans! https://www.etsy.com/shop/modkid
------------------------------
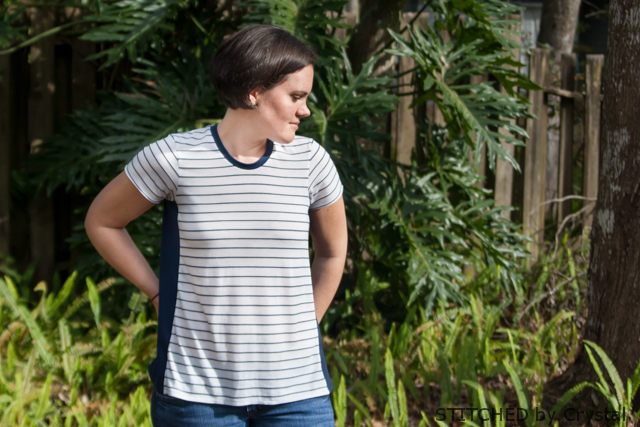
I am a huge fan of this pattern! It is cute and comfortable. After having two babies (two big 8+ pound babies I should add) and my stomach is not what it used to be and this shirt is forgiving on my post-baby belly, I love that!
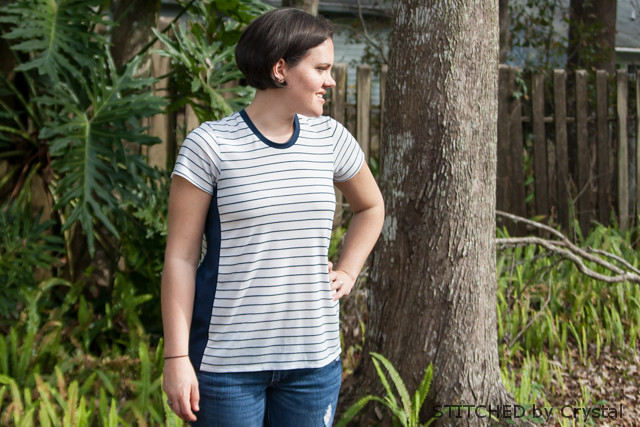
The pattern comes with 2 different lengths, a dress and a tunic. I shortened mine a couple more inches from the tunic length to be more of a t-shirt length. It also has 3 sleeve lengths, short, elbow, and long, so you can use this pattern year round.
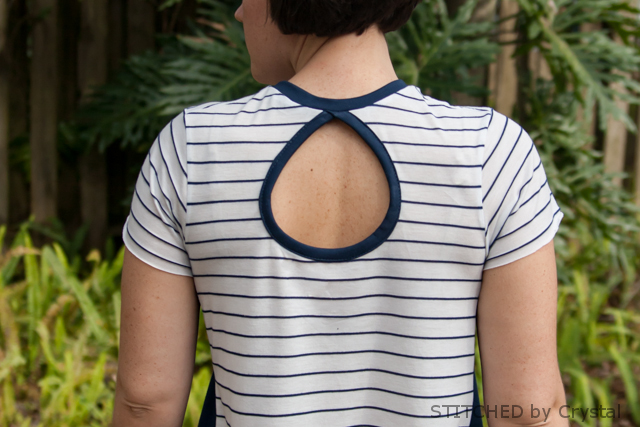
I added a big keyhole cut out to that back. It is a pretty simple modification and I love the end result, perfect for summertime. You could add this to any knit shirt and I am going to show you how I did it on the Melanie.

I started by drawing my keyhole on my pattern. You can make the keyhole anysize you want, I wanted mine big but not so huge I risked any wardrobe malfunctions and bra strap slips. I drew mine 6" tall and about 2.5" wide at the widest point.
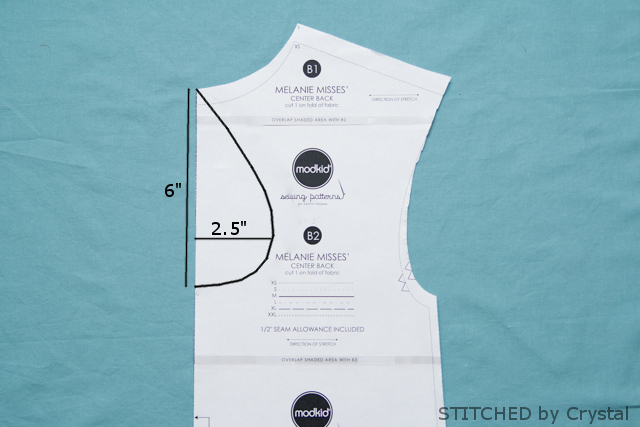
Then cut out your keyhole shape and use your modified pattern to cut your fabric.
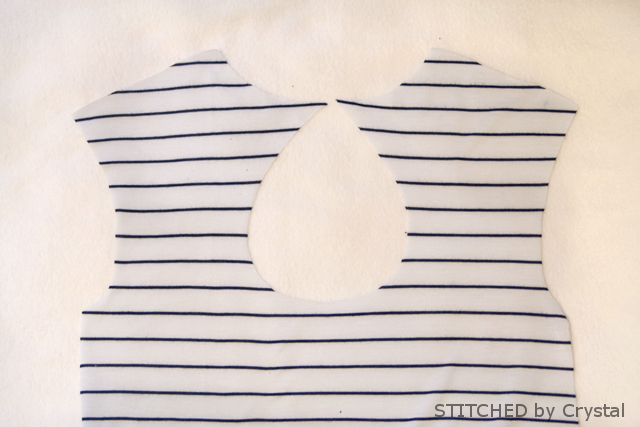
Cut a strip of knit 2" wide by 20" long (with the 20" along the direction of stretch). Make a binding out of it and sew it along the inside of the keyhole, stretching it slightly as you sew it on. For tips on making and sewing the binding, check out the instructions for the pocket binding in the pattern, it is done the same way.

Cut off the extra binding. Overlap the top of the keyhole a bit and sew a basting stitch along the top to keep it in place.
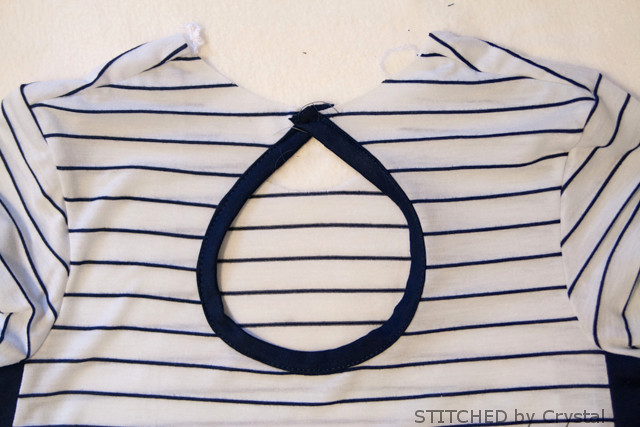
Then assemble your shirt following the instructions in the pattern.
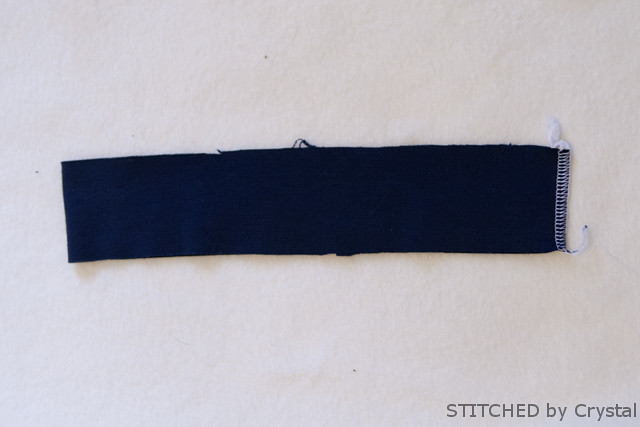
Then fold the neck binding in half so the seam is on the inside.
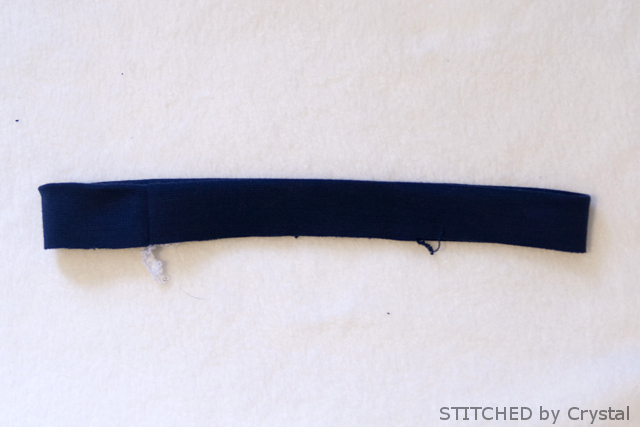
Position the seam so it is toward the back of the shirt, but not in the middle of the keyhole. Pin the binding to the right side of the shirt, lining up the raw edges of the lining to the raw edge of the neck hole. You will have to stretch it a bit while you pin to make it fit.
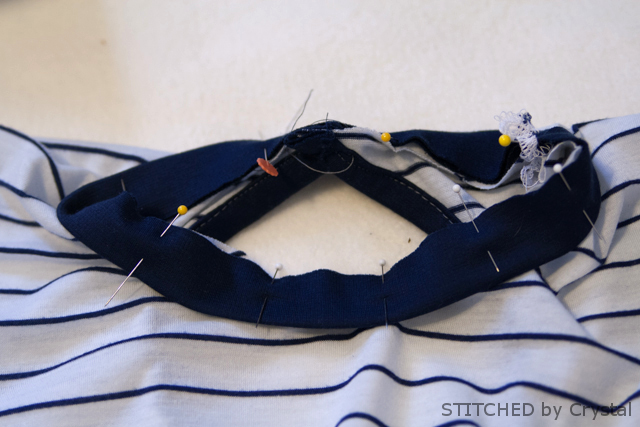
Sew around the neck hole with 1/4" seam allowance. Flip the collar right side out and top stitch around the shirt just below the collar if desired.
