
Practice Makes Perfect - Zipper Style
/We have all heard the old adage that practice makes perfect - and it is true in sewing like so many other aspects of life. But it can be hard to want to 'practice' when that practice can eat up materials that you love and that cost money. Here are some great tips to get some practice time in with zippers with no waste!
Make Real Things:
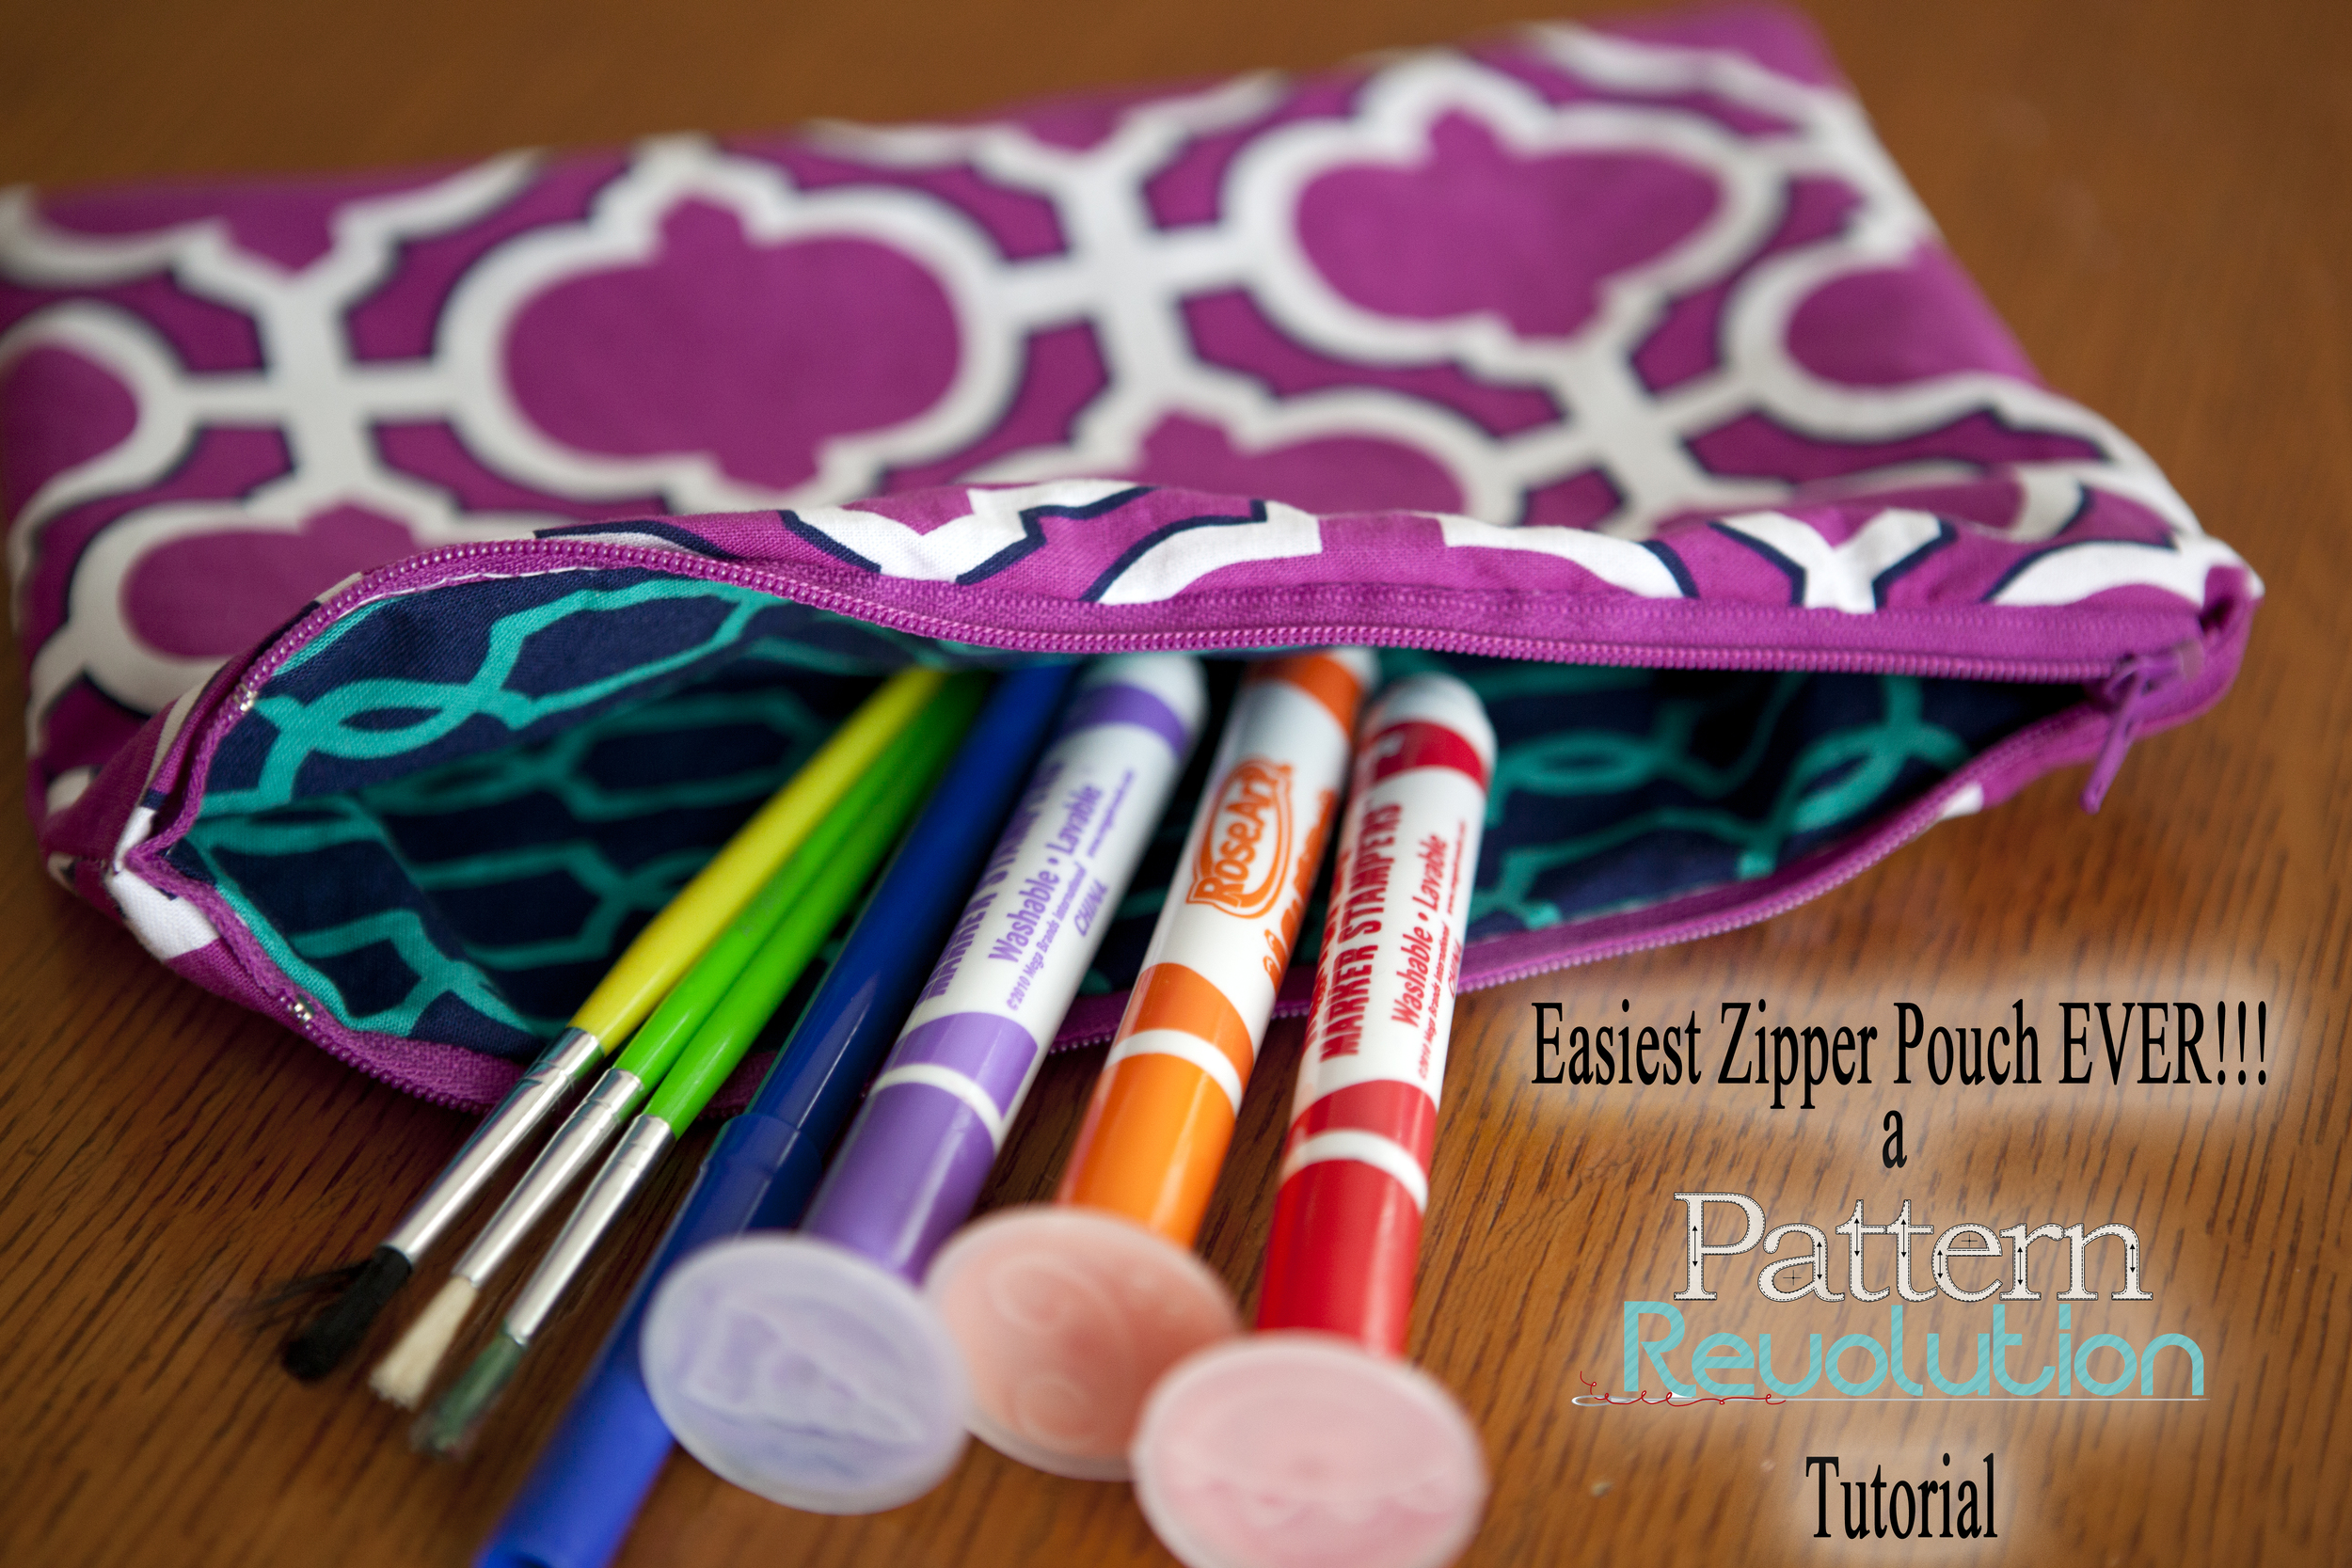
That's right I said it, make something real! Zippers can run a range for prices from 1-20$ per zipper, so they aren't something you just want to throw away or use on something that you hate. So don't pull out ugly fabric, instead pull out something pretty and make a bag! You can use it for a change purse, a make up bag, a shark week caddy, a snack bag, or many other functional purposes. Check out my Easiest Zipper Bag ever Tutorial at the bottom of the post.
Get Zippers on the Cheap:
Here are three tips for getting Zippers on the cheap
1 - Upcycle them, I steal zippers out of everything - old lady dresses, worn out zip up PJ's, even men's jeans (*I only do men's jeans so that they will be long enough to refashion for other pants). So double check that throw out pile and make sure no zippers are going into the trash.
2-Thrift Stores, Antique Stores, and Swap Meets - you can often find old zippers for super cheap at these locations. My mom once scored 50 Zips for $5 at an auction. While these may not be the zippers you want to feature in clothing, they are great to use in bags and accessories.
3- Coupons!!!! How often do you get a 50-70% off coupon for a fabric or craft store and just throw it away because you don't need fabric at the moment (that is me all the time). Well use that coupon to get a fun zipper to add to your collection. I tend to stock up on jean zippers, metal zippers and separating zippers because those are ones I have a harder time finding.
Buying Zippers:
If you are ready to buy some zippers for specific projects, I can not sing the praises of Zipper Island enough. They have a large selection of zipper types, lengths and colors. They are easy to work with and quick to answer questions. You got to see one of their stunning Metal Zippers in This Exposed Zipper Post.

Look at this range of colors
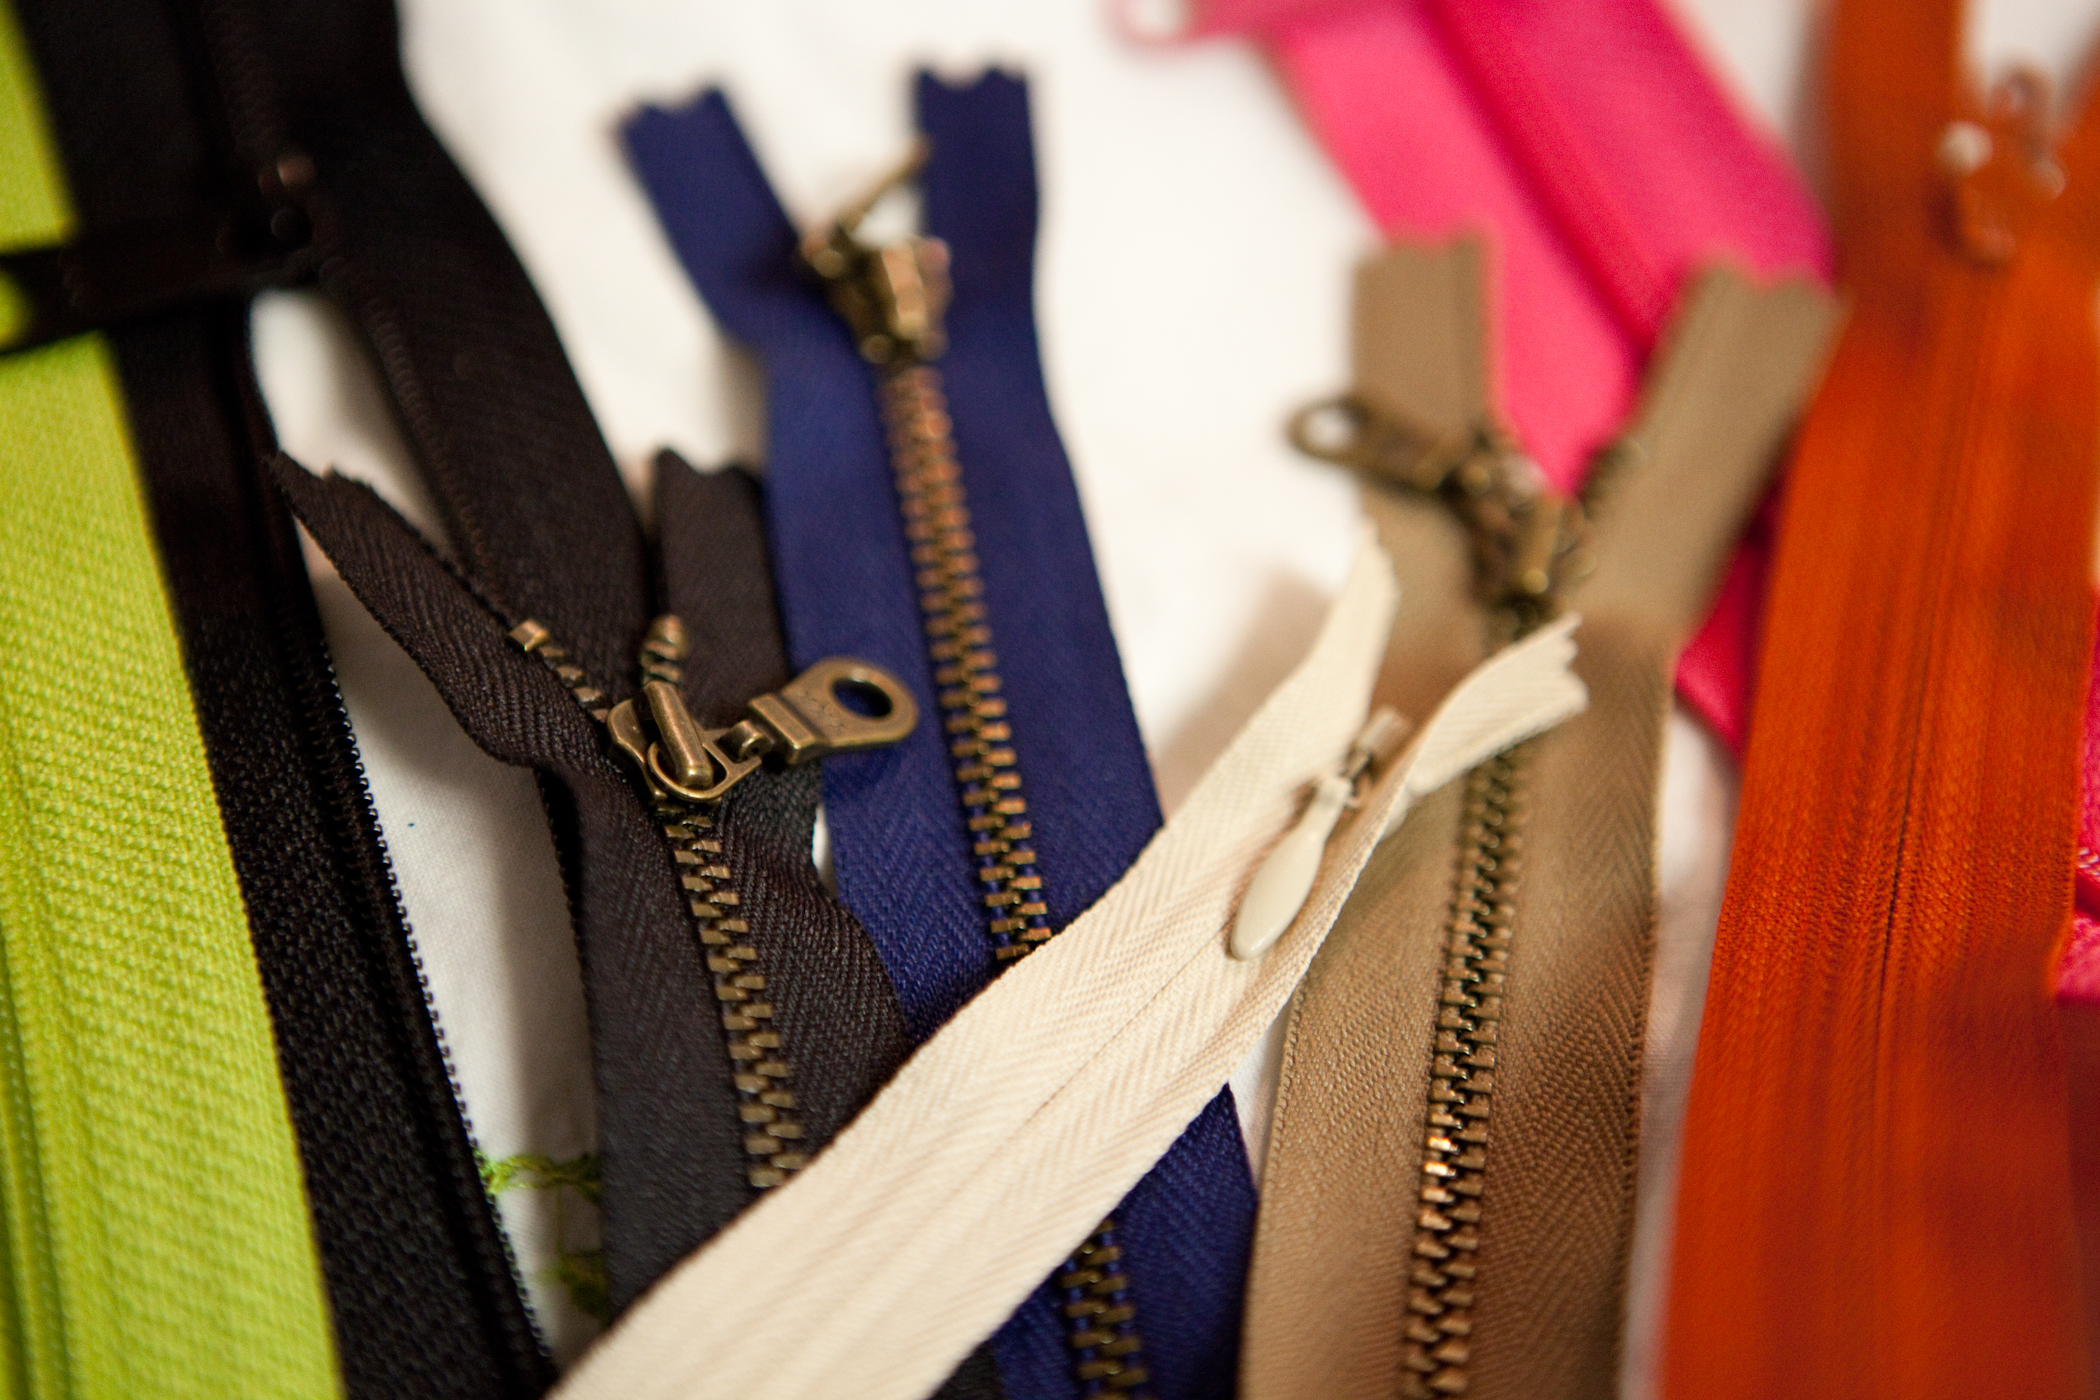
Look at those metal zips, and that skinny invisible zipper - that one is already earmarked for a project.

and the width of zipper trim - the smaller trims work for more delicate projects, while the wider trims are perfect for bags, back packs or coats!
A few things to consider when you buy zippers:
- Check double check, and triple check the length you need! Nothing sucks worse than to order an awesome zipper only to realize it is the wrong length (not that I would know ;op)
- Make sure you are ordering/buying the right type for your project - you don't want an plastic invisible zipper in a pair of jeans, and you don't want a clunky metal zipper for an invisible side seam. If your project doesn't tell you what type of zip to use (which it should) ASK!!!! Or look at garments in your closet and see what kind they are using.
- Match the color of the zipper as closely to your fabric as possible. If you can't match it, solid black works for dark colors, and white or cream work for light colors. For a fun POP, go with a contrasting color and make it shine!
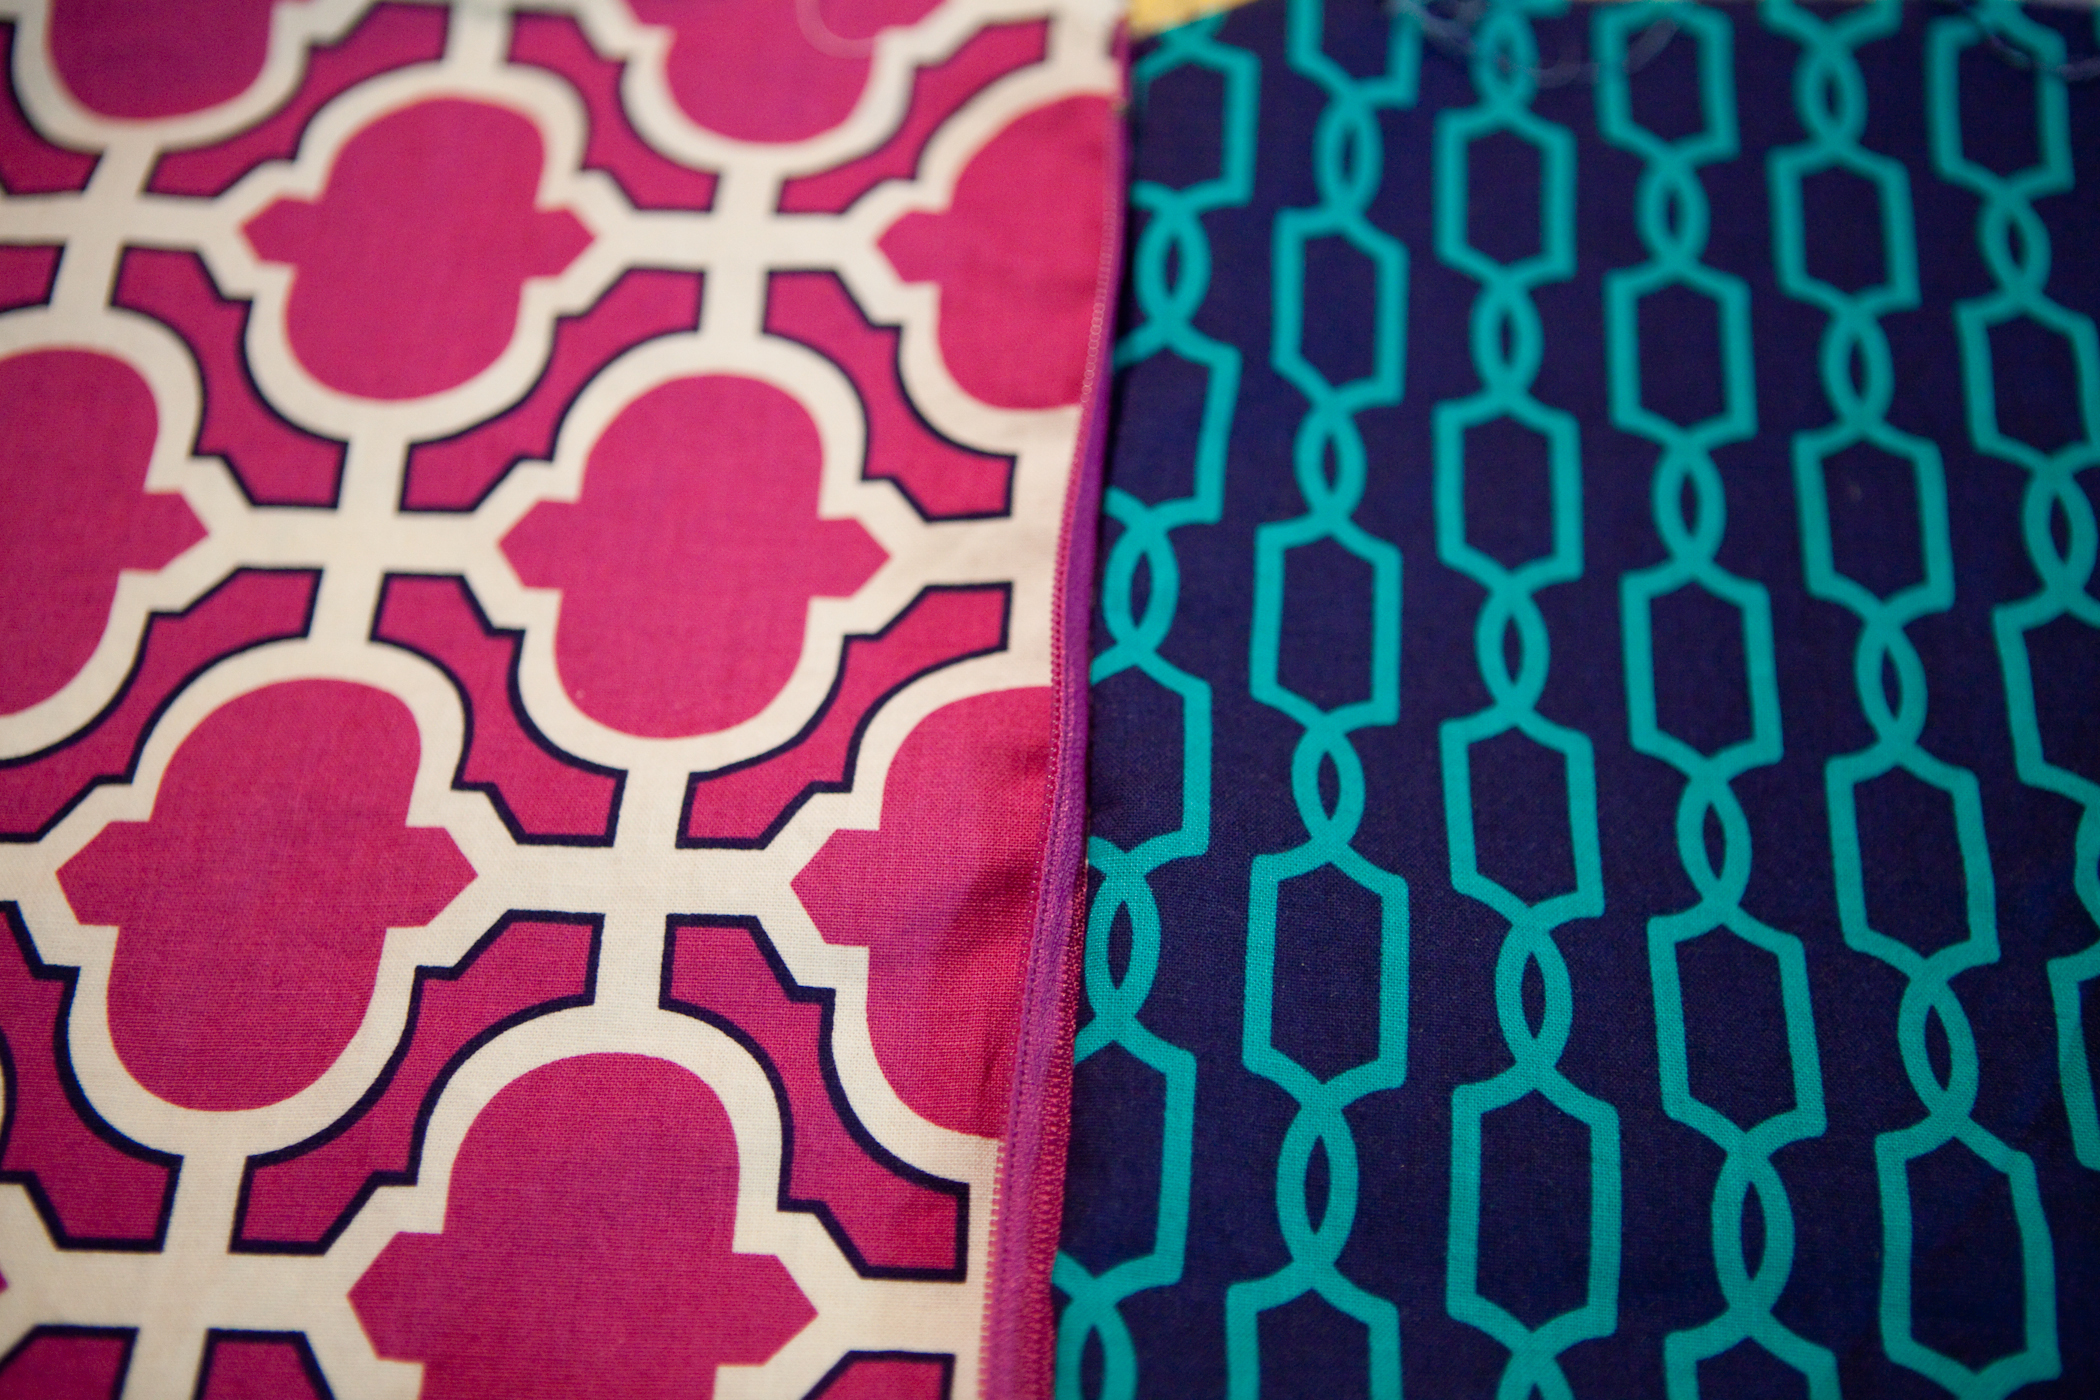
OK - Here is the quickest Down and Dirty Zipper Pouch tutorial EVER! Practice makes perfect, make friends with your zippers!!!! I'm using the Midnite Gems by Michael Miller Fabrics
Pick a Zipper an measure it (measure from the end stop to the top of the teeth)

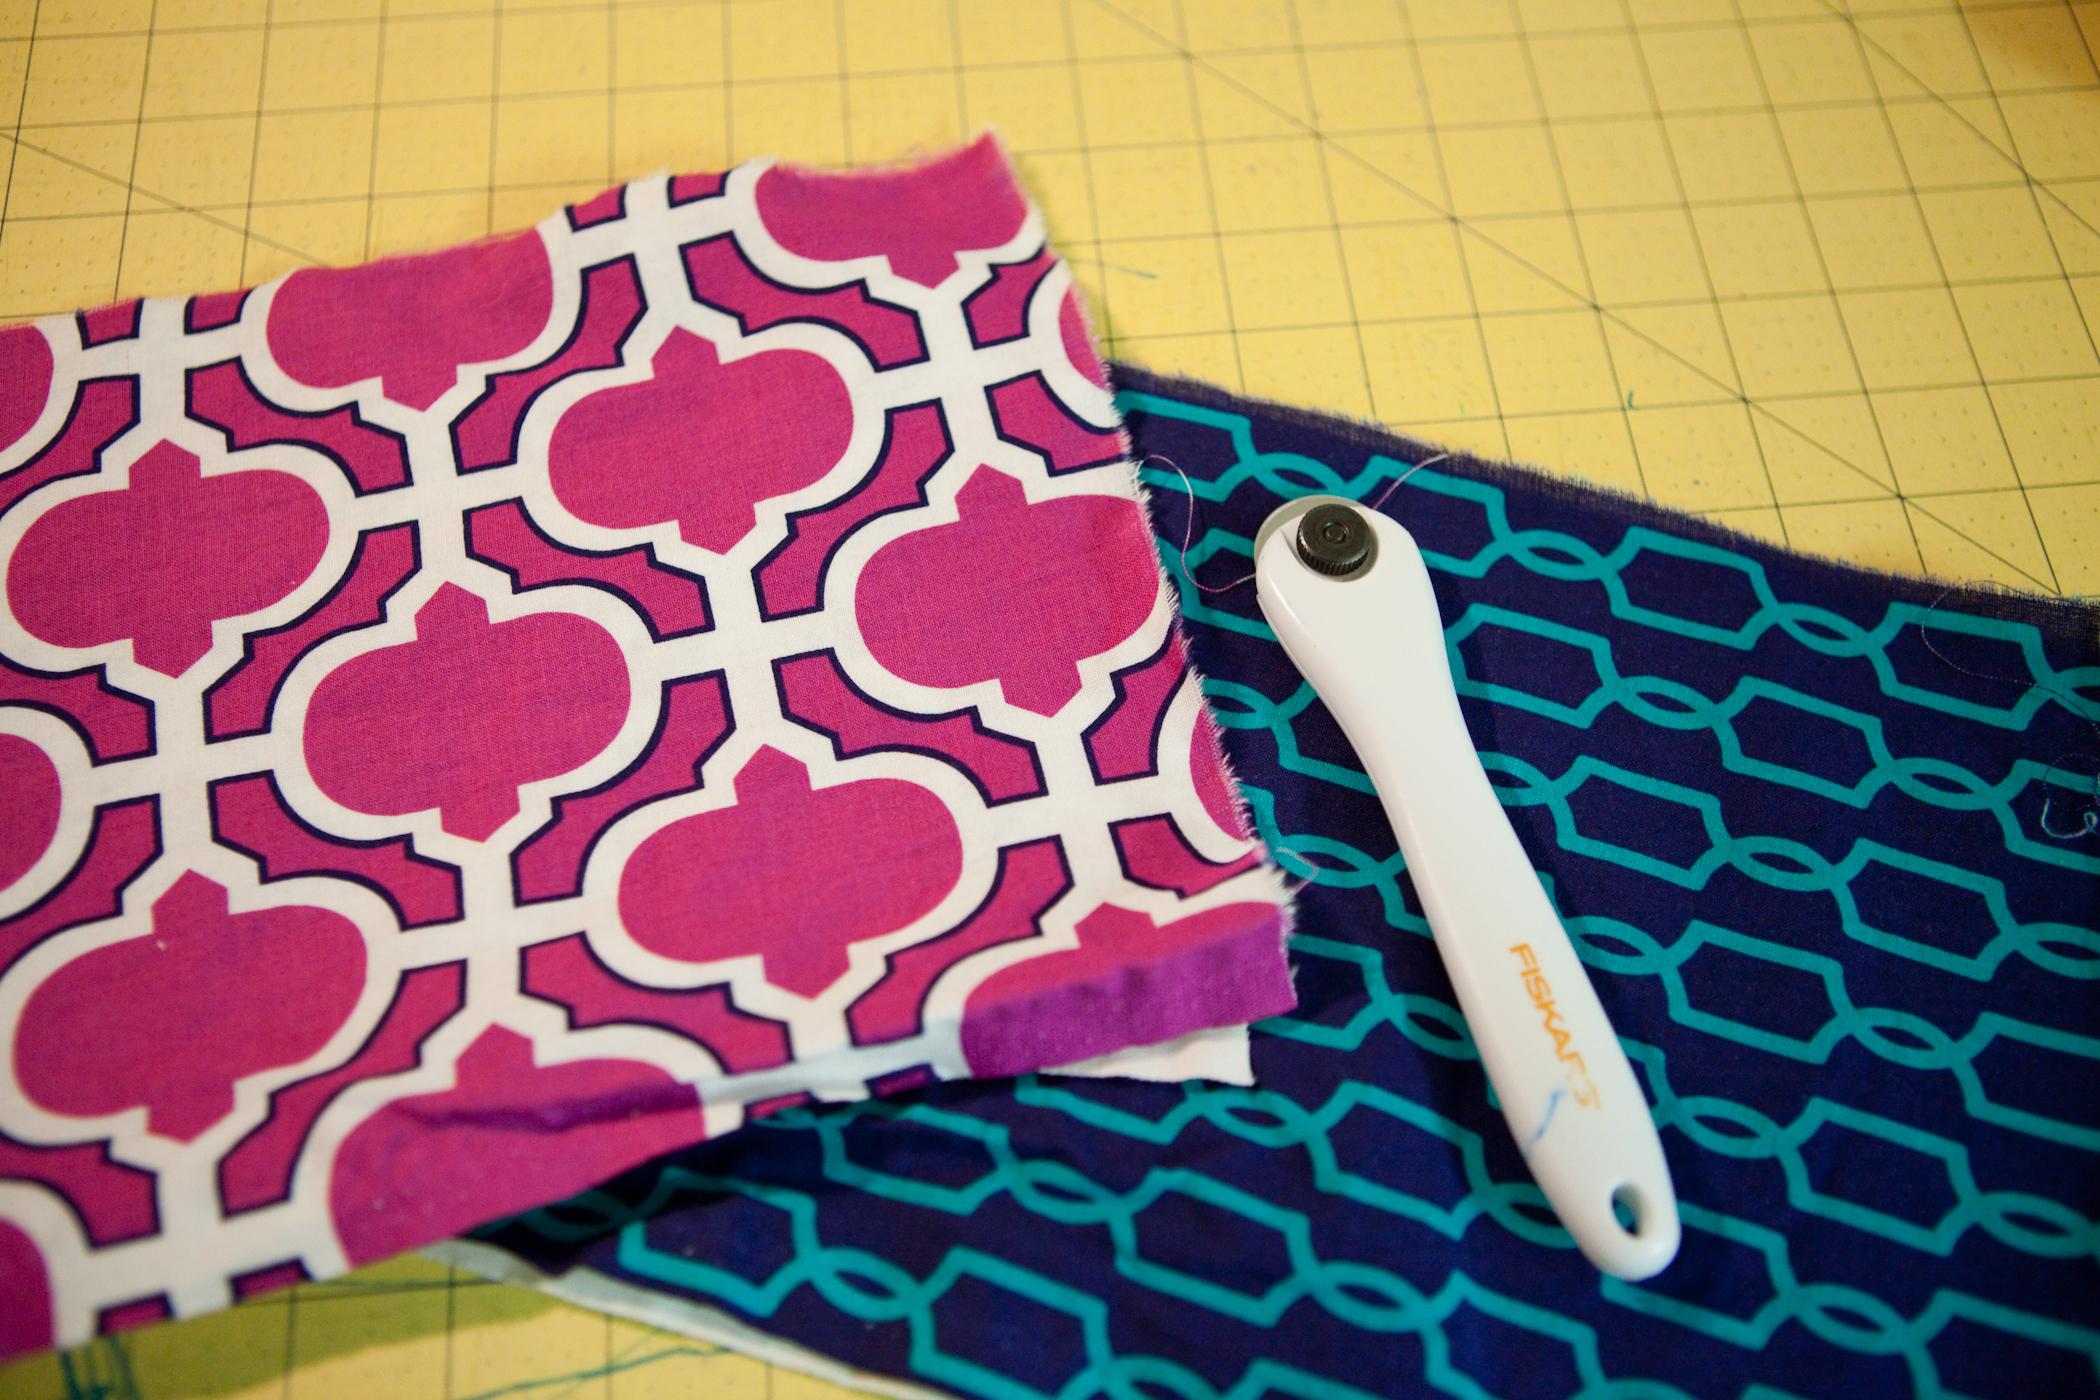
Cut 4 pieces (2 main, 2 lining) the length of your zipper +1.5 inches x however deep you want your bag to be - mine is 11x8

So in love with these vibrant Michael Miller Prints
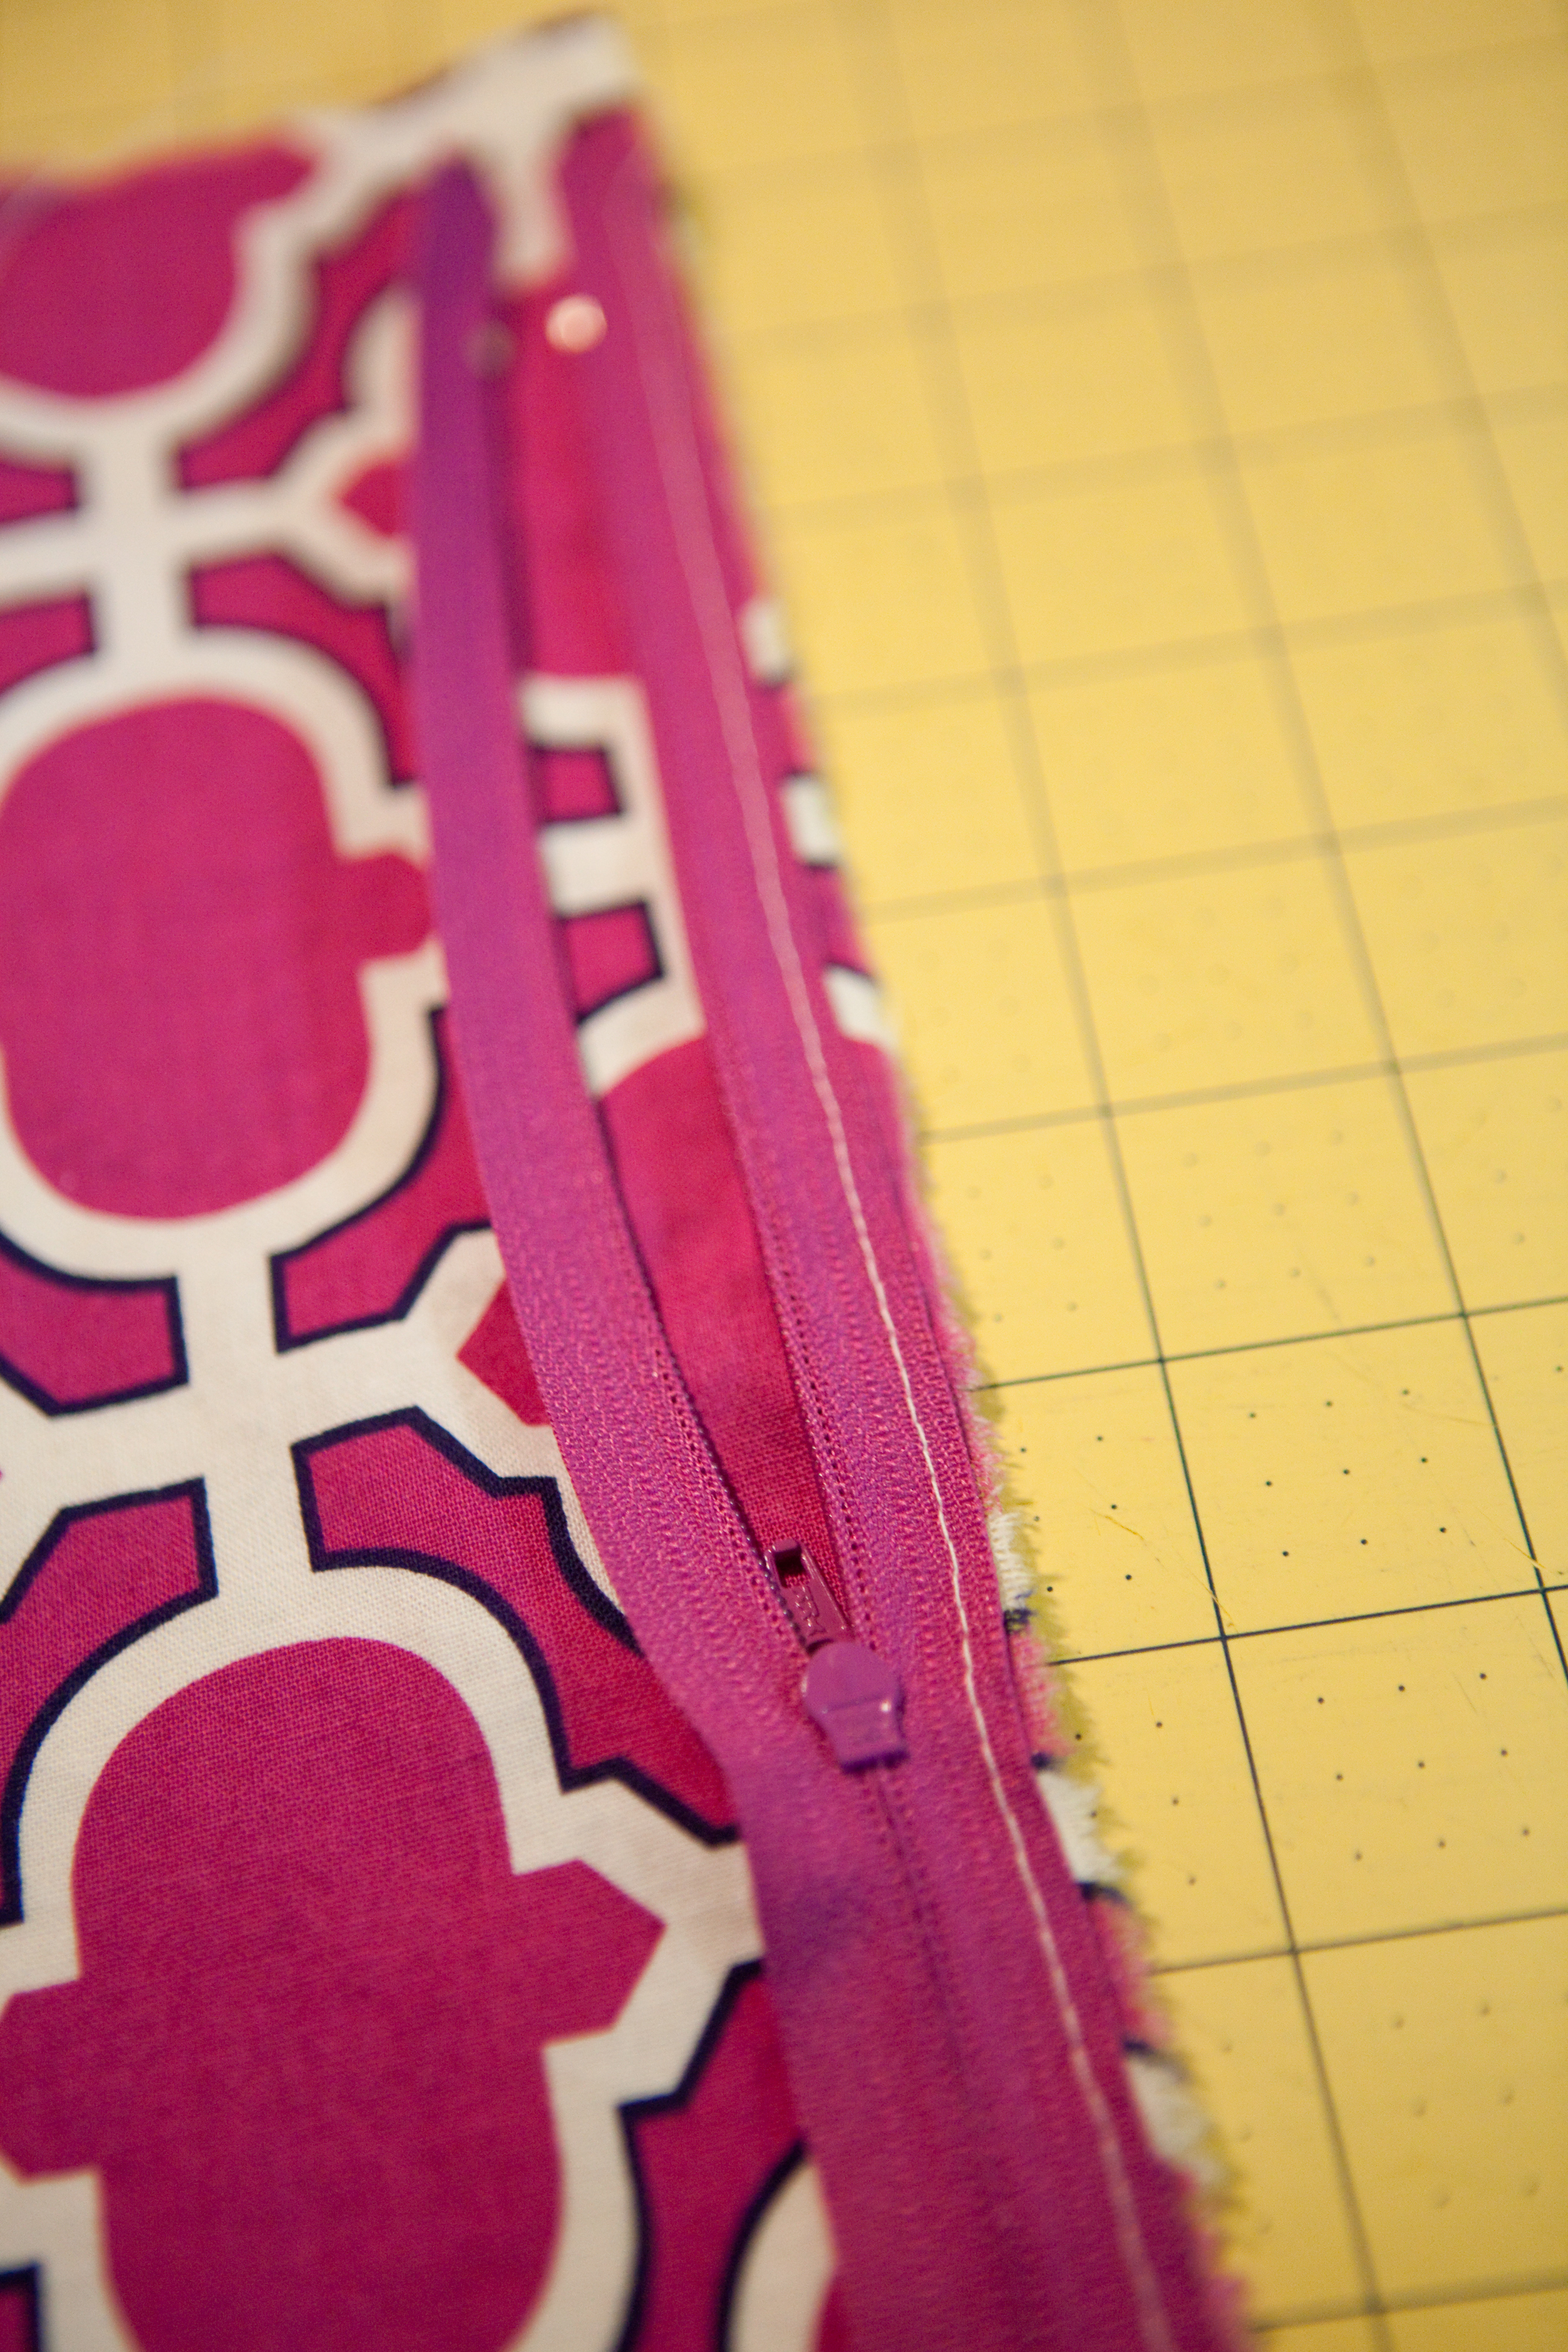
Lay the zipper right side down against the right side of one of your main pieces

Sew 1/4 inch from the edge (depending on your zipper trim size, you may need to make that 1/8 inch)
Layer one of your lining pieces right side down on top (so that your fabrics are right sides together, and your zipper is sandwiched in between

Sew through both layers of fabric and your zipper along your first row of stitching
Repeat for the other side


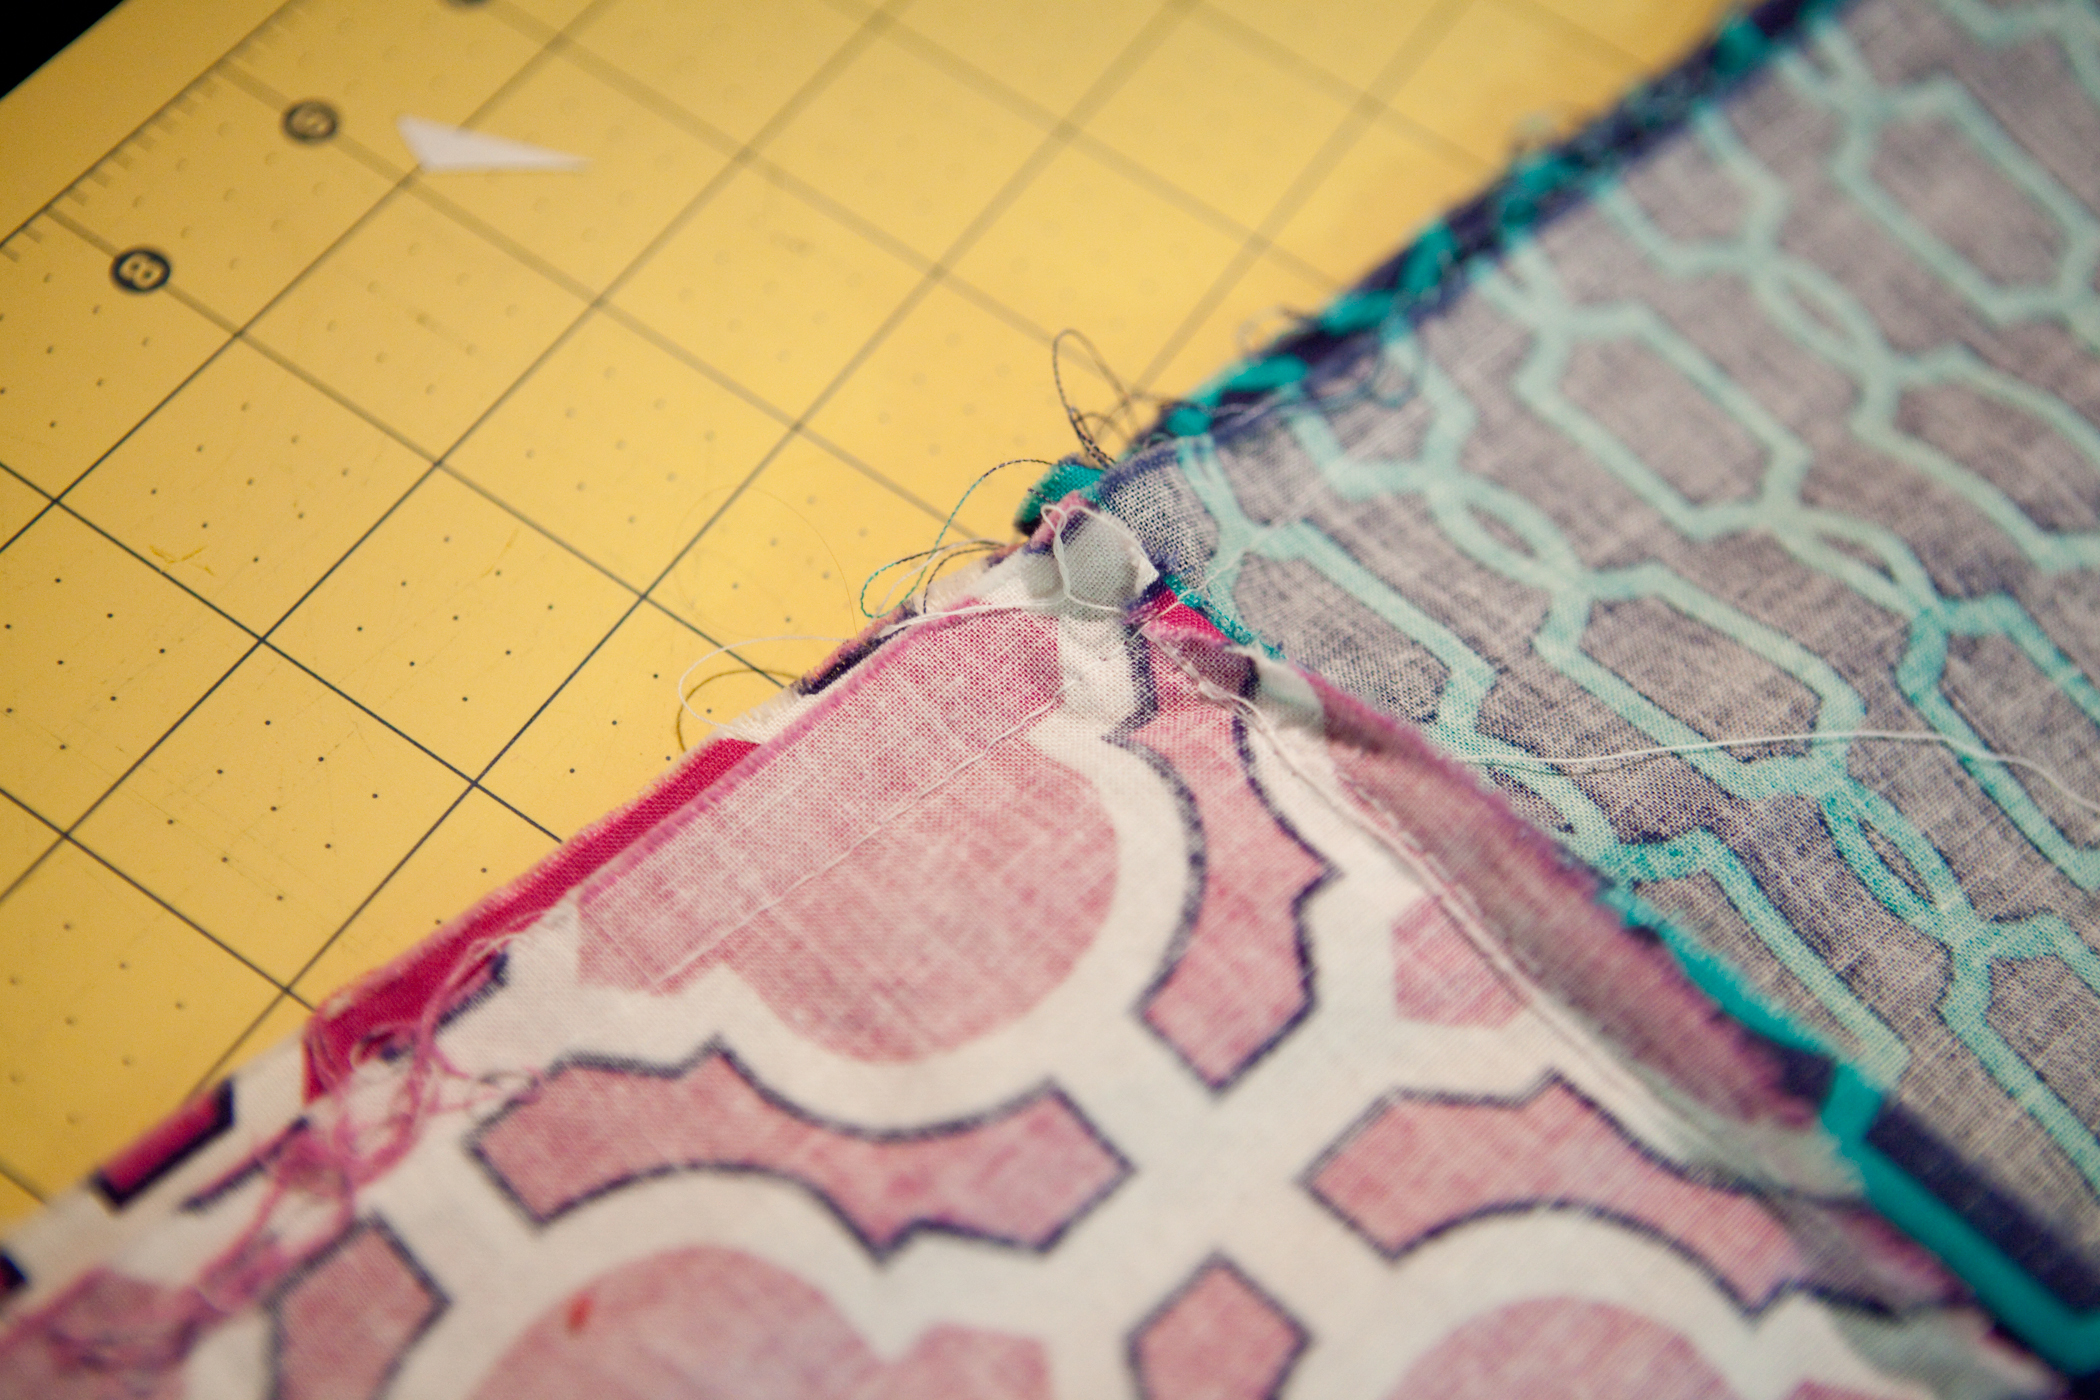
Open up your fabrics so that you have one long rectangle with the zipper running down the middle and the fabrics are laying right sides together

Sew along the big rectangle with a 1/2 inch seam allowance leaving the bottom of the lining open (Make sure your zipper is unzipped at least half way!). Clip your corners.

Turn right side out

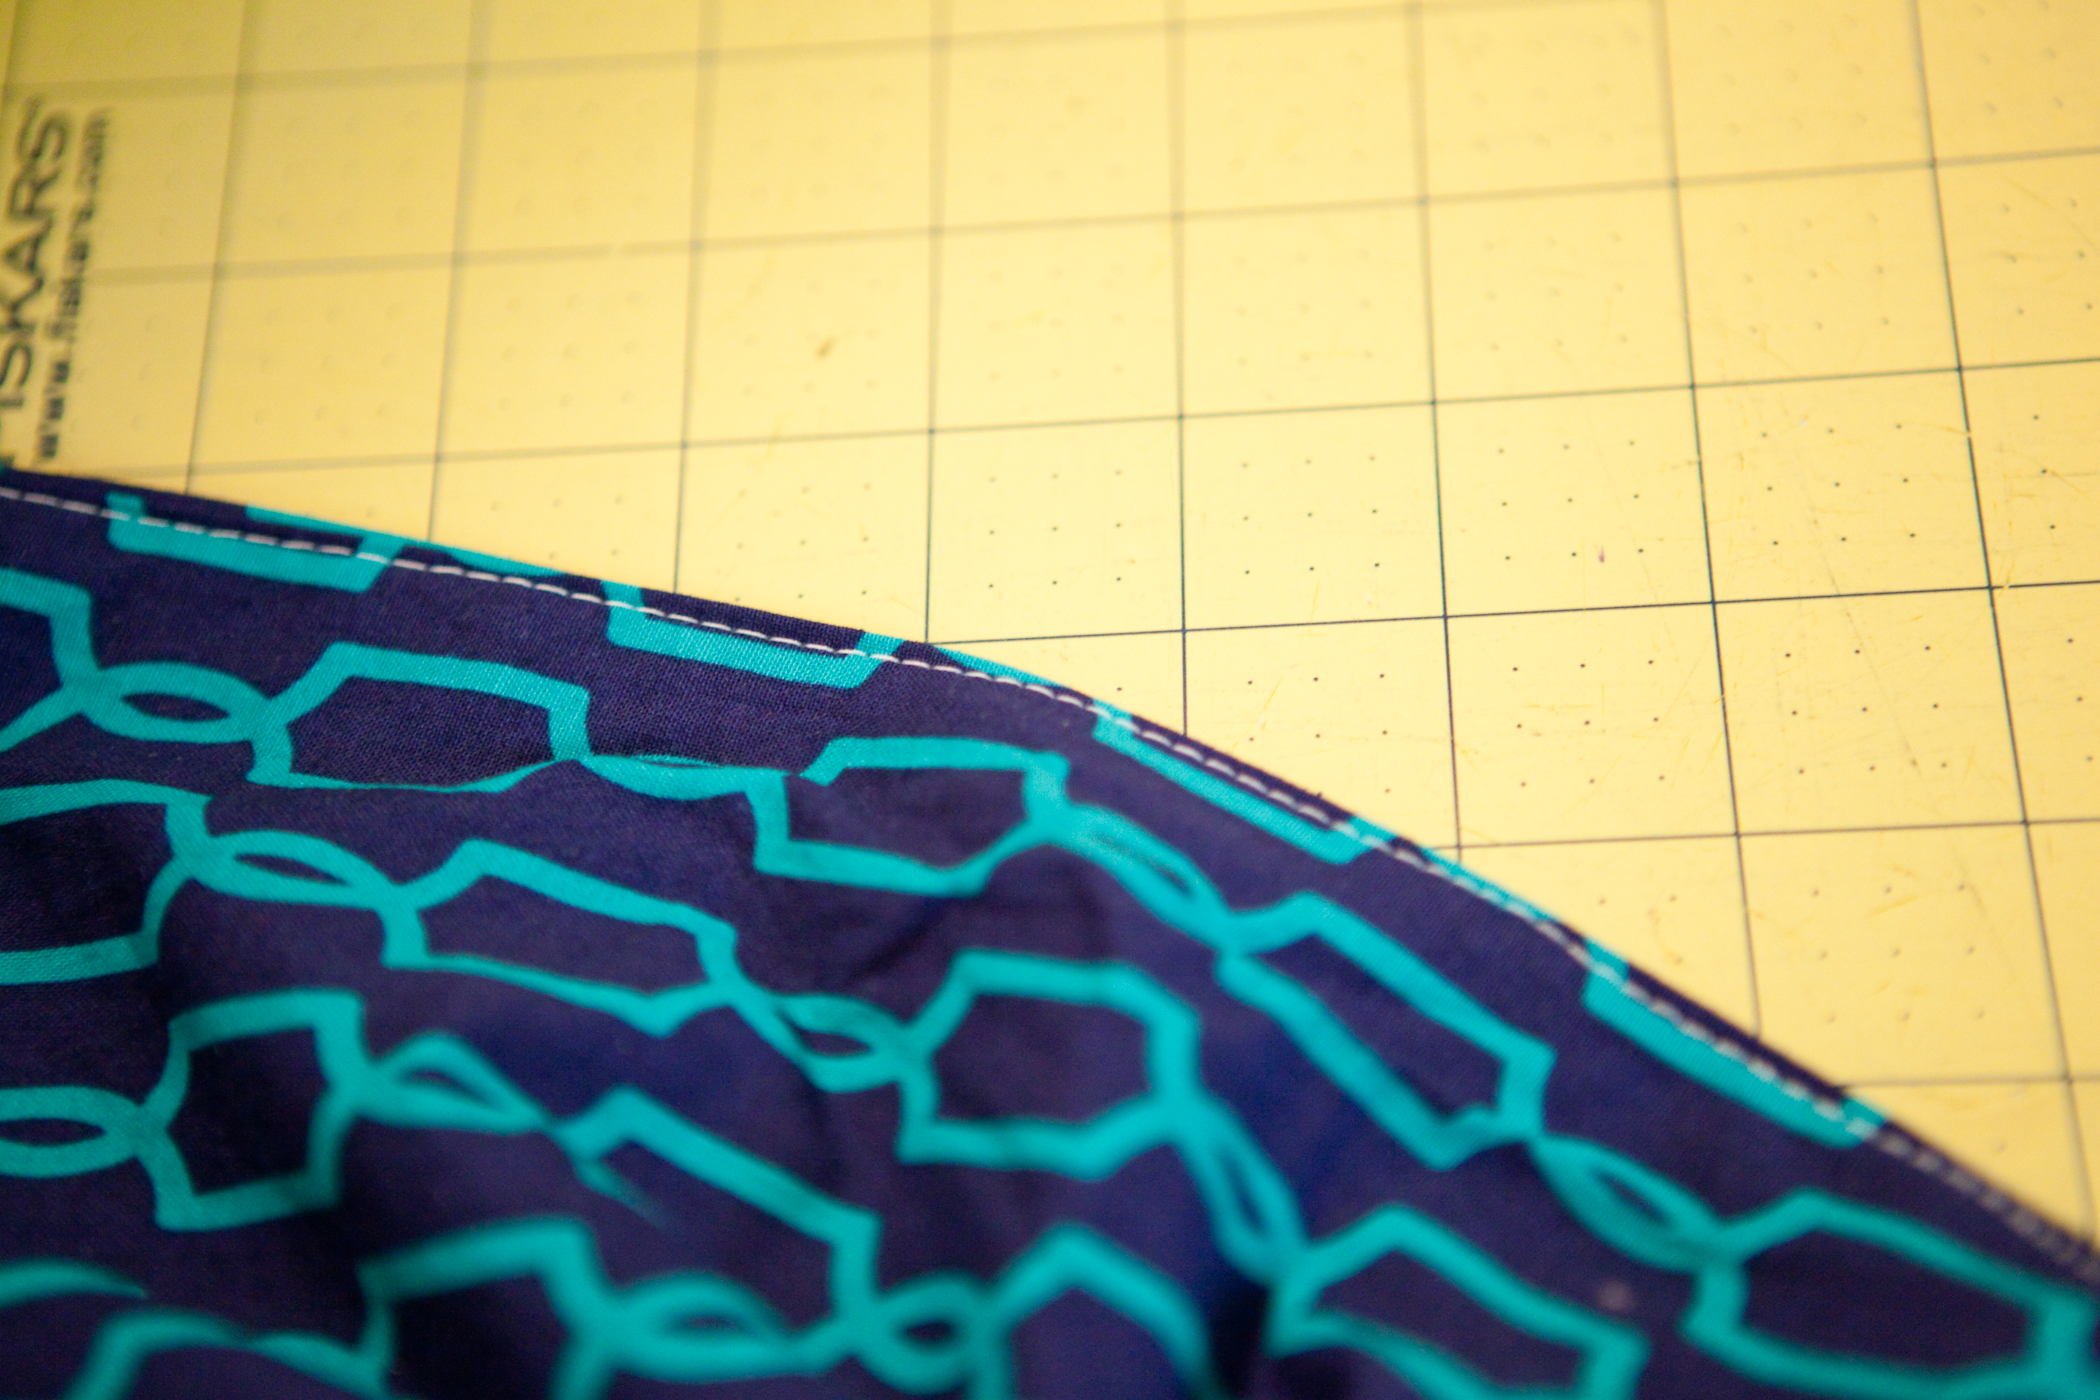
Fold the ends of your lining in 1/2 inch and top stitch 1/8 inch from the edge.


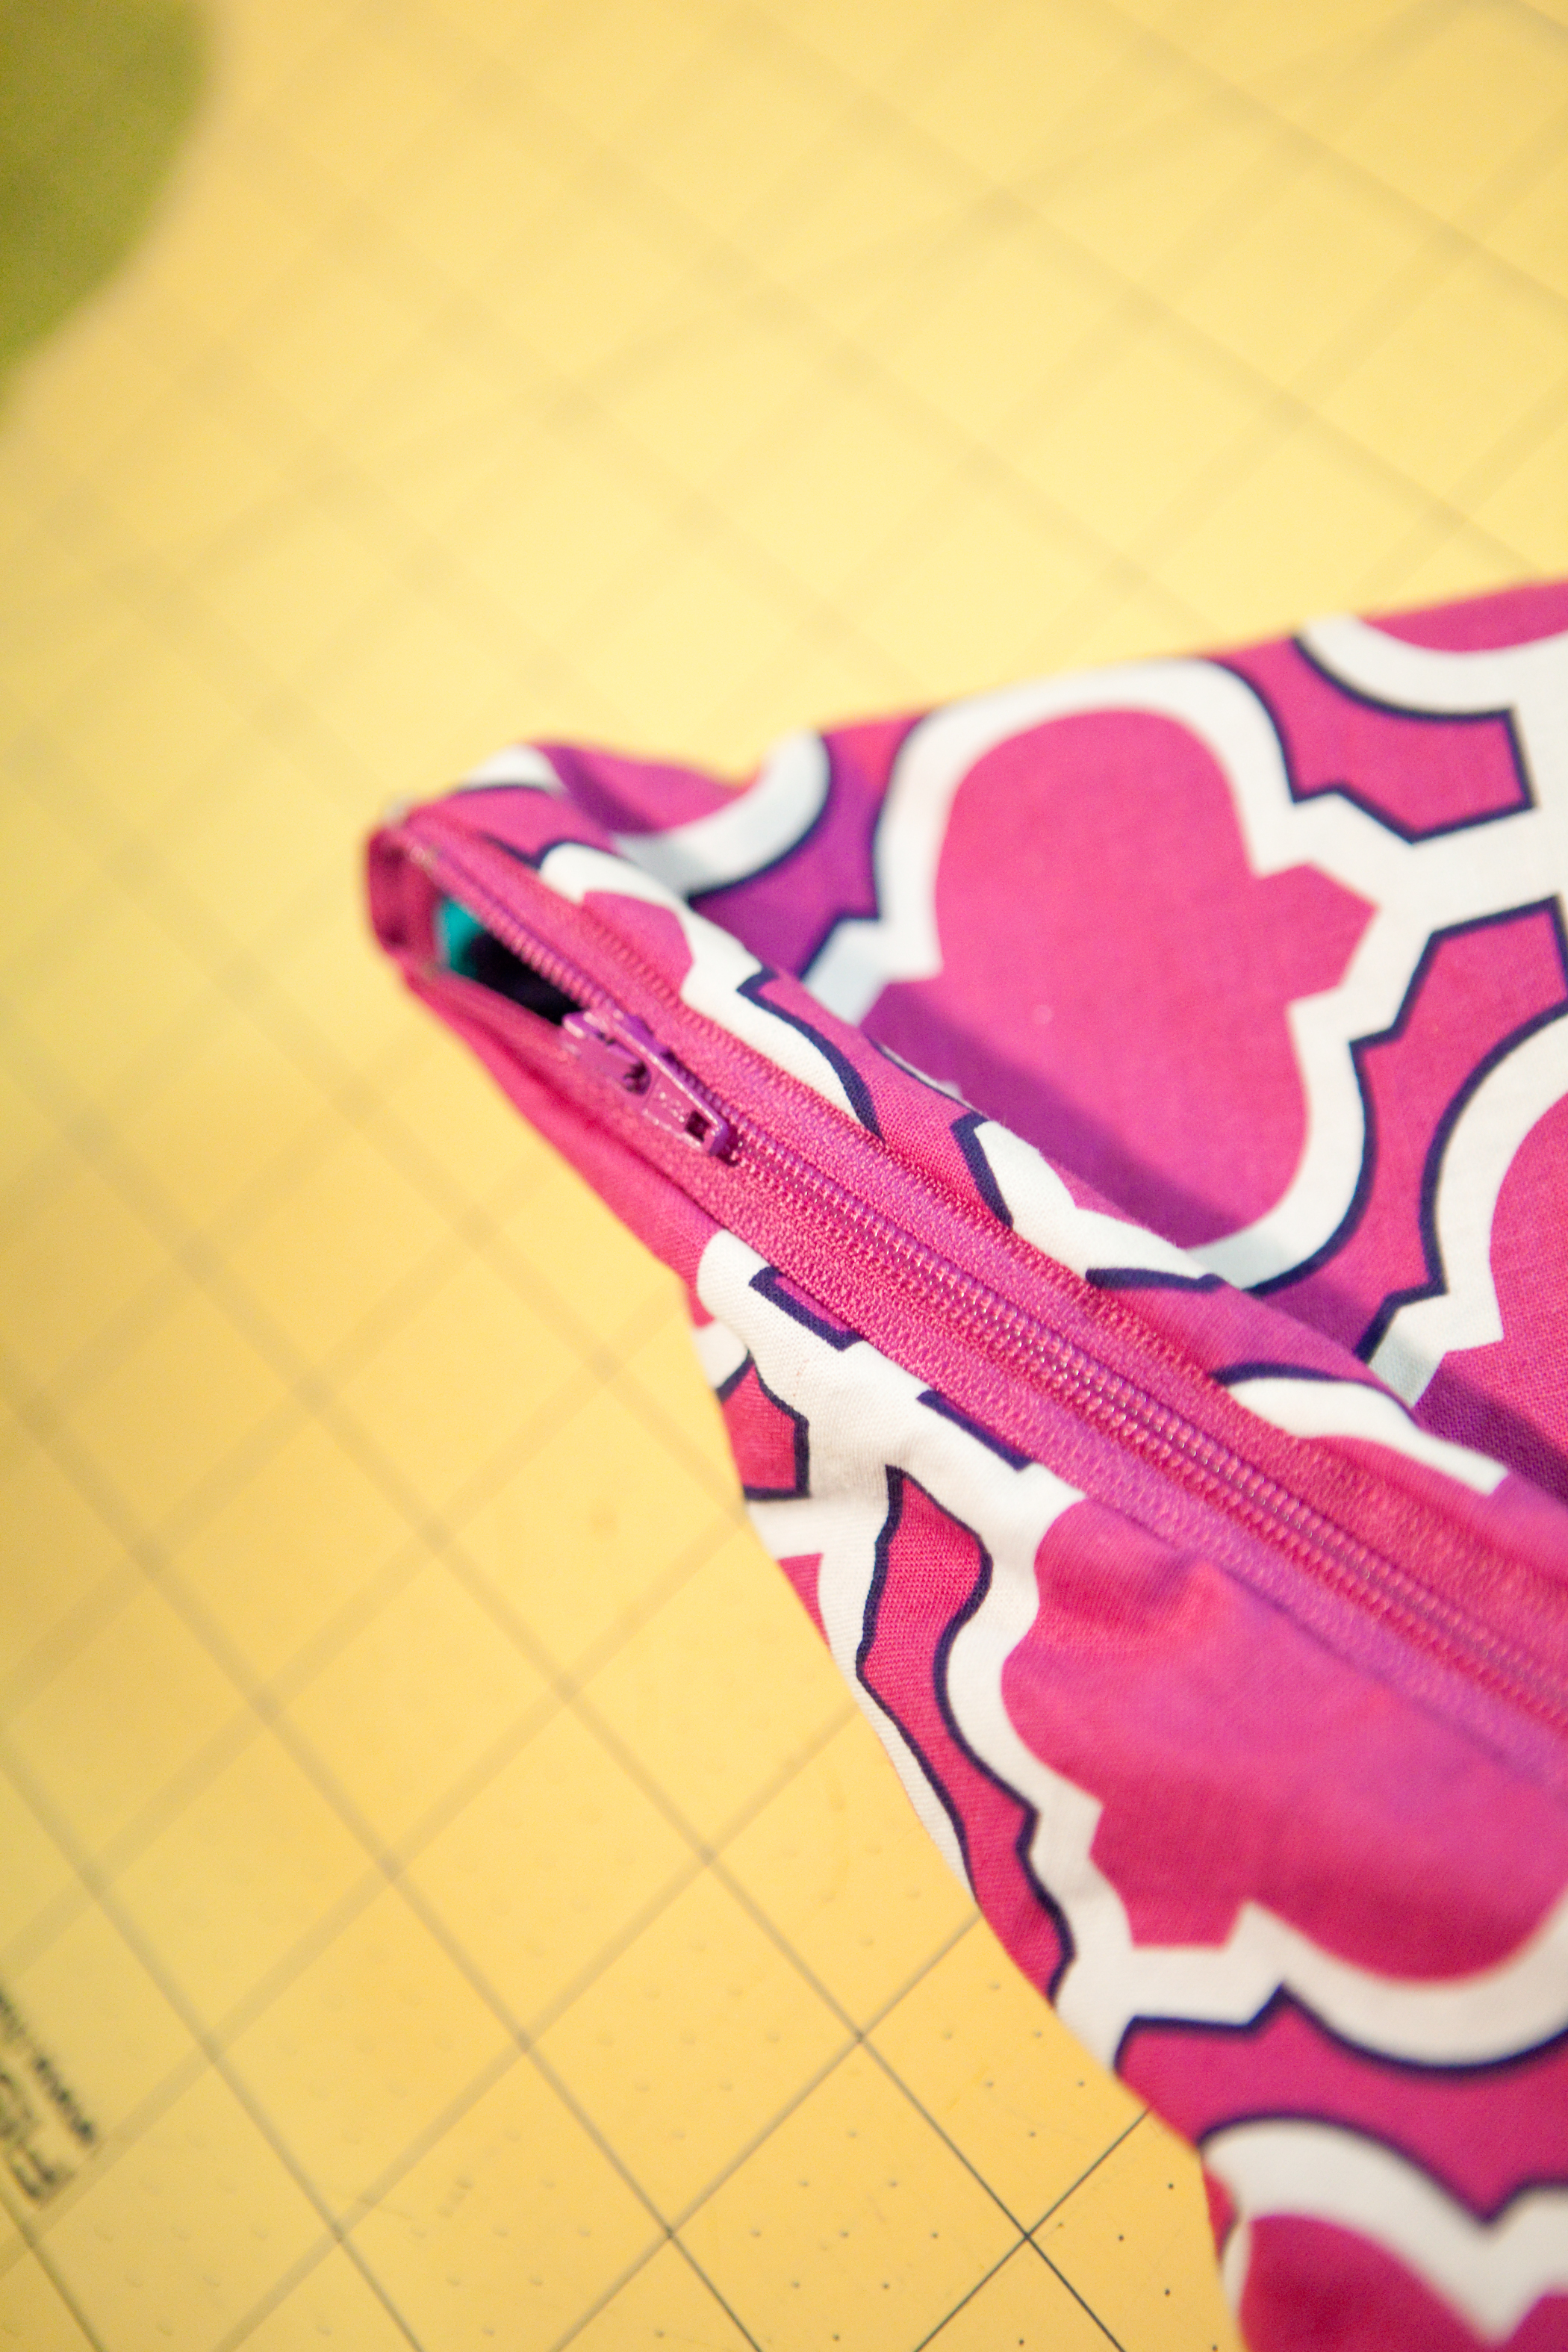
Turn the lining to the inside of your bag and zip up

Voila - an easy peasy pouch and YOU just put in a zipper - see how easy that was!!!!!!!!!!!

Share all your zipper creations with us on Face Book and Instagram #zipitgood !!!


