
Add a skirt to your Lullaby Lap Tee: A Tutorial
/This Tutorial is just so adorable...... Pin it for later, or take some time and make it NOW! Trisha is shraing with us how to add a skirt to the Lullaby Lap Tee by our affiliate Peek a Boo Patterns, you can read the full review of this pattern HERE.
Take it away Trisha.....
-------------------------------------

When my daughter was a newborn, I bought a few name brand dresses that had the bodysuit attached to it. They were by far my favorite dresses. No riding up, easy for diaper changes, and they are perfect for the crawling stage. That is the stage we are at now. Crawling tends to lead to bum shots, and no one wants to see the diaper showing. When I saw the new Lullaby Line Bodysuit Pattern by Peek-A-Boo Patterns, I knew I had to alter it to add a skirt and turn it into a fun dress for my daughter. Here is how I did it.

Trace and cut out the size you are making. Then you'll want to measure your child and decide where you want the skirt to sit. You can make it an empire waist by only going an inch or two down from the arm hole. I chose to make mine sit more at the waist, so I measured down 3" for the 12 month and drew a line across the pattern piece.

Measure down the same amount on the back pattern piece as well. Cut both the front and back pattern pieces along this line.

Next you're going to tape a piece of paper between the two pattern pieces. Draw a line 1/4" away from the cut edge of the pattern. You are adding a seam allowance to these pieces. If you want a larger seam allowance, just measure and mark it accordingly. Then cut the pattern along those lines.

Cut out your fabric using these new pattern pieces. Next you'll need to determine how wide to cut your skirt. Measure across the bottom of your top pieces. Then double that measurement. That is your width. To determine the height, just measure on your child how long you want the skirt to be. Cut a rectangle from your skirt fabric with these measurements.

Fold the rectangle in half right sides together and sew or serge the edges. You'll need to finish the hem how you wish, either with a rolled hem, fold the ends up, or just leave it raw.

Finish the rest of the bodysuit according to the pattern. You should have a top, a bottom and a skirt.

Take the skirt and sew some gathering stitches along the top. Pull the bobbin thread to gather it to the same width as the top of the shirt.
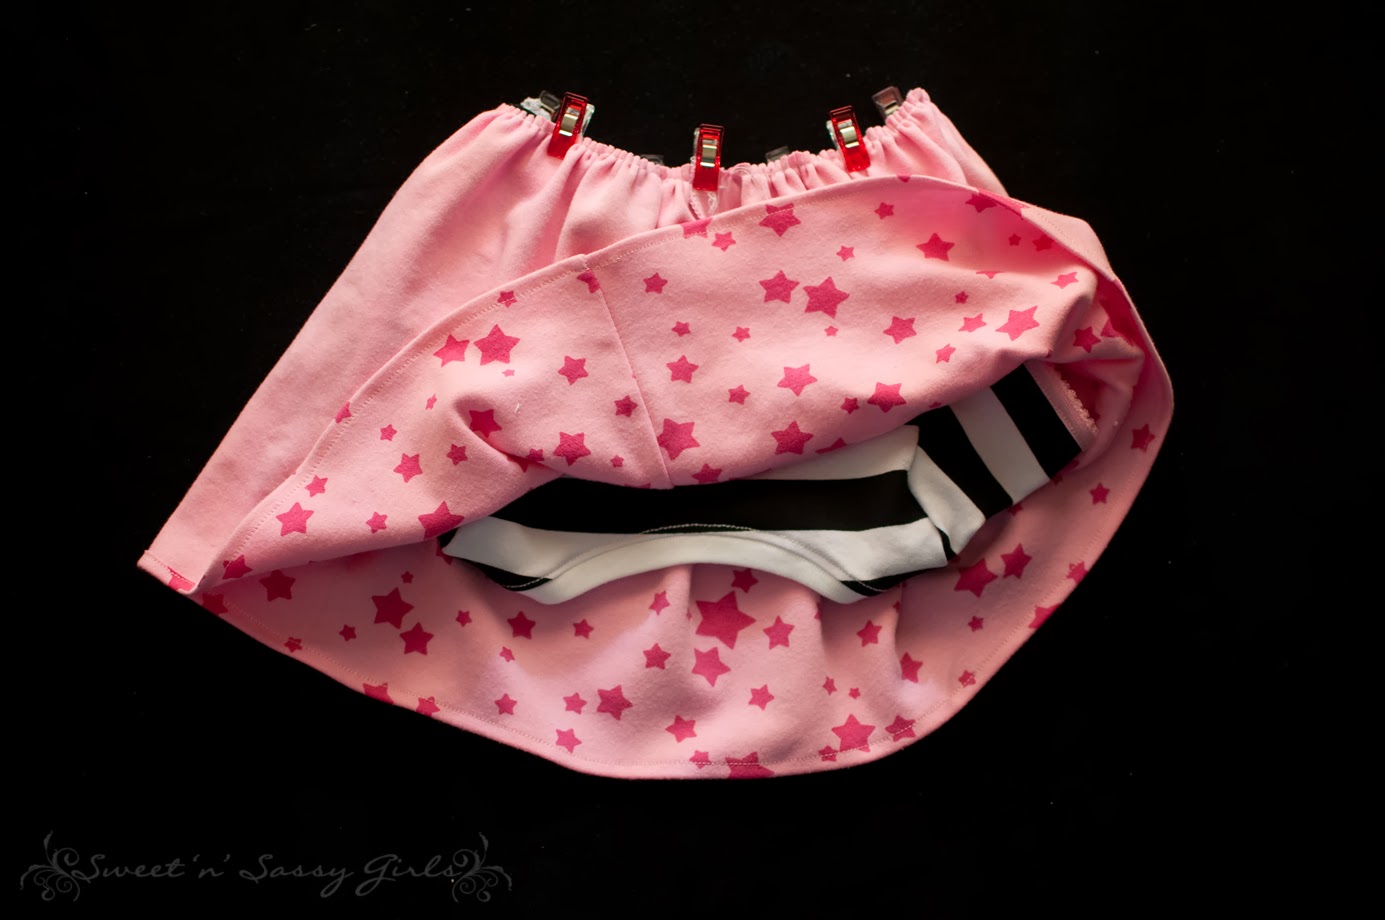
Place the skirt over the top right sides together lining up the raw edges. Make sure the seam from the skirt is in the middle back.

Take the bottom of the bodysuit and place it over the skirt with the right side of the bodysuit facing the wrong side of the skirt. The two bodysuit pieces should be sandwiching the skirt. Now sew or serge these together. If the knit you use doesn't have good recovery you can use some clear elastic in this seam to help stabilize it and keep it from stretching out.

There you go! You now have a bodysuit that has an attached skirt!

Here is that bum shot I was talking about earlier!


Now she can move and crawl all she wants and I don't have to worry about anything riding up on her and no diaper peaking out!


